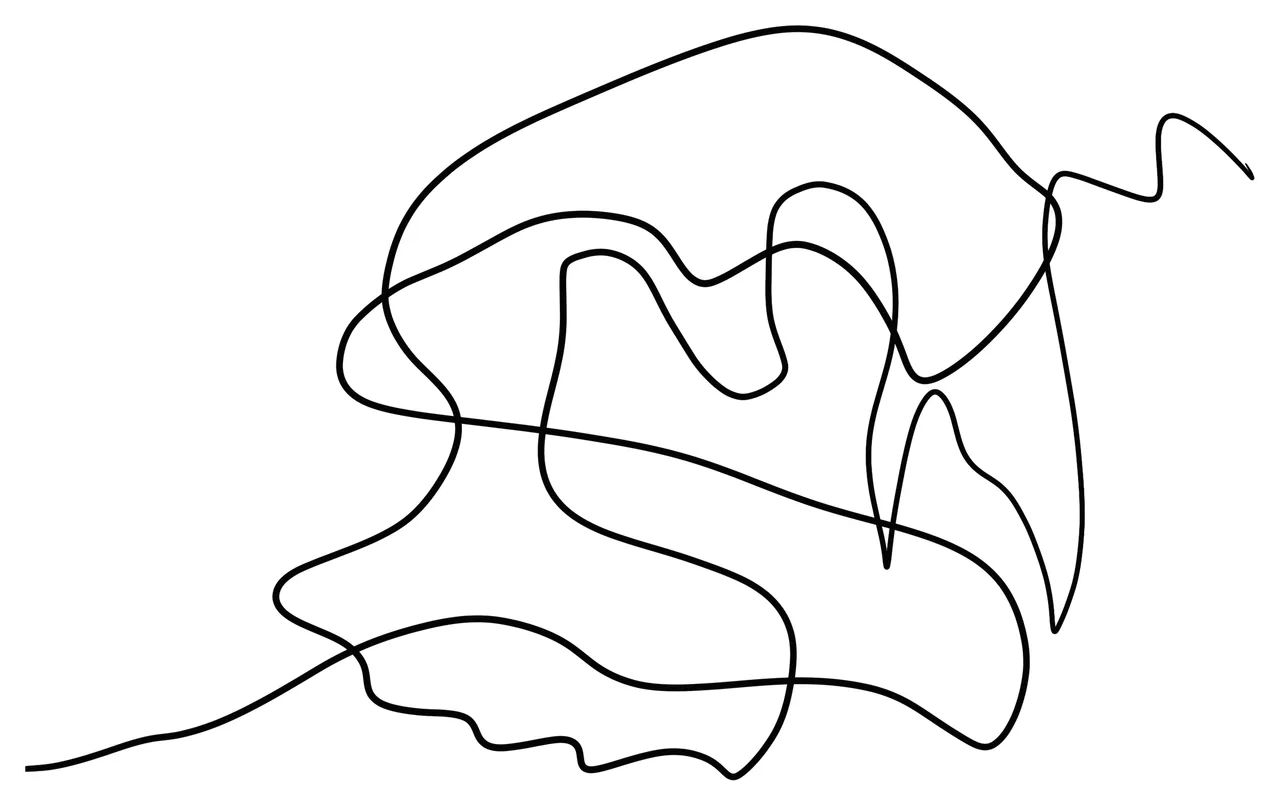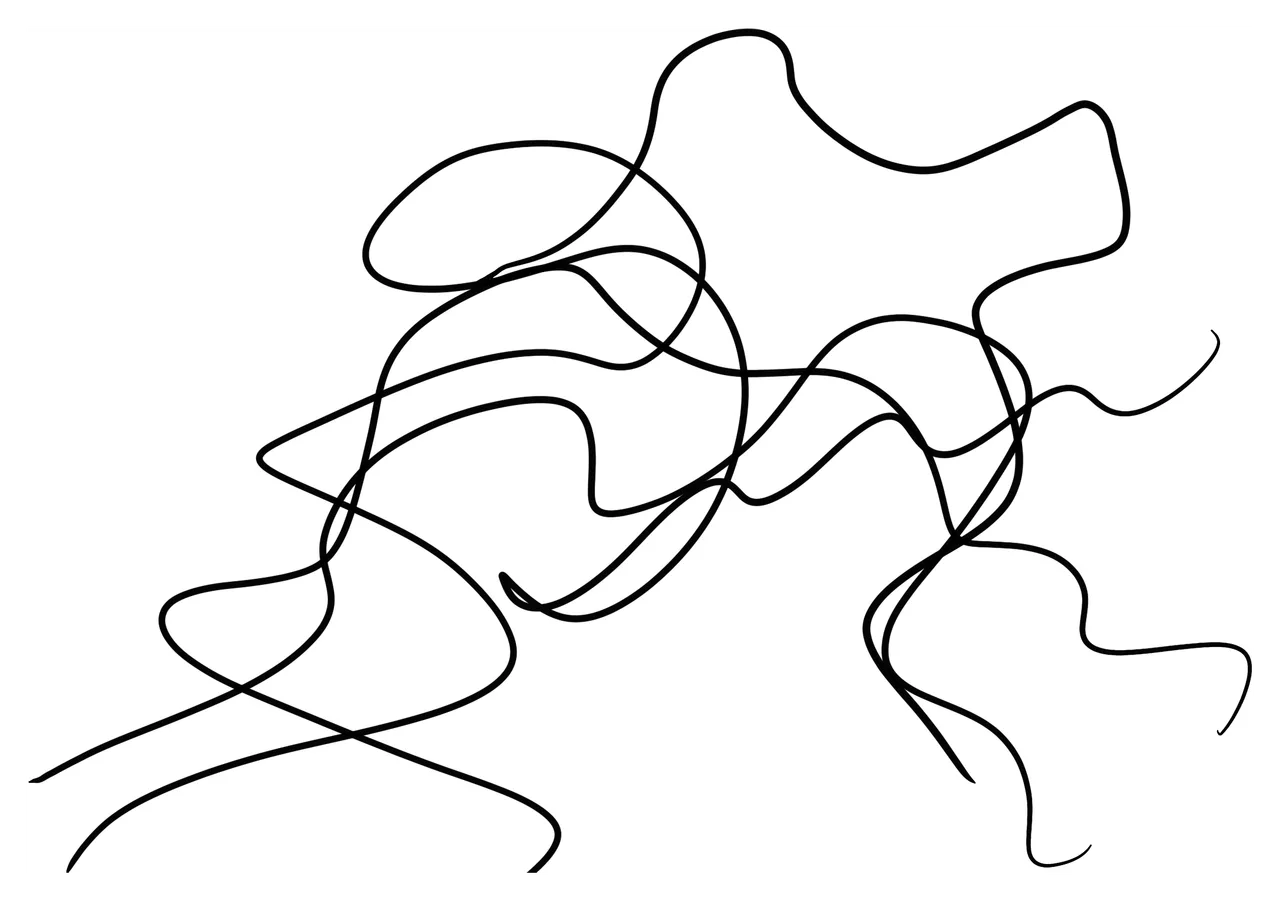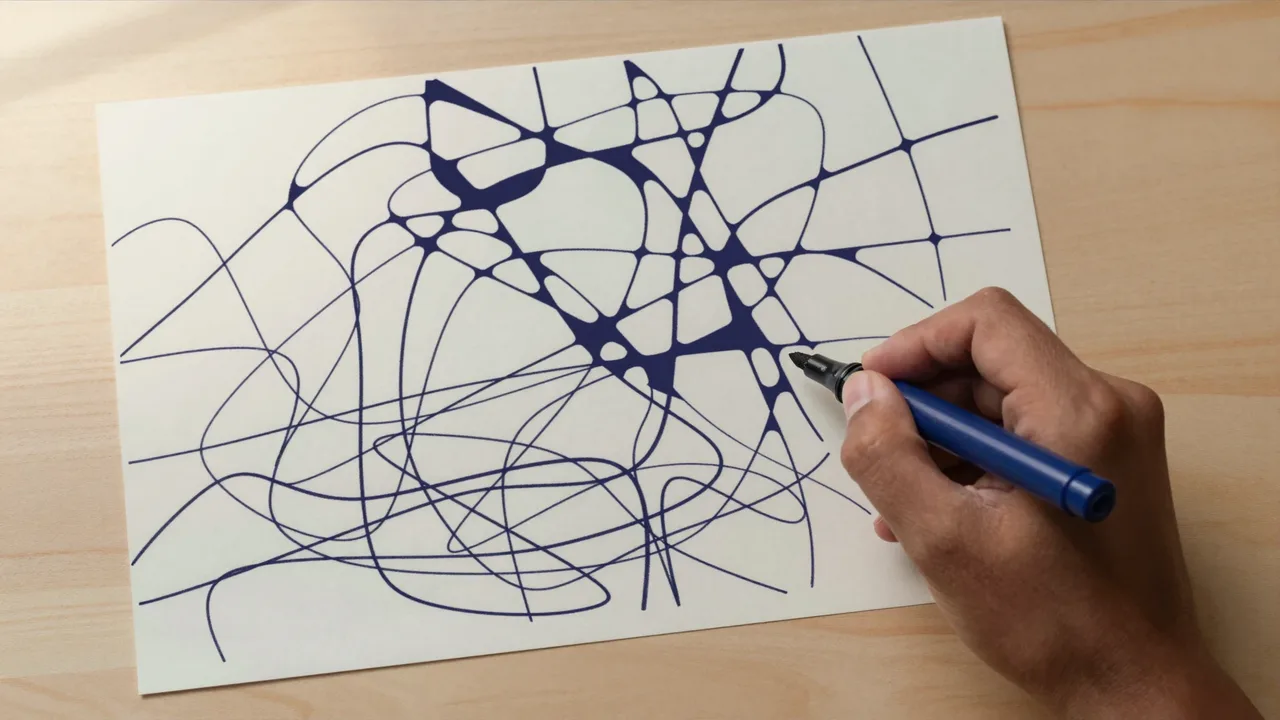
The last lesson was what rounding does. This one is the hand movement, broken down, plus three ready-made sheets to practise it on.
Six steps
1. Find the crossings. Look over the whole sheet before you start anything and see where lines cross. On a full drawing there will be more than you expected, and some of them will be in places you have to hunt for.
2. Size them up. Some are wide and open, some are a pinpoint where two lines barely touch. The wide ones get a curve; the tight ones get filled in. Deciding which is which before the marker is down saves you from a half-curve you then have to rescue.
3. Pick the right tip. Fine for the curves, and a thicker marker for filling if you have one. One marker for everything works — it just means more passes on the filled joints.
4. Draw the curve. Start on one line before the crossing, sweep out into the white paper, come back down onto the other line after it. One movement. Do not draw it in short nervous strokes and do not stop in the middle of the curve — the line is going to show you exactly where you hesitated.
5. Keep one style. Whatever size of curve you settle into, use it across the whole sheet. Consistency is what makes a rounded drawing read as one thing rather than as a collection of attempts from different evenings.
6. Move on. Next crossing. Work across the sheet in some order — left to right, or outward from the middle — rather than hopping to whichever one catches your eye. The order is not sacred; having one is.
The pace
Rounding is slow and it does not get faster by being hurried. A busy sheet can take an hour.
A thing worth knowing in advance: the first ten crossings take real attention, and somewhere after that your hand starts making the curve without being told. That shift is the point of practising on a template rather than on a drawing you care about.
The templates
Three sheets are at the end of this lesson, already drawn, already full of crossings. They are for practice — nothing on them is about you, so there is nothing at stake in them.
Print one. Template one is the sparsest and the place to start; template three is a full page and will take a while.
If you cannot print, copy the shape of one roughly onto your own sheet by eye. It does not need to match.
Your practice
Round one template, completely, in one sitting.
Every crossing on the sheet: curve where there is room, filled where there is not, one consistent style, no corners left behind.
Photograph it and put it in your journal.
In the note: at which crossing did your hand start doing it by itself? Rough number is fine — the tenth, halfway, never. That number is worth having written down, because it will be different on the next sheet.