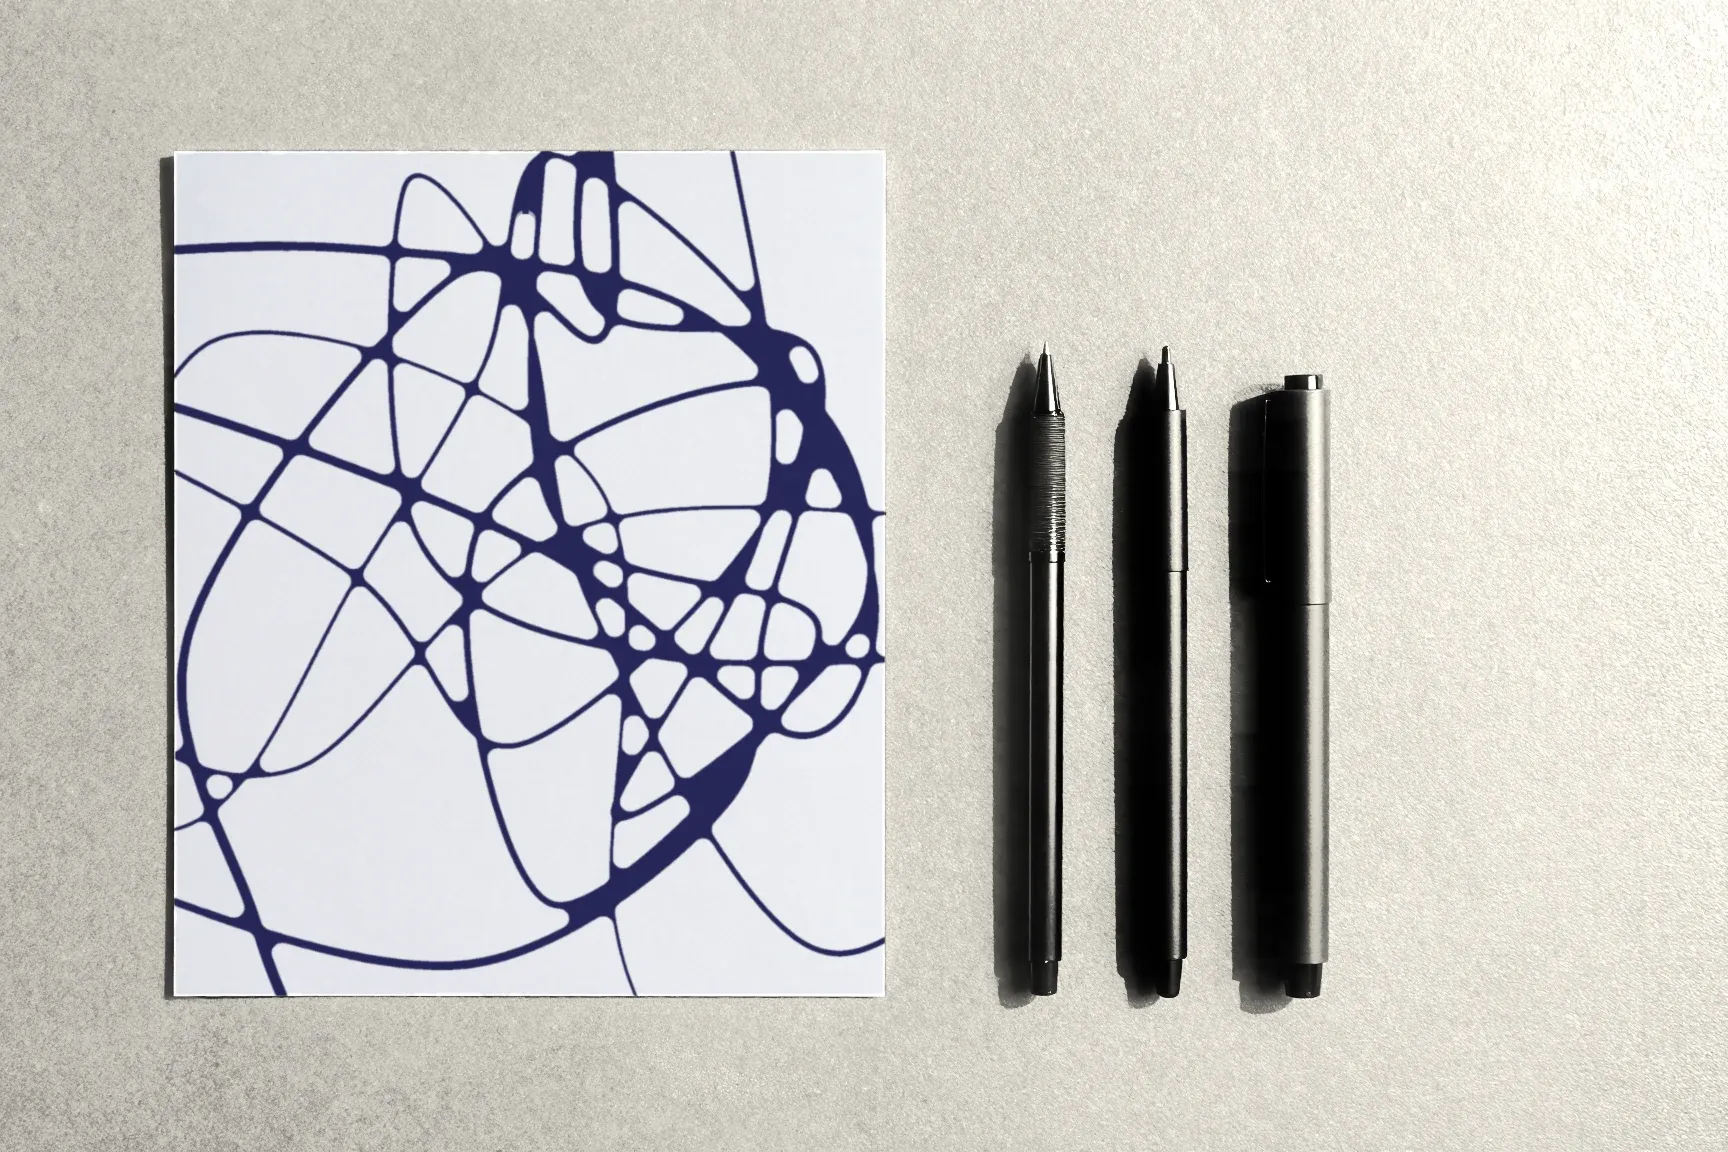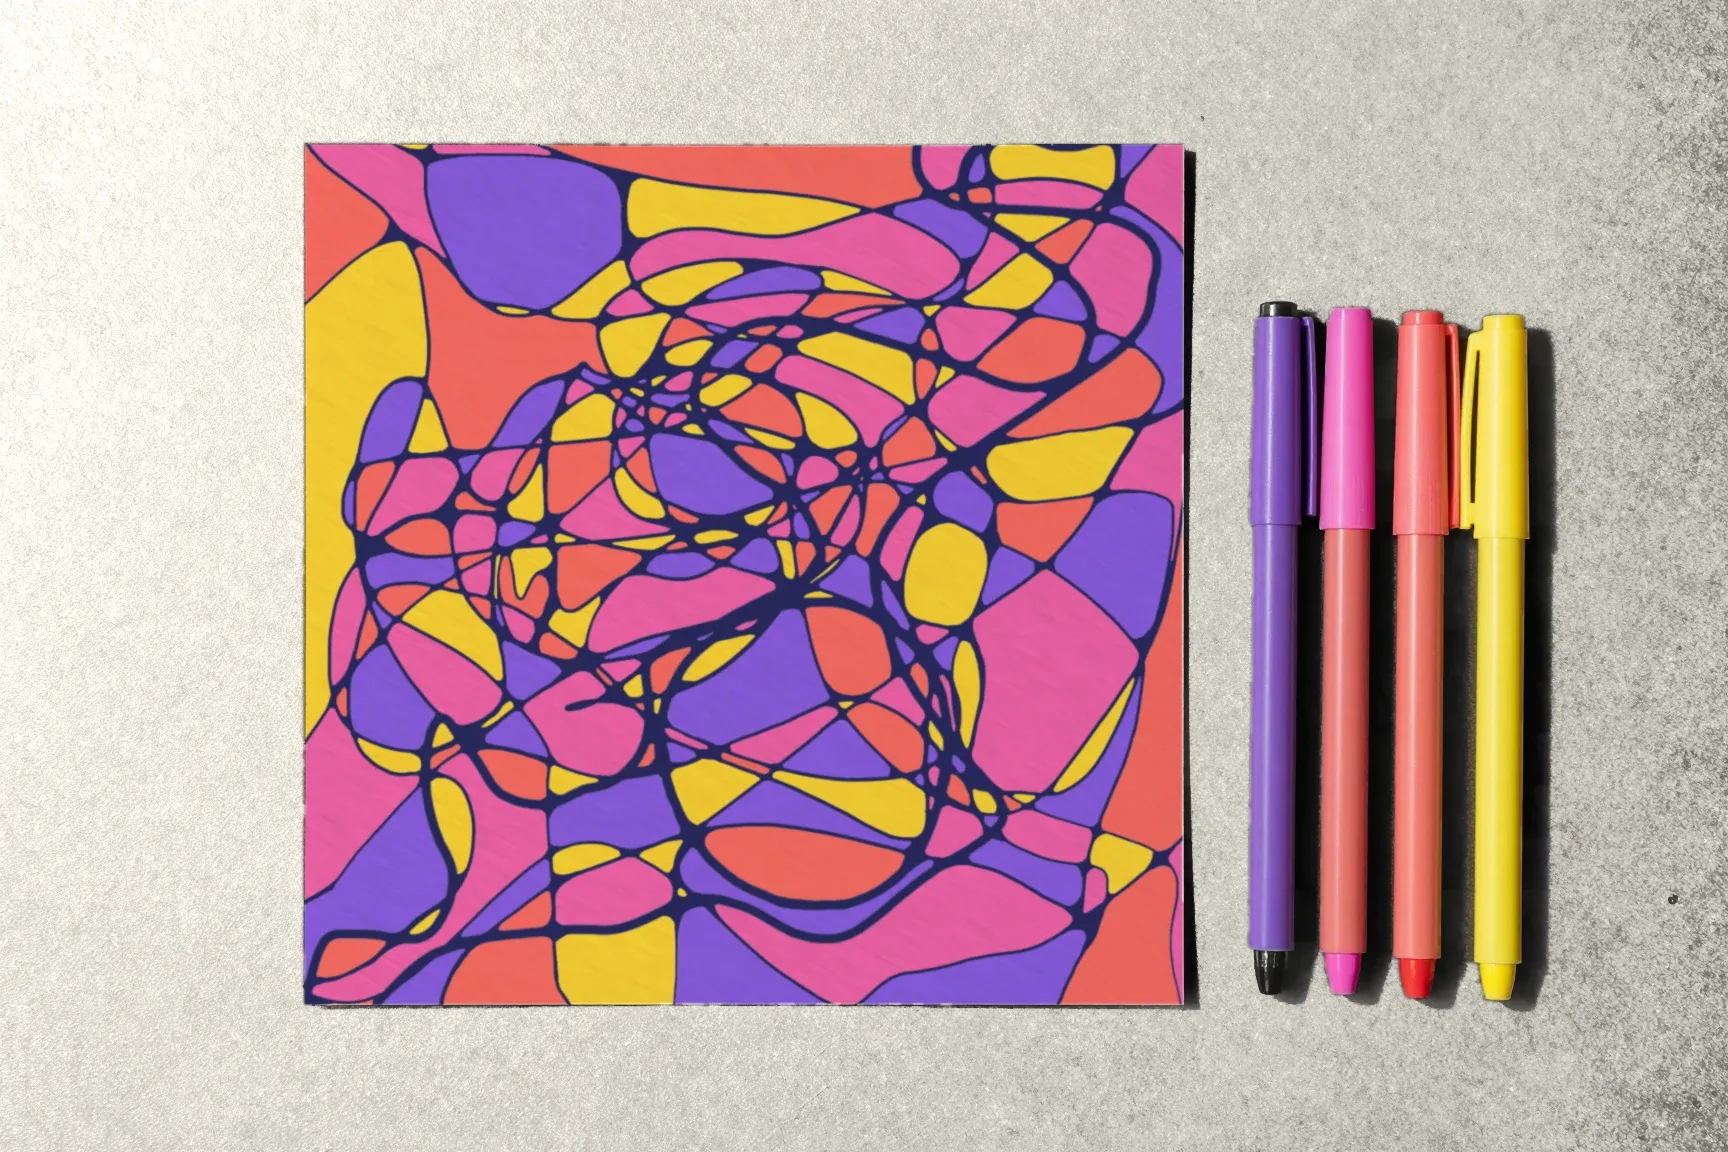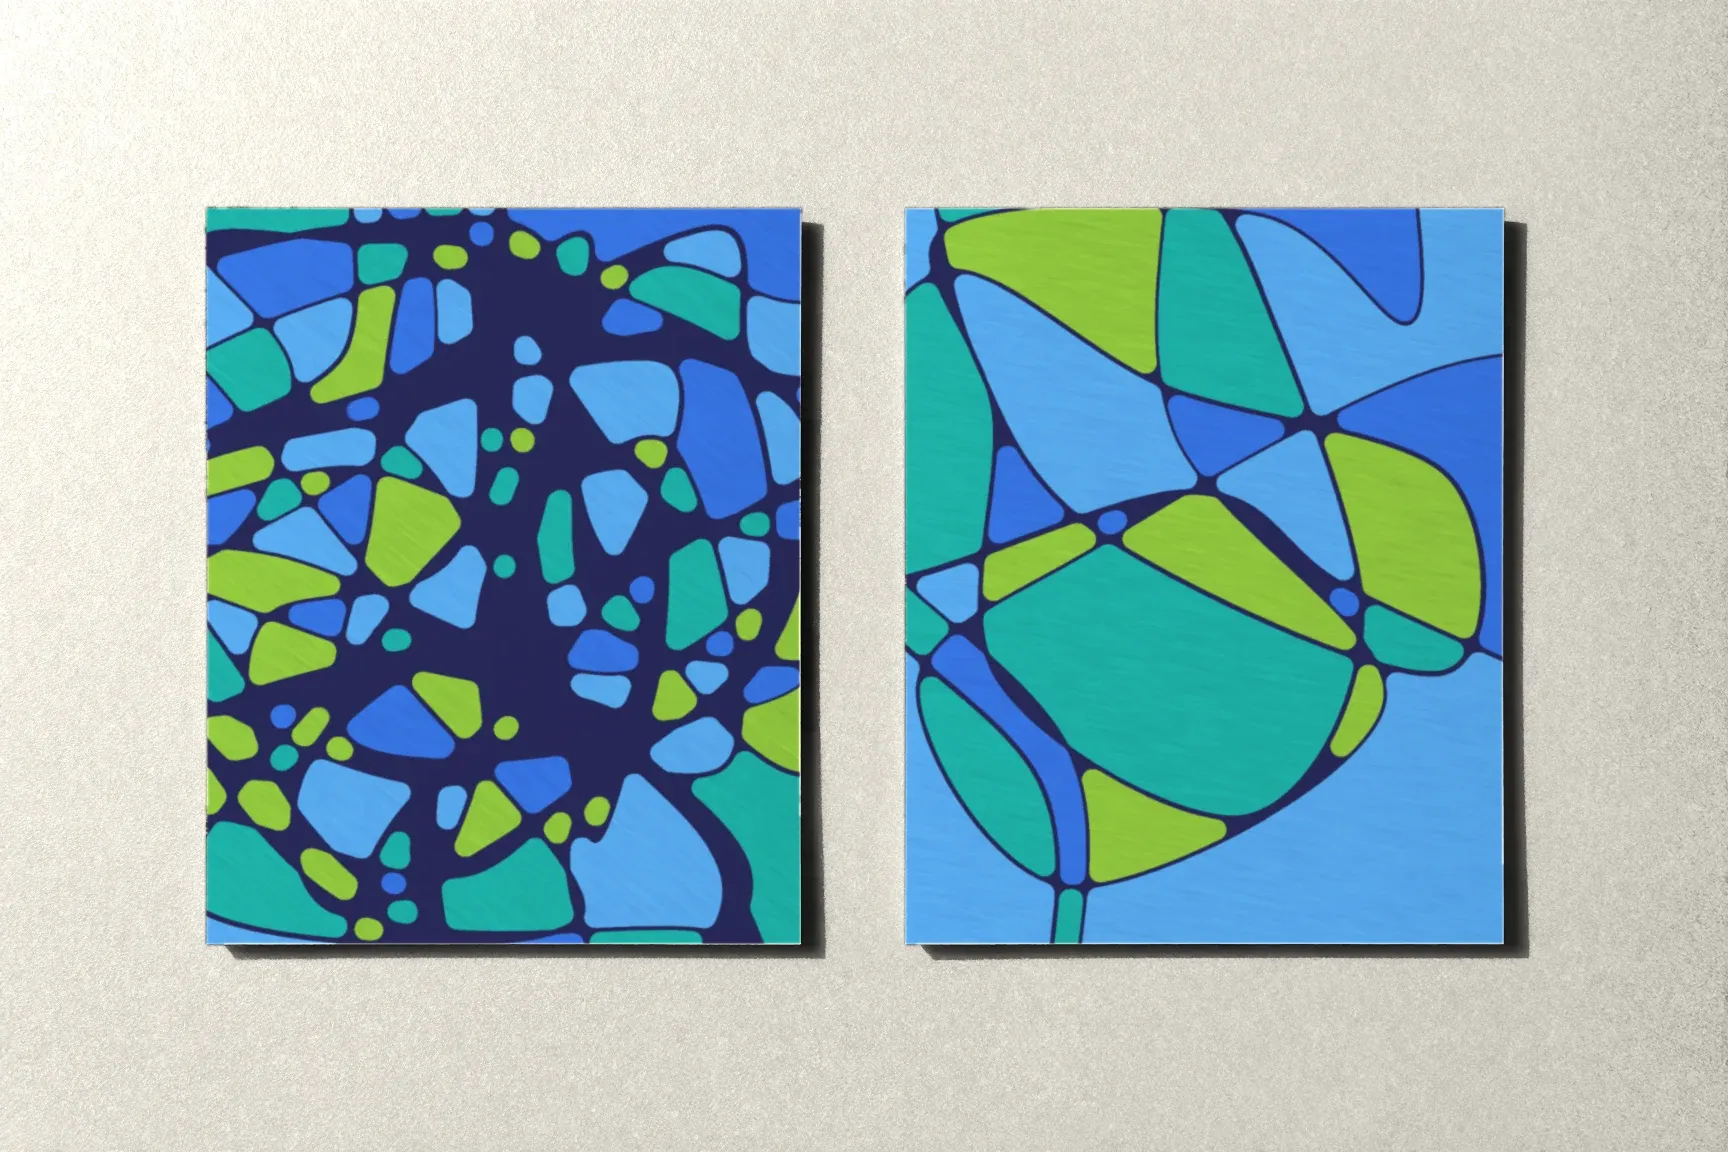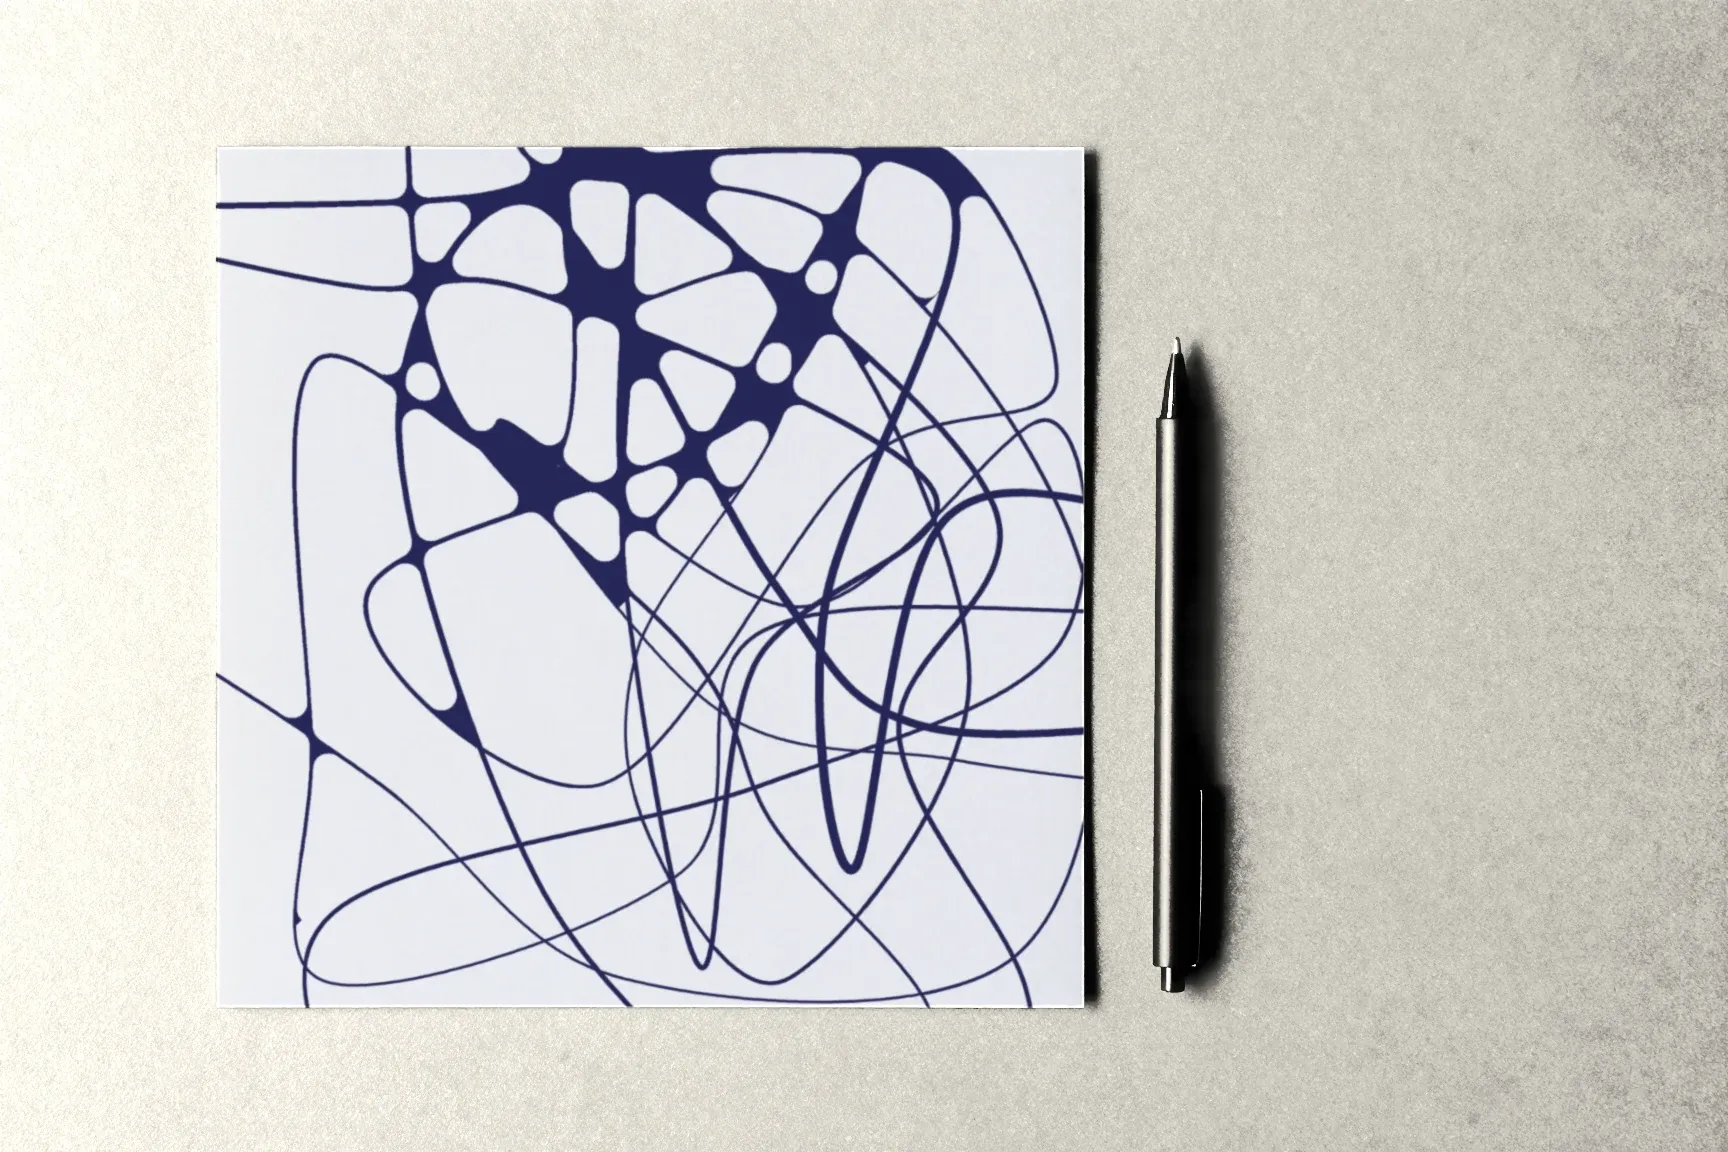
Rounding is the slowest and most important step in transformational drawing. It’s also where your hand trips up most often: curves come out timid, corners get lost, and by the end of the sheet you start to rush. The good news is that almost every mistake can be fixed on the same page.
Here are the seven most common ones and what to do about each. If you haven’t tried rounding yet, start with Rounding the Intersections, Step by Step.
1. A curve that’s too timid
What it looks like: the curve hugs the very tip of the corner, so from a distance the crossing still looks sharp.
Why it happens: your hand is afraid of “ruining” the drawing and adds as little ink as possible.
How to fix it: take the curve farther from the tip, deeper into the open space of the page, and fill in the area it encloses. A sharp corner needs bolder rounding than a wide one. Rounding is easy to enlarge and impossible to shrink, so on your first sheets, err on the side of bold.
2. Missed corners
What it looks like: after the rounding is “done,” sharp corners are still scattered around the page.
Why it happens: in dense areas crossings blur together, and a spot where a line crosses itself is easy to overlook.
How to fix it: round in a set order — top to bottom in bands, or from one edge to the other. When you finish, turn the sheet upside down or step back: missed corners jump right out.
3. Blobs instead of curves
What it looks like: the corners hold drop- or ball-shaped spots that don’t flow into the lines.
Why it happens: the corner gets filled “from the middle,” without an outlining curve, and the fill spreads.
How to fix it: first draw a curve that touches both sides of the corner and blends smoothly into them. Then fill the space between the curve and the tip. An existing blob can be rescued by widening it with a curve that merges gently into the lines on both sides.
4. Only the sharp corners are rounded
What it looks like: the sharp corners of each crossing are smoothed, but the wide and square ones are left as they were.
Why it happens: a wide corner seems “soft enough already.”
How to fix it: round every corner of every crossing. Two crossing lines make four corners, and each needs a curve — the wide ones just a lighter one. Without that, the crossing looks unfinished, like a knot that’s only half tied.
5. A different style in different parts of the page
What it looks like: at the top the curves are deep and confident; at the bottom they’re barely there — or the other way around.
Why it happens: your hand warms up as you go, or it gets tired.
How to fix it: when you’re done, look at the whole sheet and even out the spots that stand out most. It’s usually easier to enlarge timid curves than to shrink bold ones. Next time, round a few crossings on a warm-up sheet so your hand is ready before the main drawing.
6. Rushing at the end
What it looks like: the last crossings are rounded unevenly, with shaky curves and ink spilling past the corner.
Why it happens: fatigue, and wanting to finish already.
How to fix it: take a short break, even a few minutes, then come back. If the rush happens drawing after drawing, draw fewer lines: fewer crossings, less work. The course suggests finishing the rounding the same day, so it’s better to plan the sheet around the time you have than to stop halfway.
7. The wrong pen
What it looks like: with a fine pen, rounding takes forever and comes out streaky; with a pen that’s too thick, small crossings flood into solid blots.
Why it happens: one pen is doing both the lines and the rounding.
How to fix it: use two. A bolder one — a 0.8 mm fineliner or a brush marker — for most corners, and a fine one for the smallest crossings. Just make sure both inks are the same black. More on choosing pens in What You Need to Start Drawing.
When something has already gone wrong
Rounding forgives nearly everything. Extra ink becomes part of the joint, and a clumsy curve can be widened, with the neighboring corners evened out to match. Don’t try to erase or paint over anything: correction fluid on ink is more noticeable than the mistake itself.
And if you really don’t like a sheet, set it aside and start a new one. Comparing your first drawings with later ones is one of the most interesting parts of the practice.
How to practice
The best trainer is the set of templates in the Neurojournal course: sheets with the lines already drawn and the corners still sharp. On them you can work on curve depth, the order you go in, and switching between two pens, without thinking about composition.
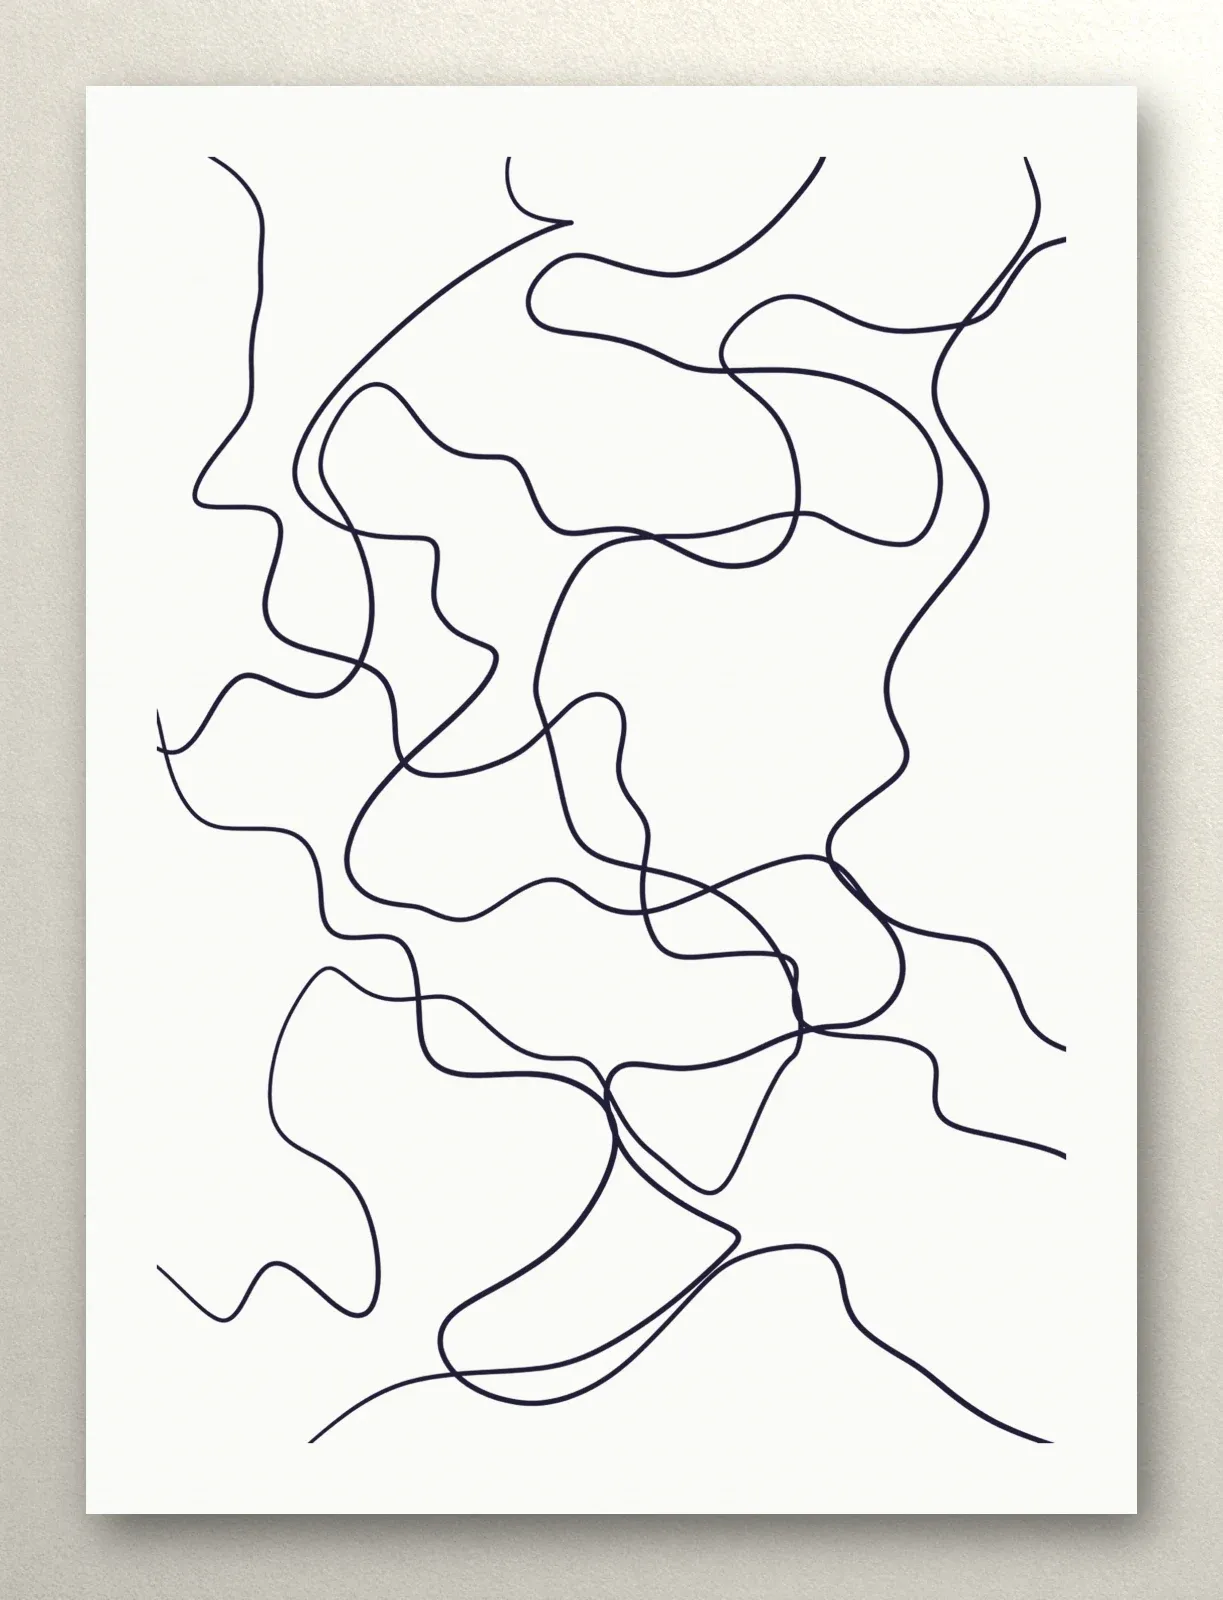
The templates are in the rounding lesson of “The alphabet” module. The first module of the course, “Getting started,” is open without an account — start there.