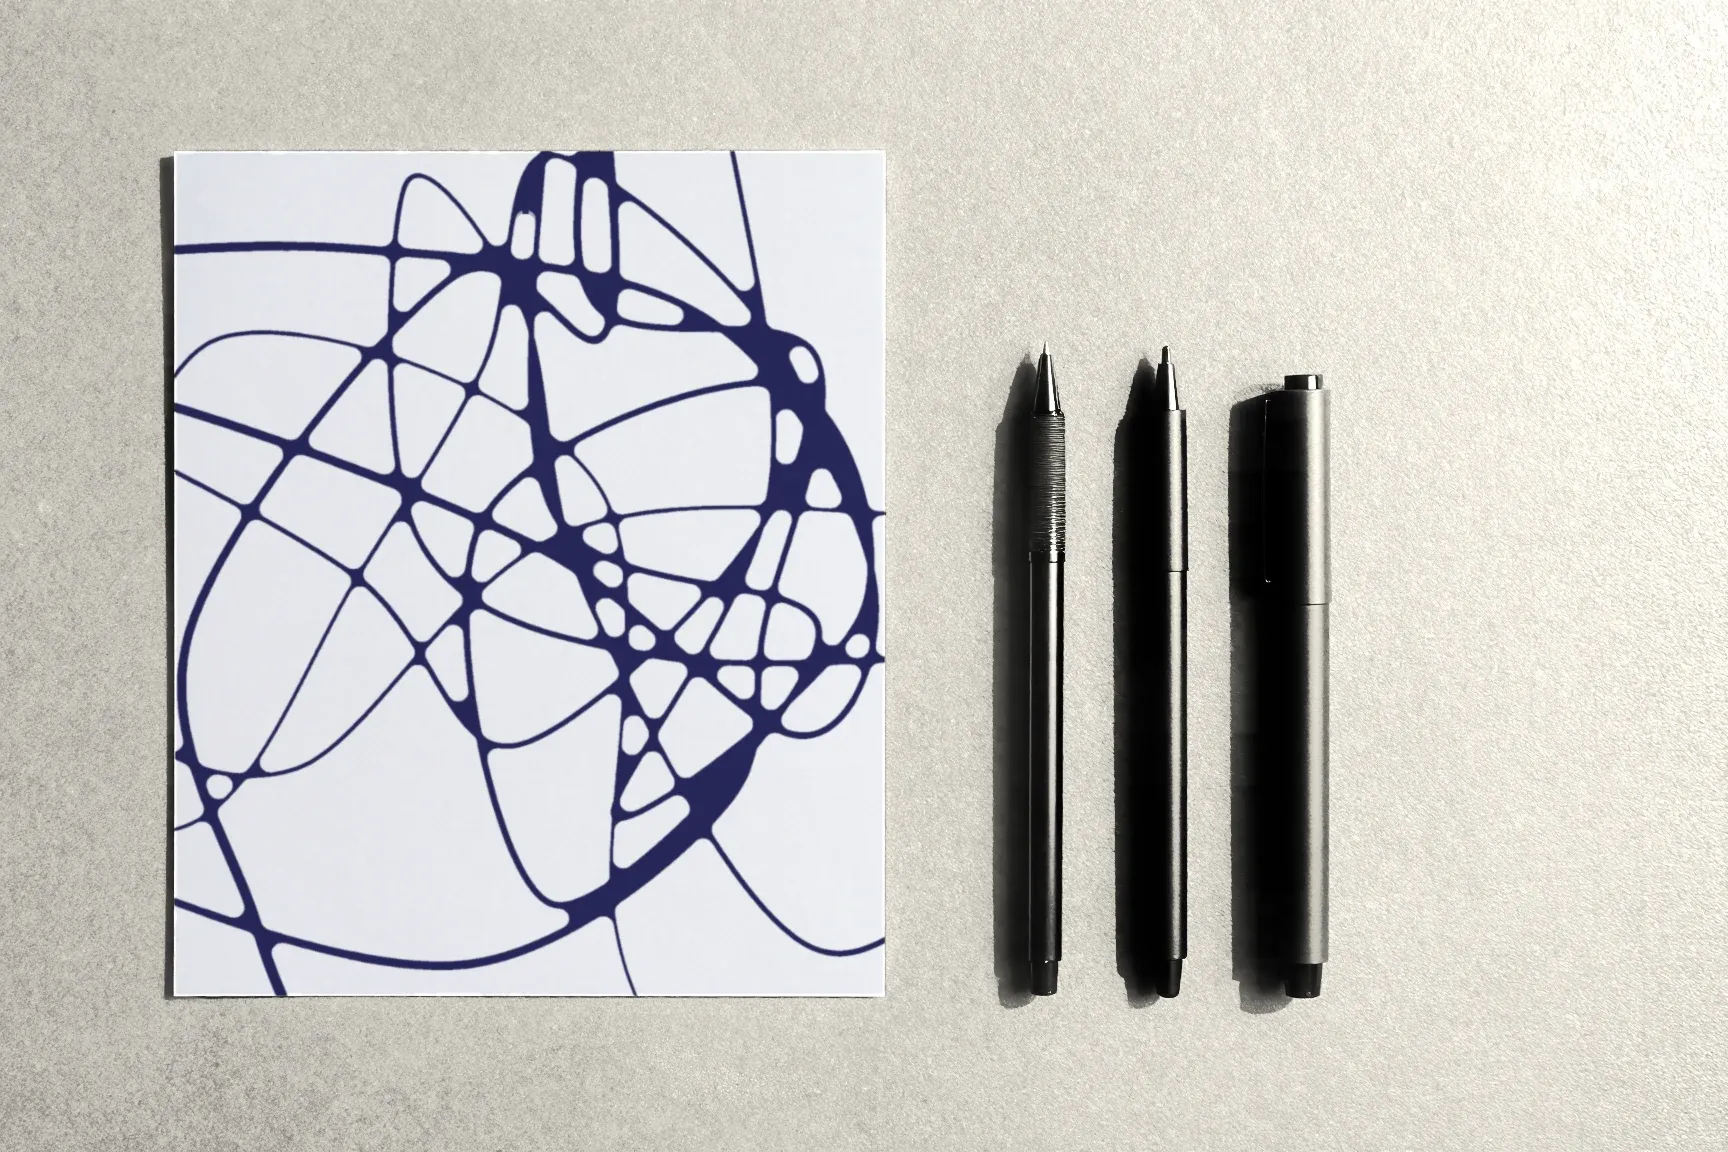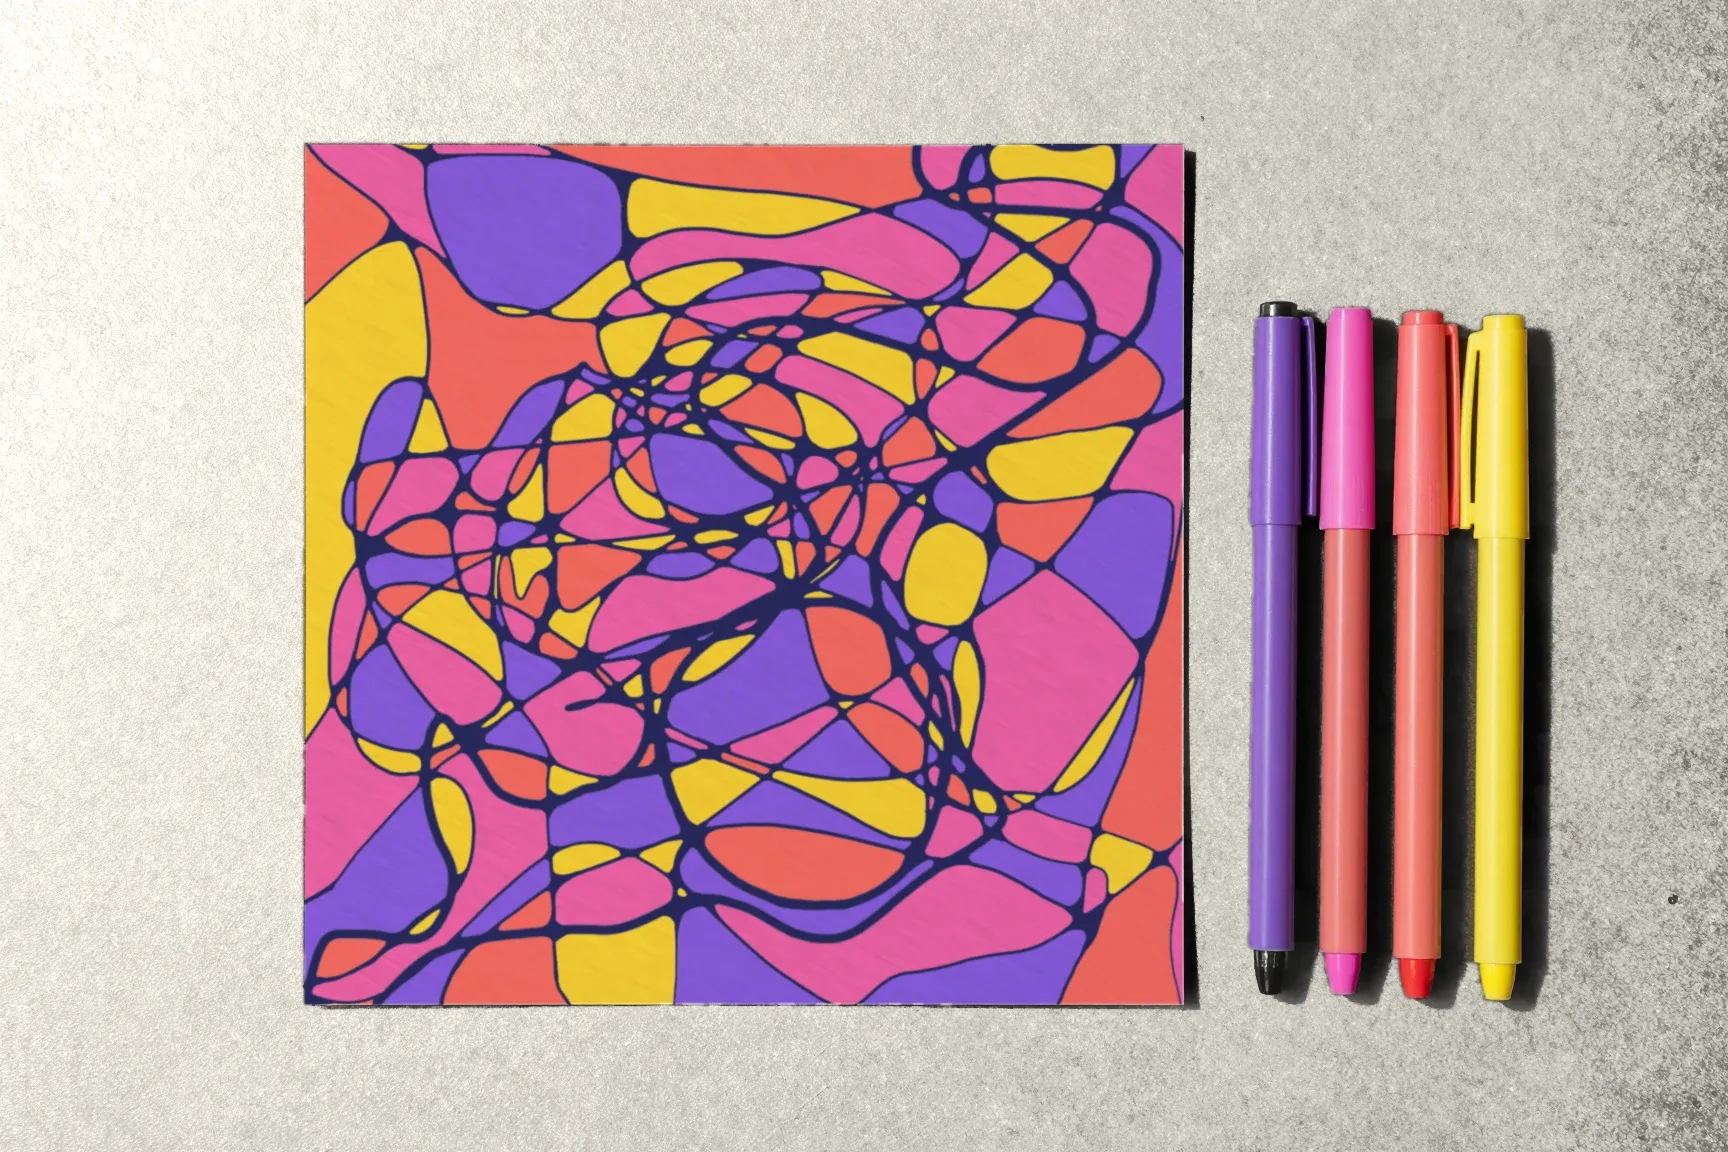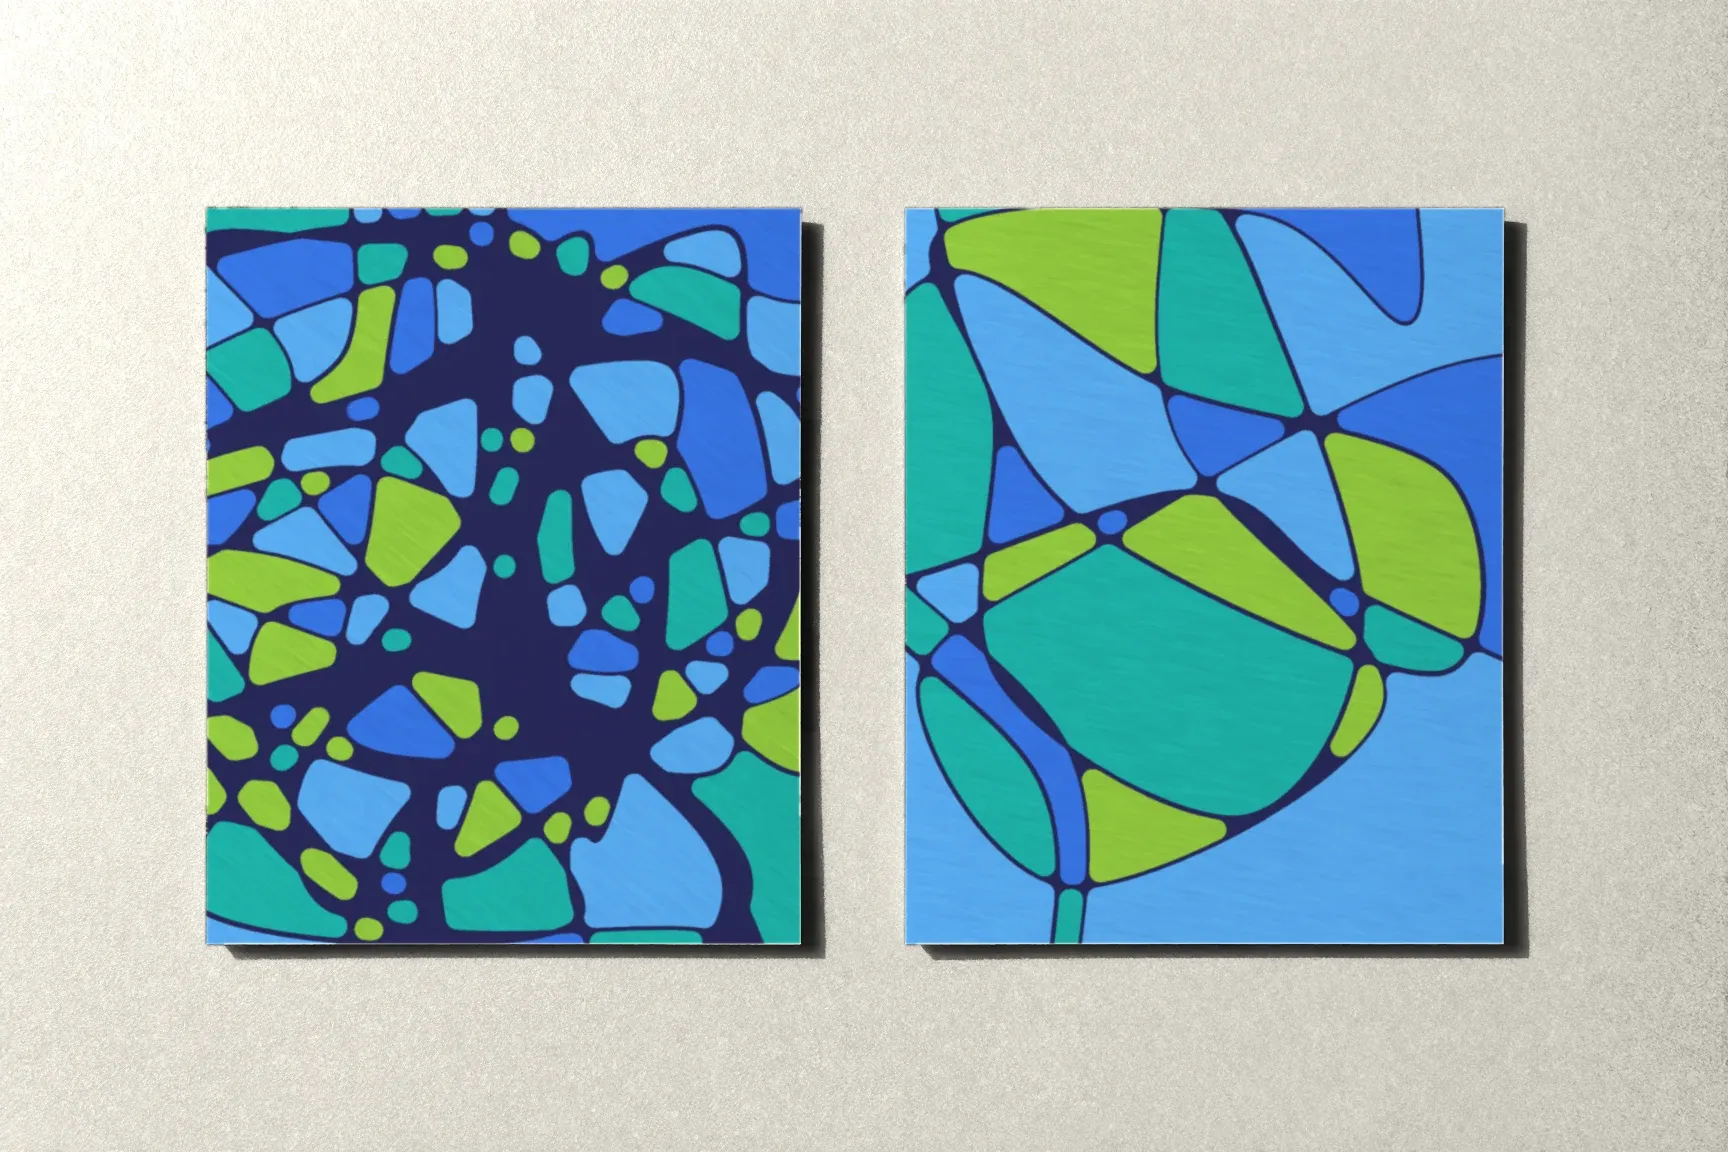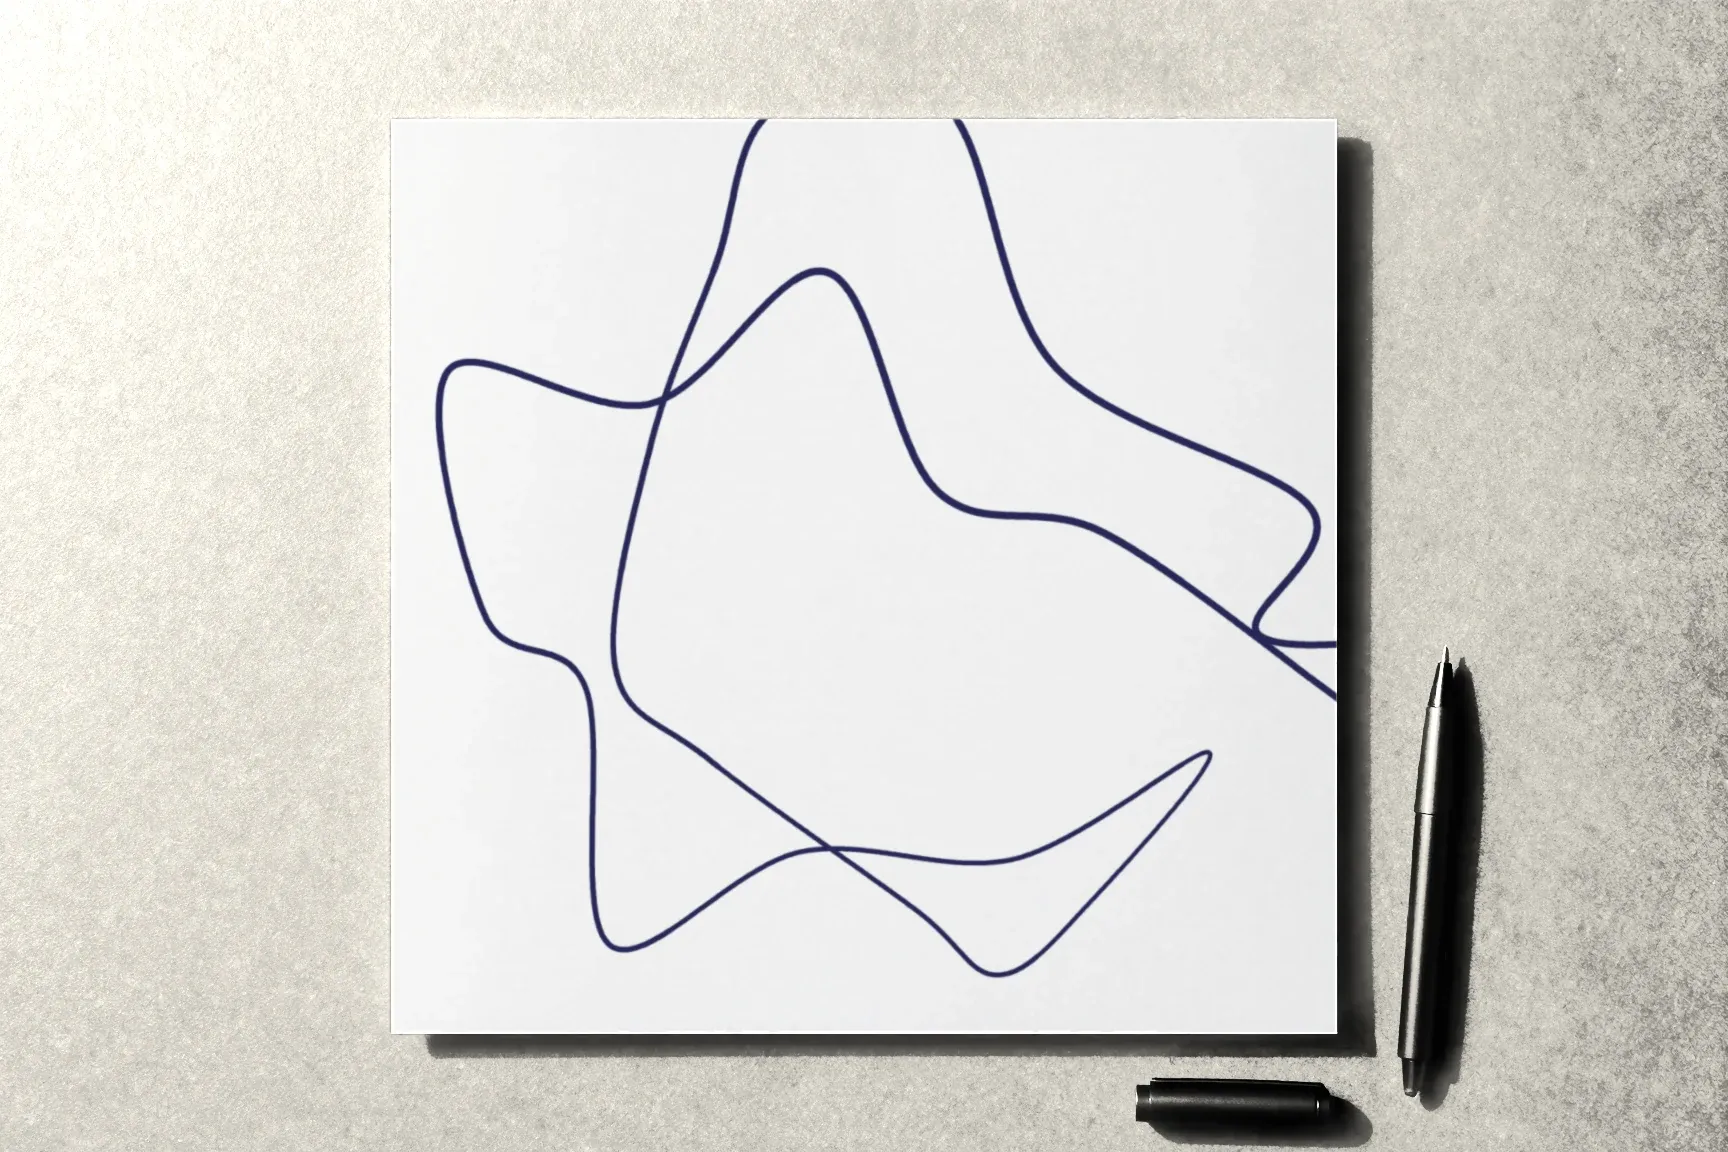
Everything in transformational drawing starts with the line. It decides how many crossings you’ll have, how the rounding will turn out, and what the finished drawing looks like. Drawing the “right” line is both easy and hard: it takes no skill at all, yet your hand keeps trying to draw something familiar.
This article covers what the line should look like, how it differs from an ordinary wave, how to hold the pen, and a few exercises that help the line loosen up.
What the line should be like
The line in this technique is usually described in a few words: smooth, organic, unpredictable. It starts from a point and keeps going without lifting the pen. Along the way it changes direction — a wide curve, then a small one, then an unexpected turn. It crosses itself and other lines, and each stretch of it is a little different from the last.
The key property is that the line doesn’t repeat itself. When several curves in a row look the same, your hand has slipped into autopilot and is drawing a pattern it already knows. Getting away from that is exactly what the technique asks of you.
Yes and no: four lines side by side
In its lesson on the line, the course shows four examples. Three are marked with a cross, one with a check.
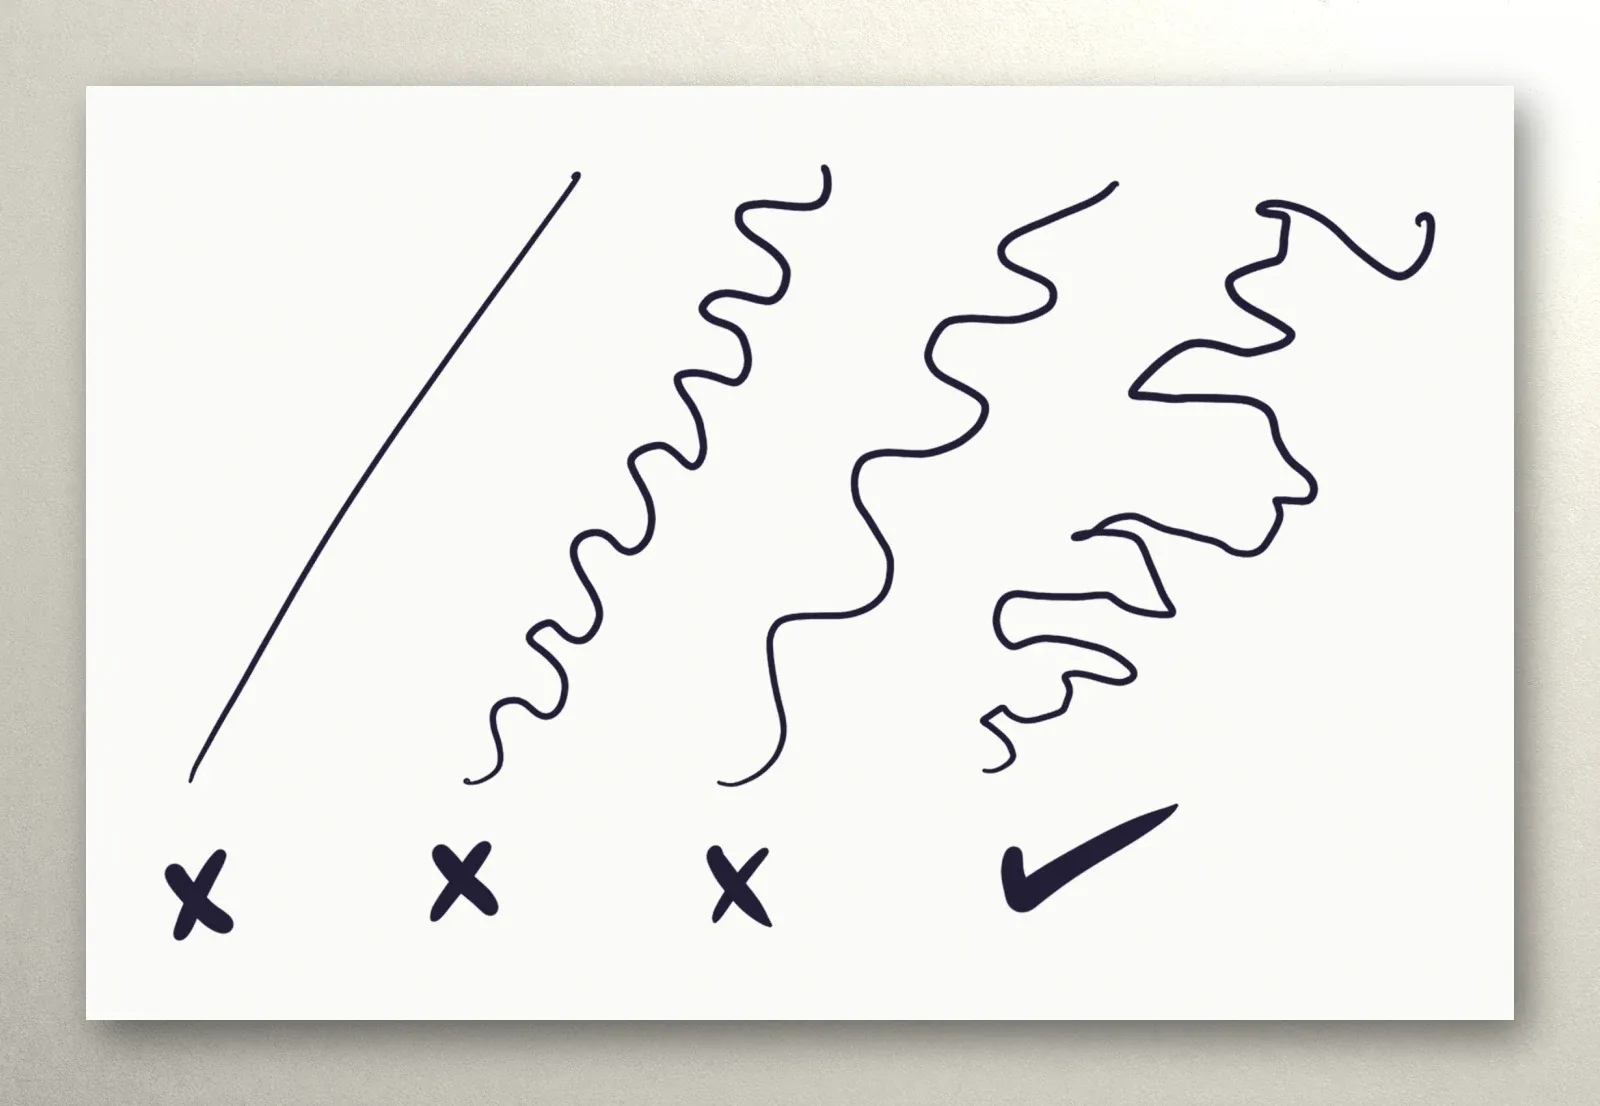
- A straight line — no. There’s not a single turn; the hand simply travels from one point to another.
- A small, even wave — no. The curves are identical, as if the hand were tracing a familiar pattern.
- A large, even wave — also no, for the same reason: a different size, the same rhythm.
- An uneven line with turns of different sizes — yes. Each stretch is a little different, and there’s no predicting the next turn.
Notice that the right line isn’t necessarily “pretty.” It can be clumsy, with abrupt angles or long, drawn-out arcs. What counts isn’t beauty but the fact that your hand decides afresh every time.
How to hold the pen
- Loosely. Hold the pen as you would for writing, but without effort. If your fingertips turn white, you’re gripping too hard.
- Move from the elbow, not just the wrist. A long line across the page comes out smoother when your whole arm moves. The wrist takes over for small turns.
- Turn the paper. If the line is heading somewhere awkward, rotate the sheet instead of twisting your arm.
- Go slow or medium. A fast line almost always becomes an even wave: at speed, the hand repeats what it knows.
Where to start and where to stop
You can start the line from a dot anywhere on the page. For a first drawing, though, it’s easier to start and end it off the edge of the paper. Put the pen down near one edge, take the line across the whole space, and let it leave through the opposite or a neighboring edge. That way the sheet fills evenly and the line doesn’t stop in the middle. Later on, in the algorithms, lines that run across the whole sheet like this get a name of their own: general lines.
Three to five such lines are plenty for a first drawing on a letter-size sheet. Leave room between them: in the next step you’ll round every crossing, and a web that’s too dense won’t leave space for it.
Four exercises for a freer line
Each of these takes a few minutes and makes a good warm-up on a separate sheet.
- One line, one minute. Draw a single line across the whole page in exactly one minute — no faster. The slow pace forces your hand to choose a direction every time.
- Break the repeat. As you draw, every time you notice the curves becoming alike, sharply change the direction or the size of the next curve.
- Invisible obstacles. Imagine a few stones scattered on the page and steer the line around them — sometimes close, sometimes wide, sometimes doubling back.
- The other hand. Draw a line with the hand you don’t write with. It doesn’t know your usual moves, so the line comes out naturally uneven. Then compare it with a line from your dominant hand.
Common snags
The line turned into a wave again. This happens most often. Slow down, and at each curve decide what the next one will be: bigger, smaller, sharper.
The line avoids crossing. Hands instinctively steer around what’s already on the page. Let the line cross itself and the lines next to it — crossings are the raw material for the next step.
The line became a knot. If the line keeps circling in one spot, the sheet fills unevenly. Keep it traveling across the whole space and save tight knots for separate exercises.
Your hand shakes. A shake adds unevenness, and unevenness isn’t a flaw here. If it bothers you, try a slightly slower pace or a thicker pen.
What comes next
Once the lines are down, rounding begins: every sharp corner where lines cross gets smoothed, and the drawing changes. There’s a short description of how it works in What Is Transformational Drawing?, and a plan for a whole first session in How to Start Drawing as an Adult.
The Neurojournal course gives the line a lesson of its own in “The alphabet” module, with yes-and-no examples and an exercise for your own sheet. The first module, “Getting started,” is open without an account — you can begin there.