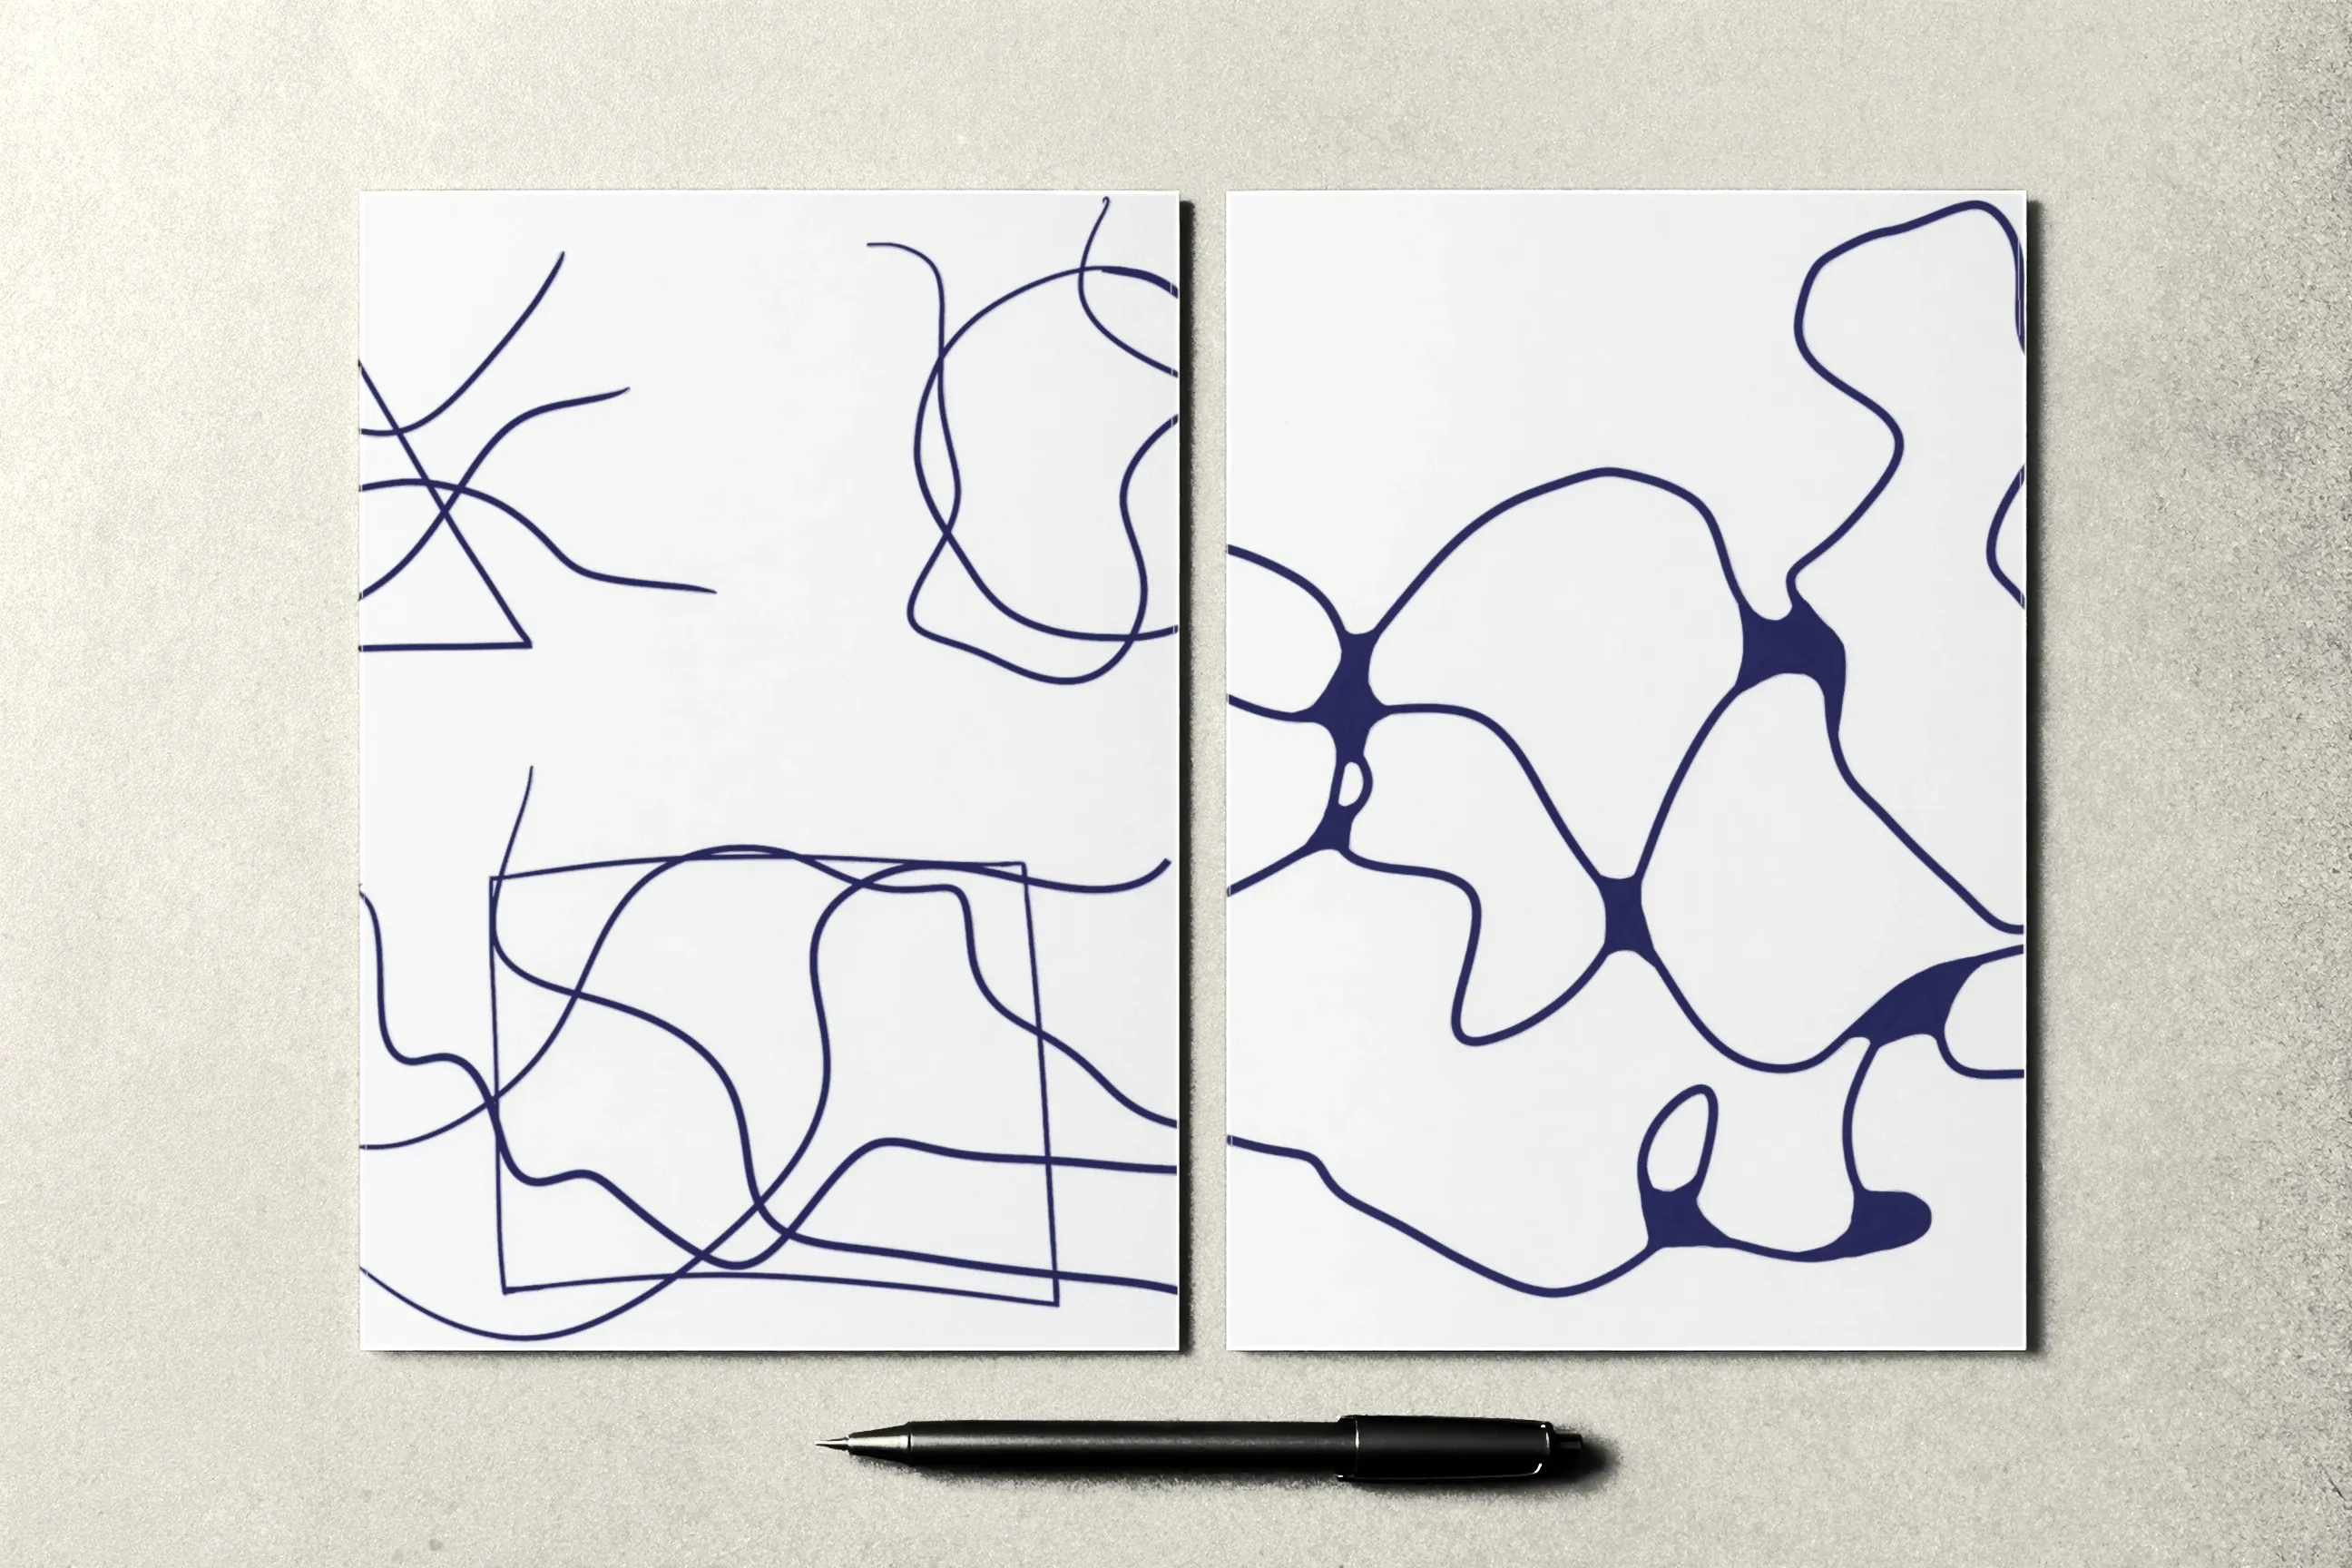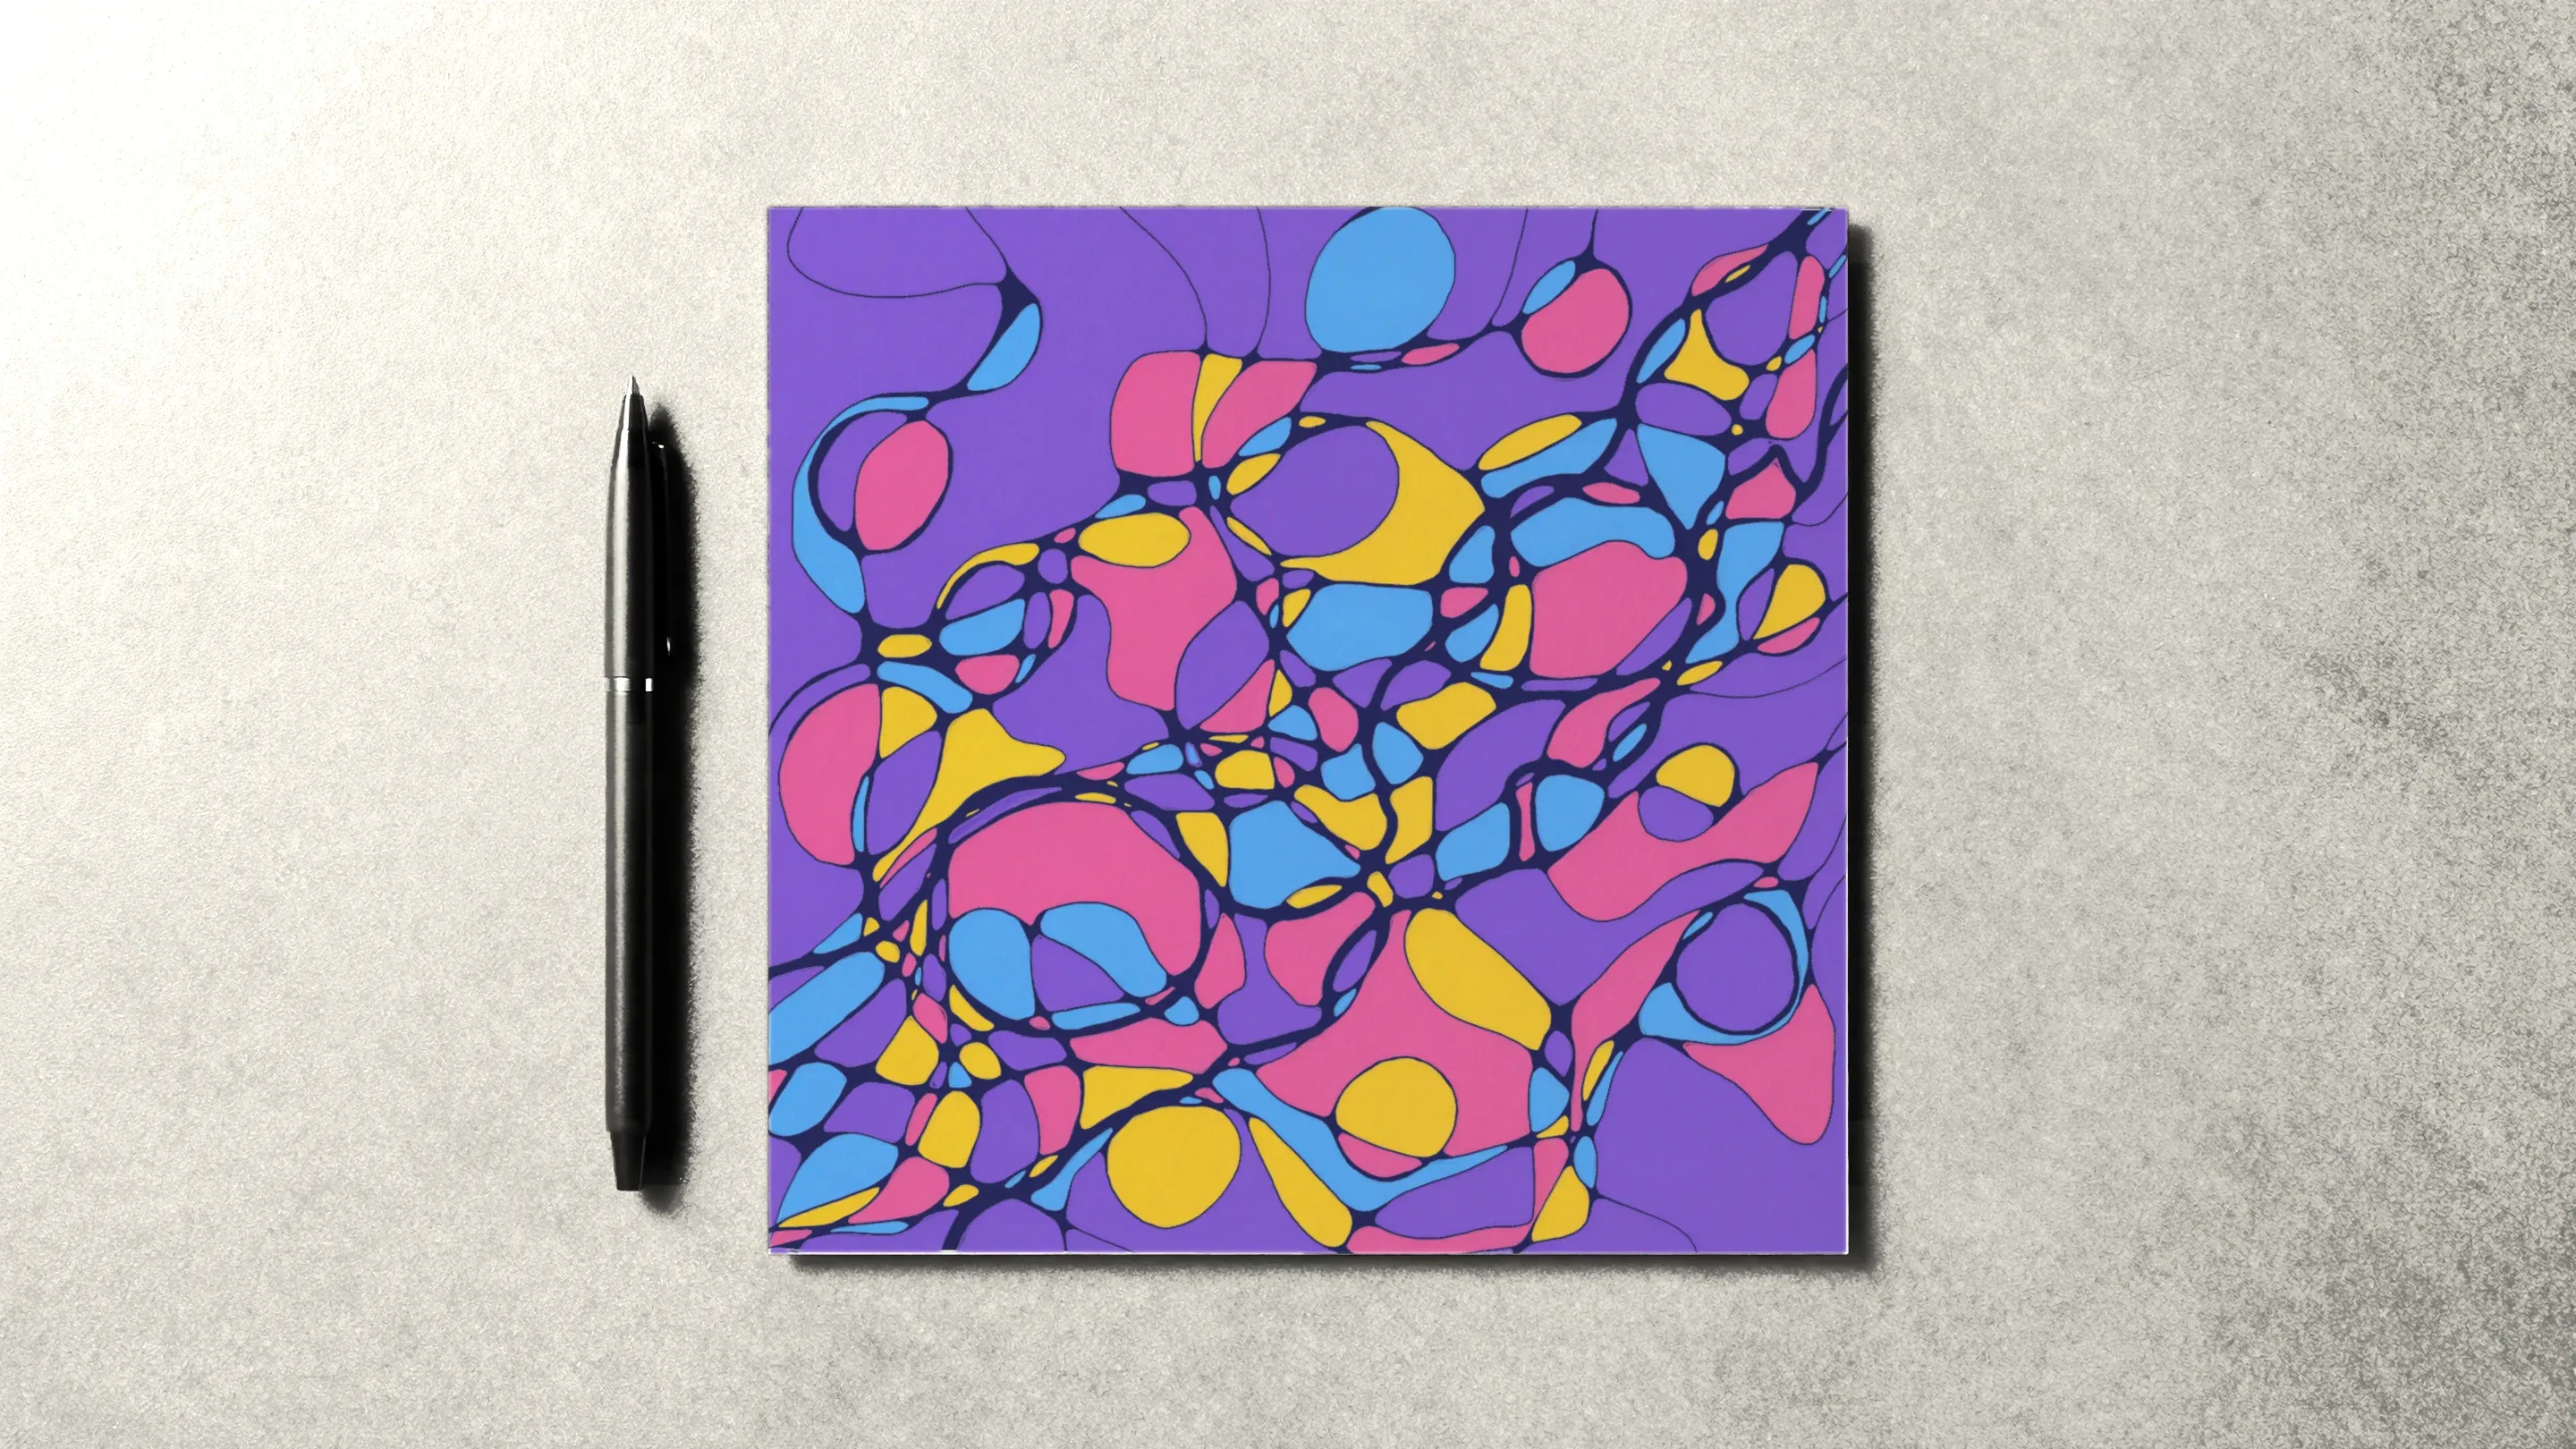
Transformational drawing is a way of drawing that needs no plan and no art training. You let a free line wander across a sheet of paper, round off every spot where the lines cross, and then, if you feel like it, fill the shapes with color. You don’t have to make anything look like anything. There is no sketch to copy and no wrong result — just a sheet, a pen, and a few simple moves that you repeat from drawing to drawing.
This guide walks through what the technique is made of, what you do at each step, what supplies you need, and what a first session looks like.
Where the name comes from
The name describes what happens on the paper. You start with a tangle of lines crossing at sharp angles. Then, one crossing at a time, you smooth every corner — and the same drawing turns into a soft, almost sculpted pattern. The lines themselves stay where they are; only the places where they meet change.
That change is the heart of the technique. Everything else — shapes, color, the step-by-step algorithms — is built around it.
Step one: the line
Every drawing starts with a single line. Put your pen down anywhere on the page and keep it moving without deciding where it will go next. Let it change direction on its own: wide curves, tight turns, sudden switchbacks. Let it cross itself and run off the edge of the paper.
What matters is that the line is unpredictable. A straight line, an even wave, or a row of identical loops doesn’t work here — your hand draws those on autopilot, from a pattern it already knows. You’re after a line that keeps surprising you a little: a short arc here, a long sweep there, an abrupt reversal after that.
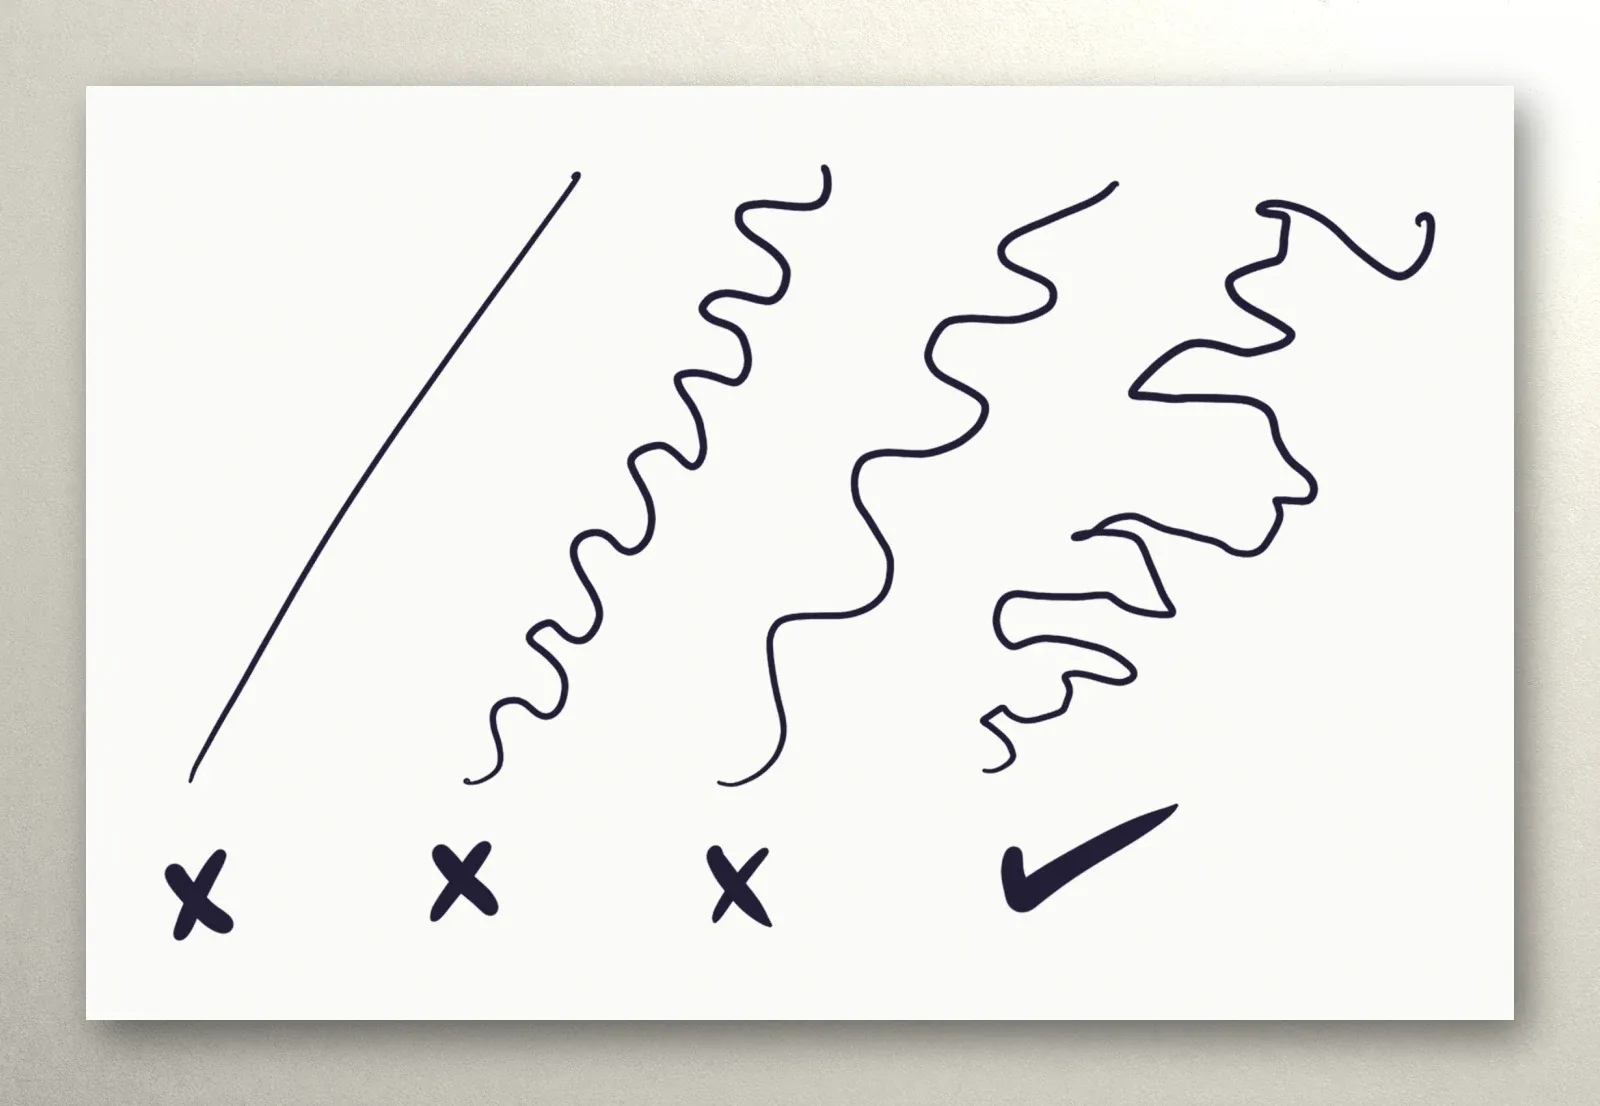
Most sheets end up with three to five of these lines, each running from edge to edge. Together they form a web with dozens of crossings, and every crossing has sharp corners. Those corners are what the next step is for.
Step two: rounding
Rounding is the main step of the technique. You go to each crossing and soften its corners: fill the corner in with ink so the two lines meet in a smooth curve instead of a point. A wide angle gets a generous curve; a narrow one gets a gentler touch. If a crossing is tiny and your pen is thick, simply fill it in completely.
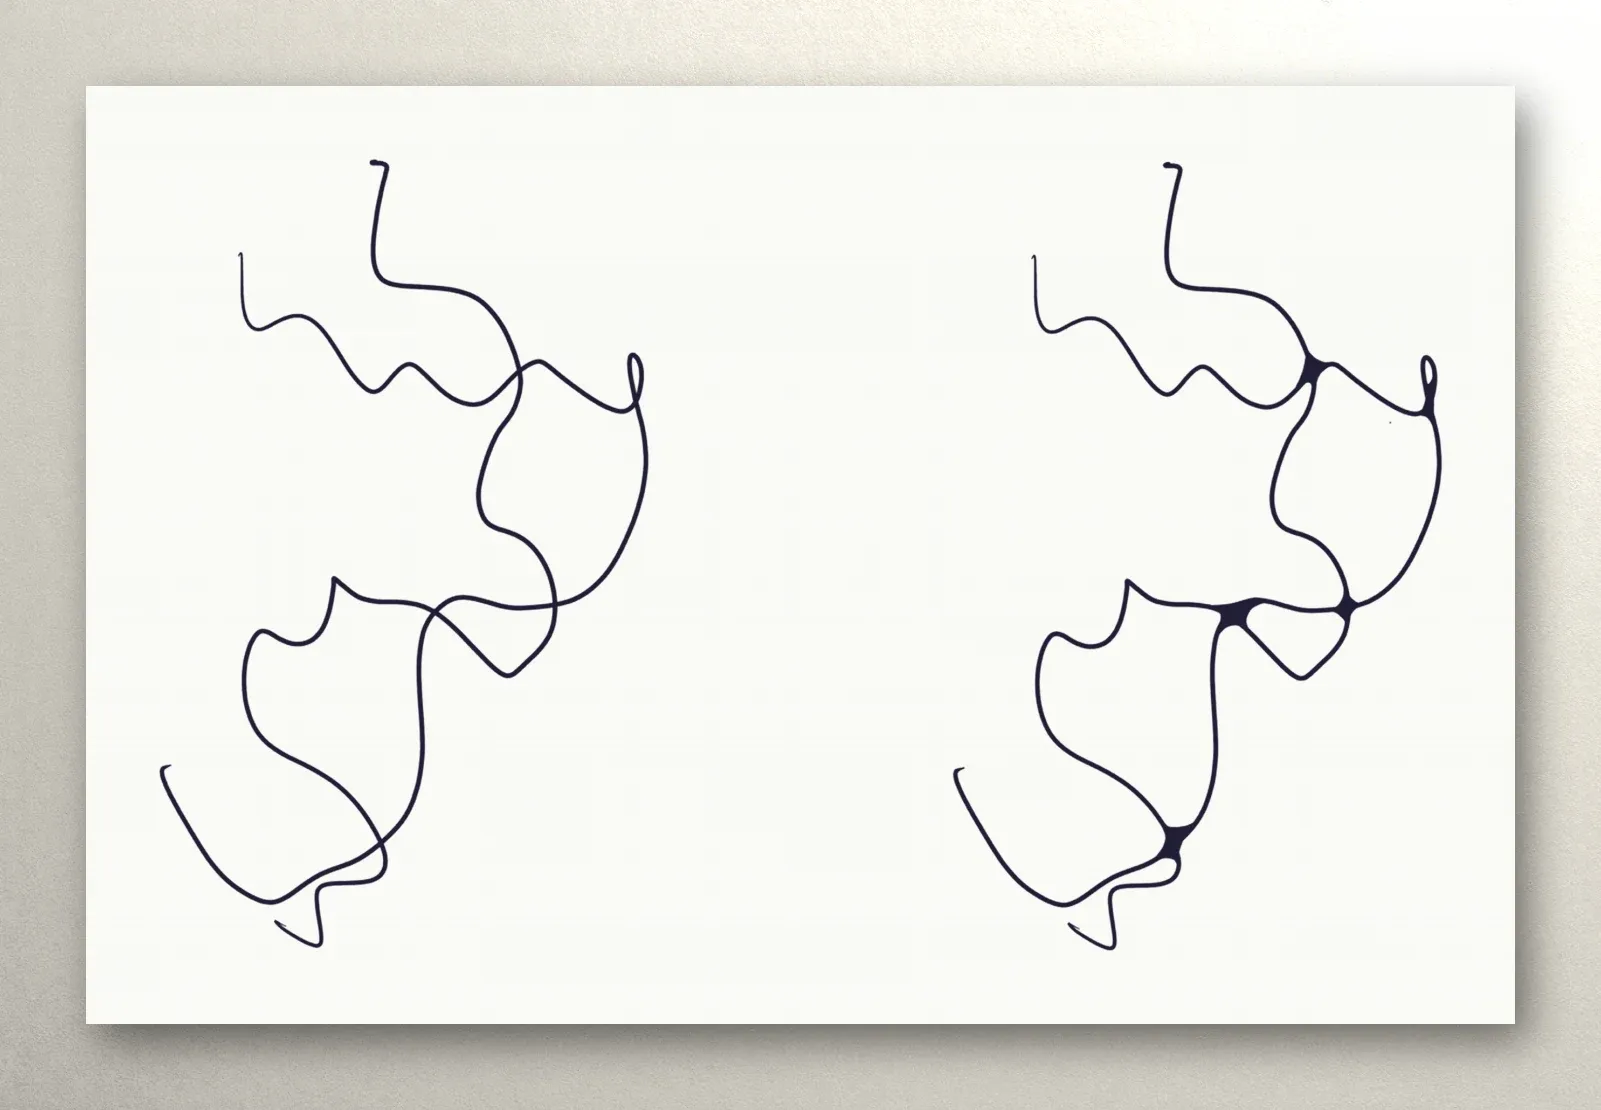
After rounding, the drawing looks different. The spiky web becomes a network of smooth joints, and the lines seem to flow into one another.
This step takes longer than drawing the lines, and that’s fine. It’s slow, careful work, one crossing after another. The course suggests not leaving a drawing with its corners sharp: finish the rounding on the same day you start.
Step three: color
The third step is optional. The lines divide the page into cells, and you can fill them with markers, felt-tip pens, or colored pencils. Some people use two or three related colors; others reach for the whole box. It helps to give neighboring cells different colors so each shape reads on its own.
A black-and-white drawing is finished too. Color is one more way to spend time with the drawing, not a requirement.
Shapes and algorithms
Once the three steps feel familiar, you can add shapes to the lines: a circle, a triangle, a square. You draw them into the composition, connect them to the rest of the page with lines, and round the new crossings the same way. What a shape means is up to you — the technique has no dictionary that decides for you.
The next level is algorithms: fixed sequences of steps where every action has its place. For example: a sharp tangle of lines, rounding, new lines around it, rounding, a circle, rounding, and finally a few long lines across the whole sheet. In an algorithm you don’t decide what to do next — you follow the steps. The Neurojournal course includes three of them, each nine to ten steps long.
Who it’s for
- People who have always wanted to draw but stopped at “I can’t draw.” Here you start with a single line, not a still life.
- People looking for time away from screens. The drawing happens on paper; your phone is only for reading the lesson and taking a photo of the sheet.
- People who like making things by hand — slowly, at their own pace, with something real on the table at the end.
- People curious about the technique itself: how a chaotic set of lines turns, step by step, into a coherent pattern.
Age, experience, and “talent” don’t matter. Nobody grades the drawing, and there’s no model to compare it to.
What you need
- Paper. Plain printer paper (US Letter or A4) is enough to start. Heavier paper handles markers better and doesn’t bleed through.
- A black pen or fineliner. Two thicknesses are handy: a finer one for the lines and a bolder one for rounding.
- Colored markers or pencils, if you want to do the third step.
That’s the whole kit — no tablet, no easel, nothing expensive. For more detail, see What You Need to Start Drawing.
What a session looks like
- Set up. A table, daylight or a good lamp, paper, and a pen. Plenty of people put on some quiet music.
- Draw the lines. Three to five free lines across the whole sheet, edge to edge.
- Round the crossings. One after another, without hurrying. Working from top to bottom makes it easy not to miss any.
- Add color, if you want to.
- Look at the drawing. Write down a few words: what you drew, where you lingered, what you noticed. A photo of the sheet with those words, and the session is saved.
Your first drawing may take anywhere from half an hour to an hour, most of it spent rounding. With practice your hand gets steadier, and you decide how much time to give each sheet.
Common questions
Do I need to know how to draw? No. The technique doesn’t involve sketching, perspective, or color theory. If you can hold a pen, you can do it.
How many lines should I draw? Enough to fill the page while leaving room between the lines for rounding. For a first drawing, three to five.
What if I don’t like how it turned out? That happens, and it’s normal. You can keep going — add a line, round the new crossings, add color. Or leave it as it is and start a new sheet; comparing drawings later is half the fun.
Is this therapy? No. Transformational drawing at Neurojournal is a drawing technique you learn on your own, lesson by lesson. The course doesn’t treat anything and isn’t a substitute for professional care. If you need support, please talk to a doctor or a licensed mental health professional.
How to try it
The simplest way is to grab a sheet of paper and follow the three steps above. If you’d rather be guided lesson by lesson, the first module of the Neurojournal course, “Getting started,” is open without an account: start with the first lesson. After it comes “The alphabet” — the line, rounding, shapes, colors, and tools, with diagrams and printable practice sheets. And for a gentle plan for your first evening with the technique, read How to Start Drawing as an Adult.