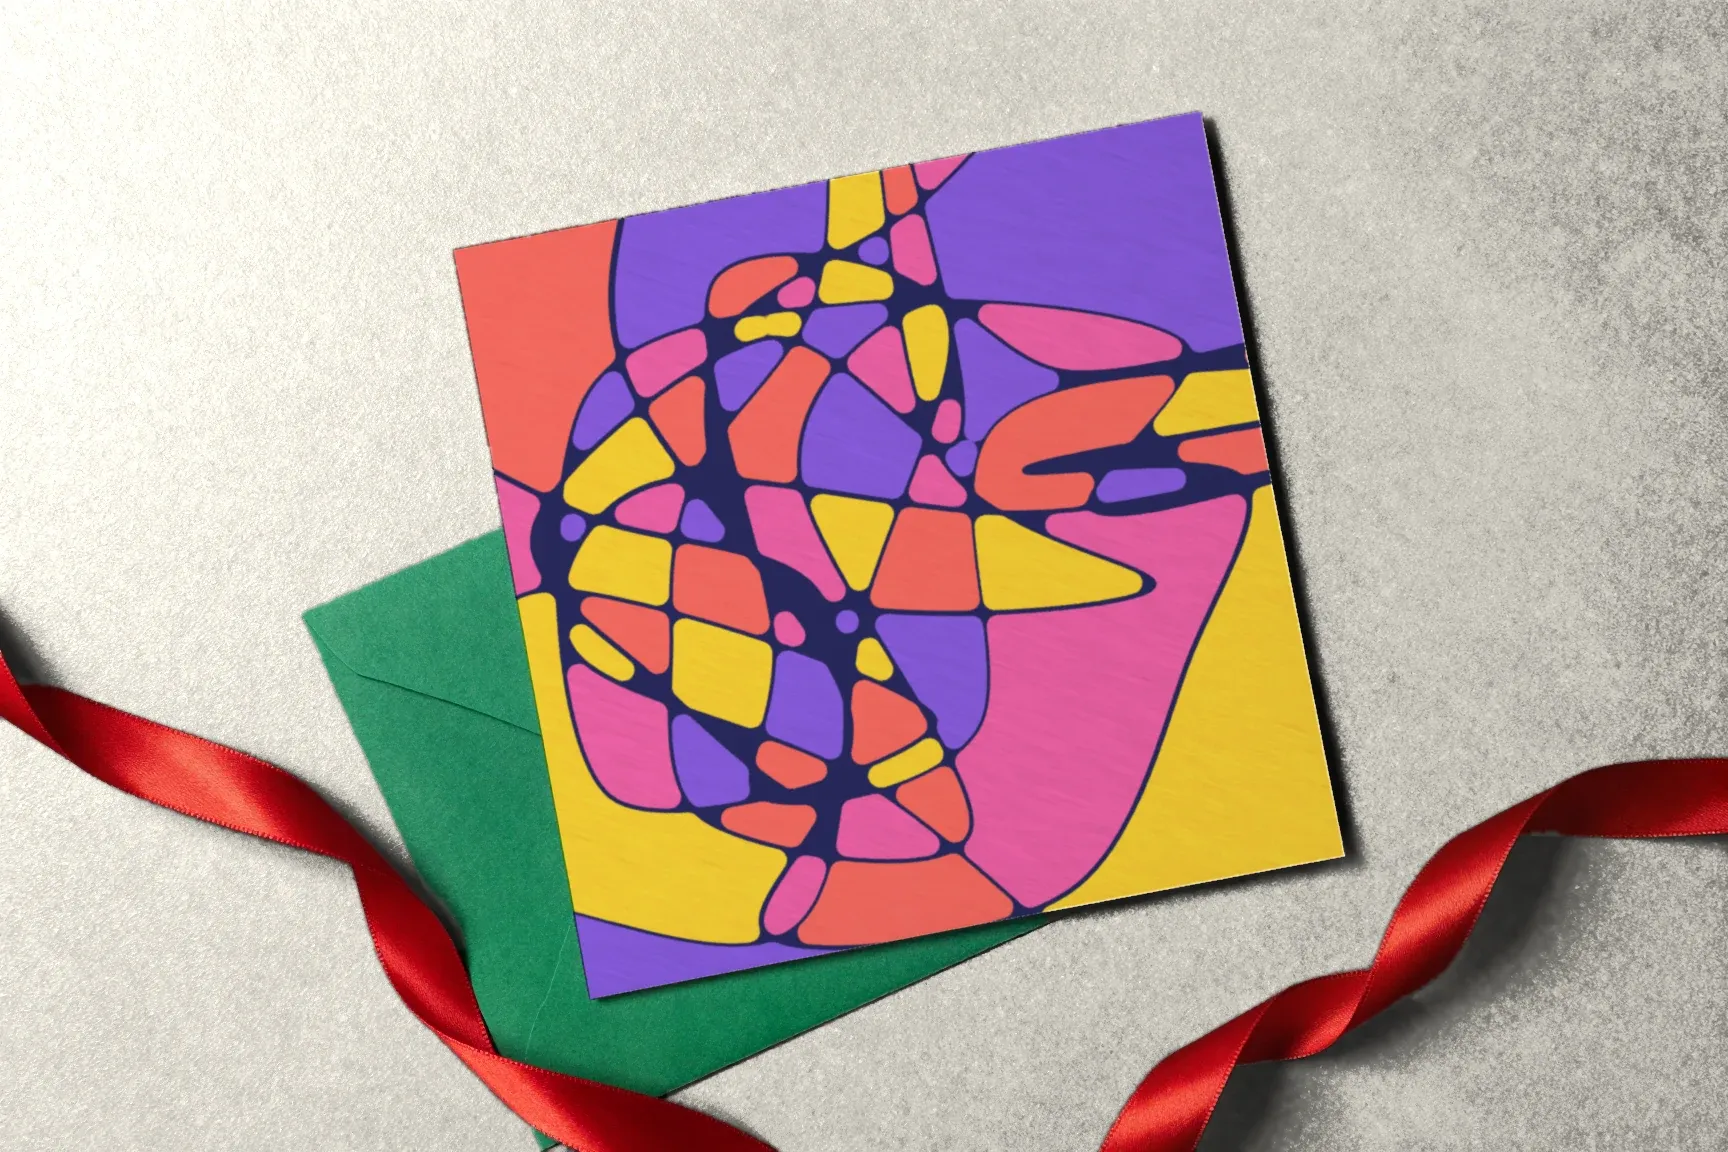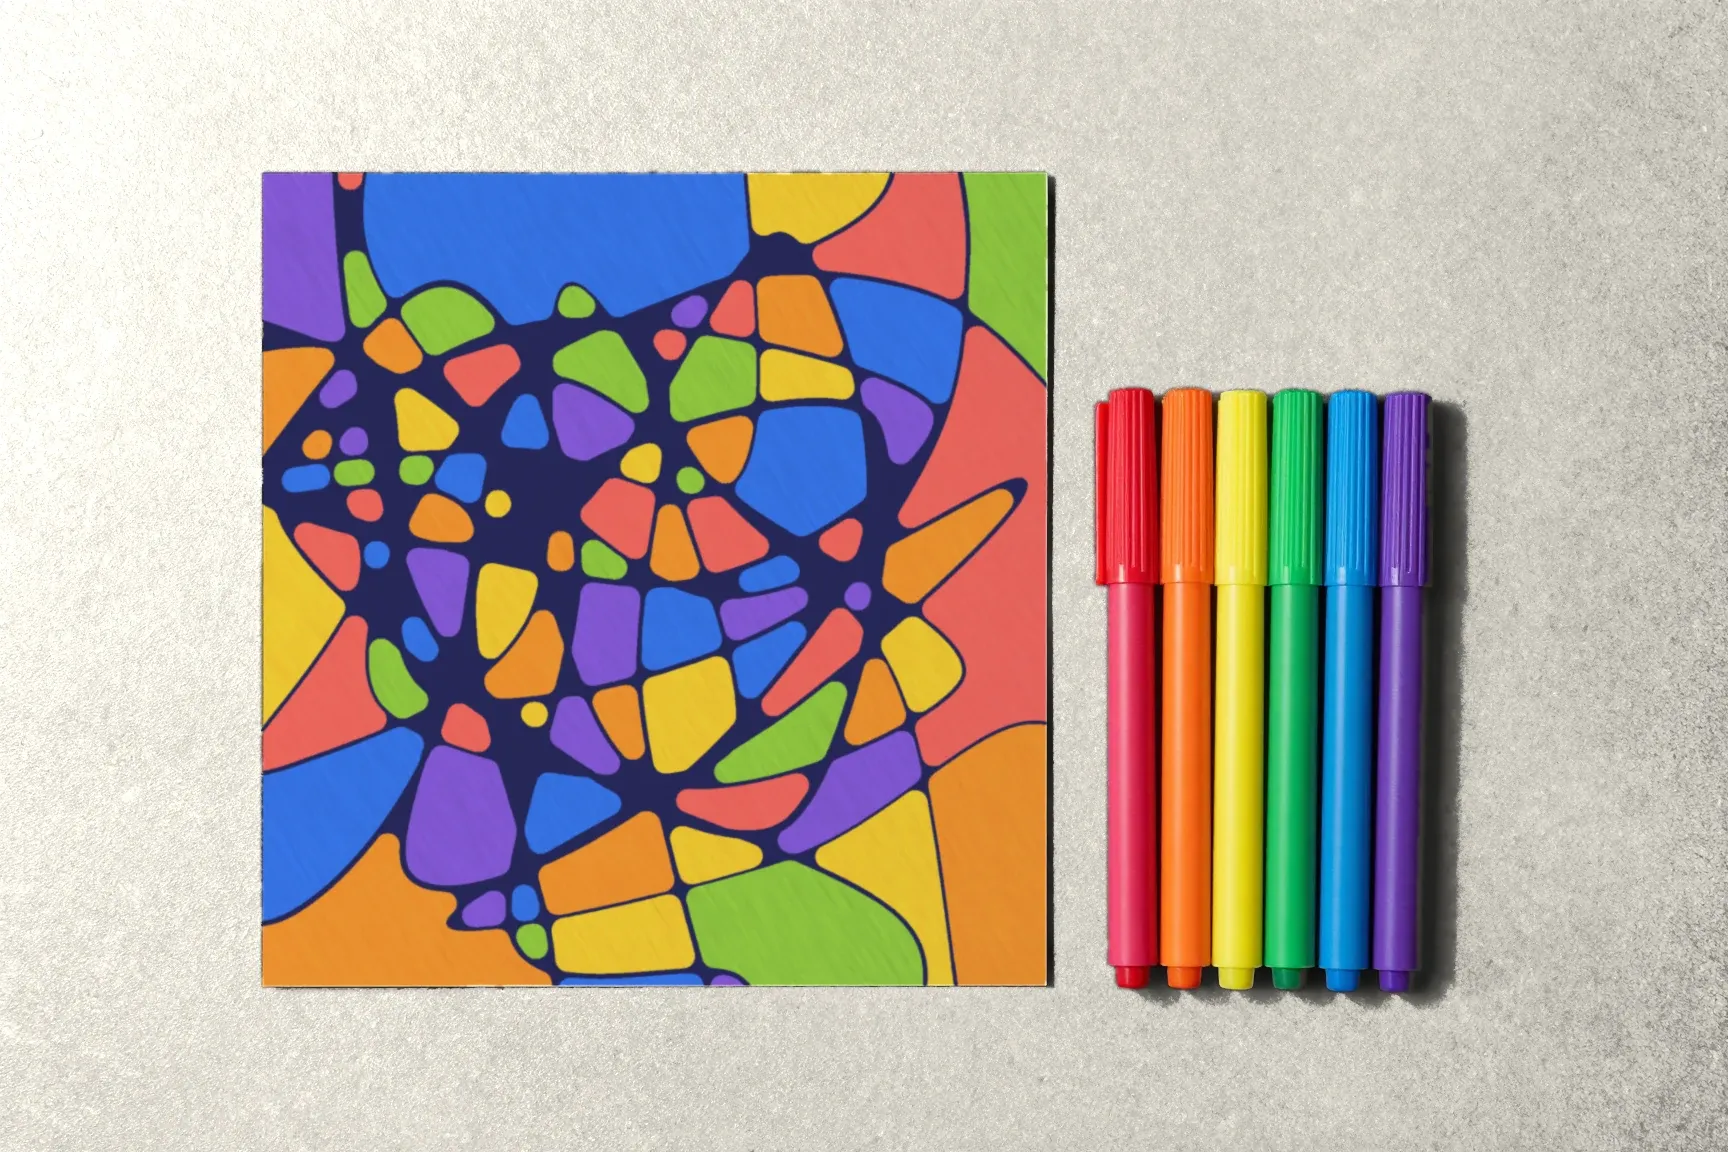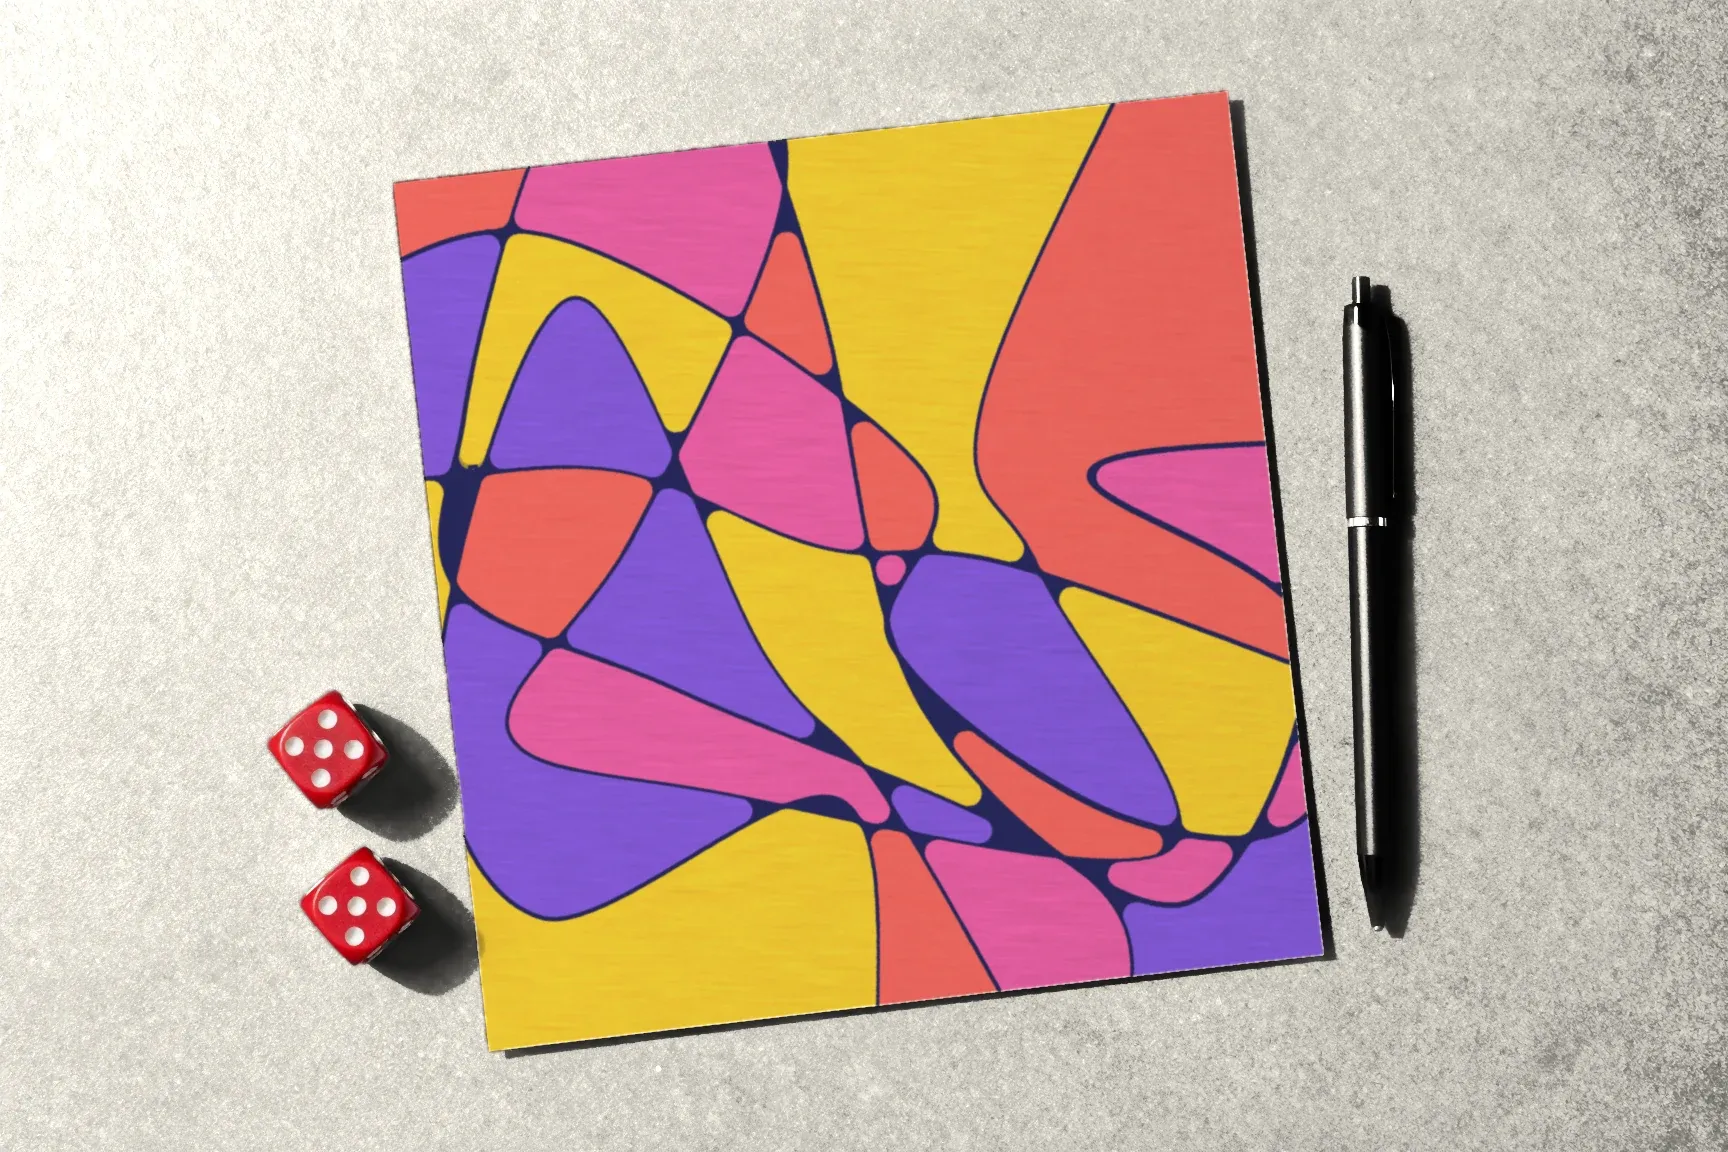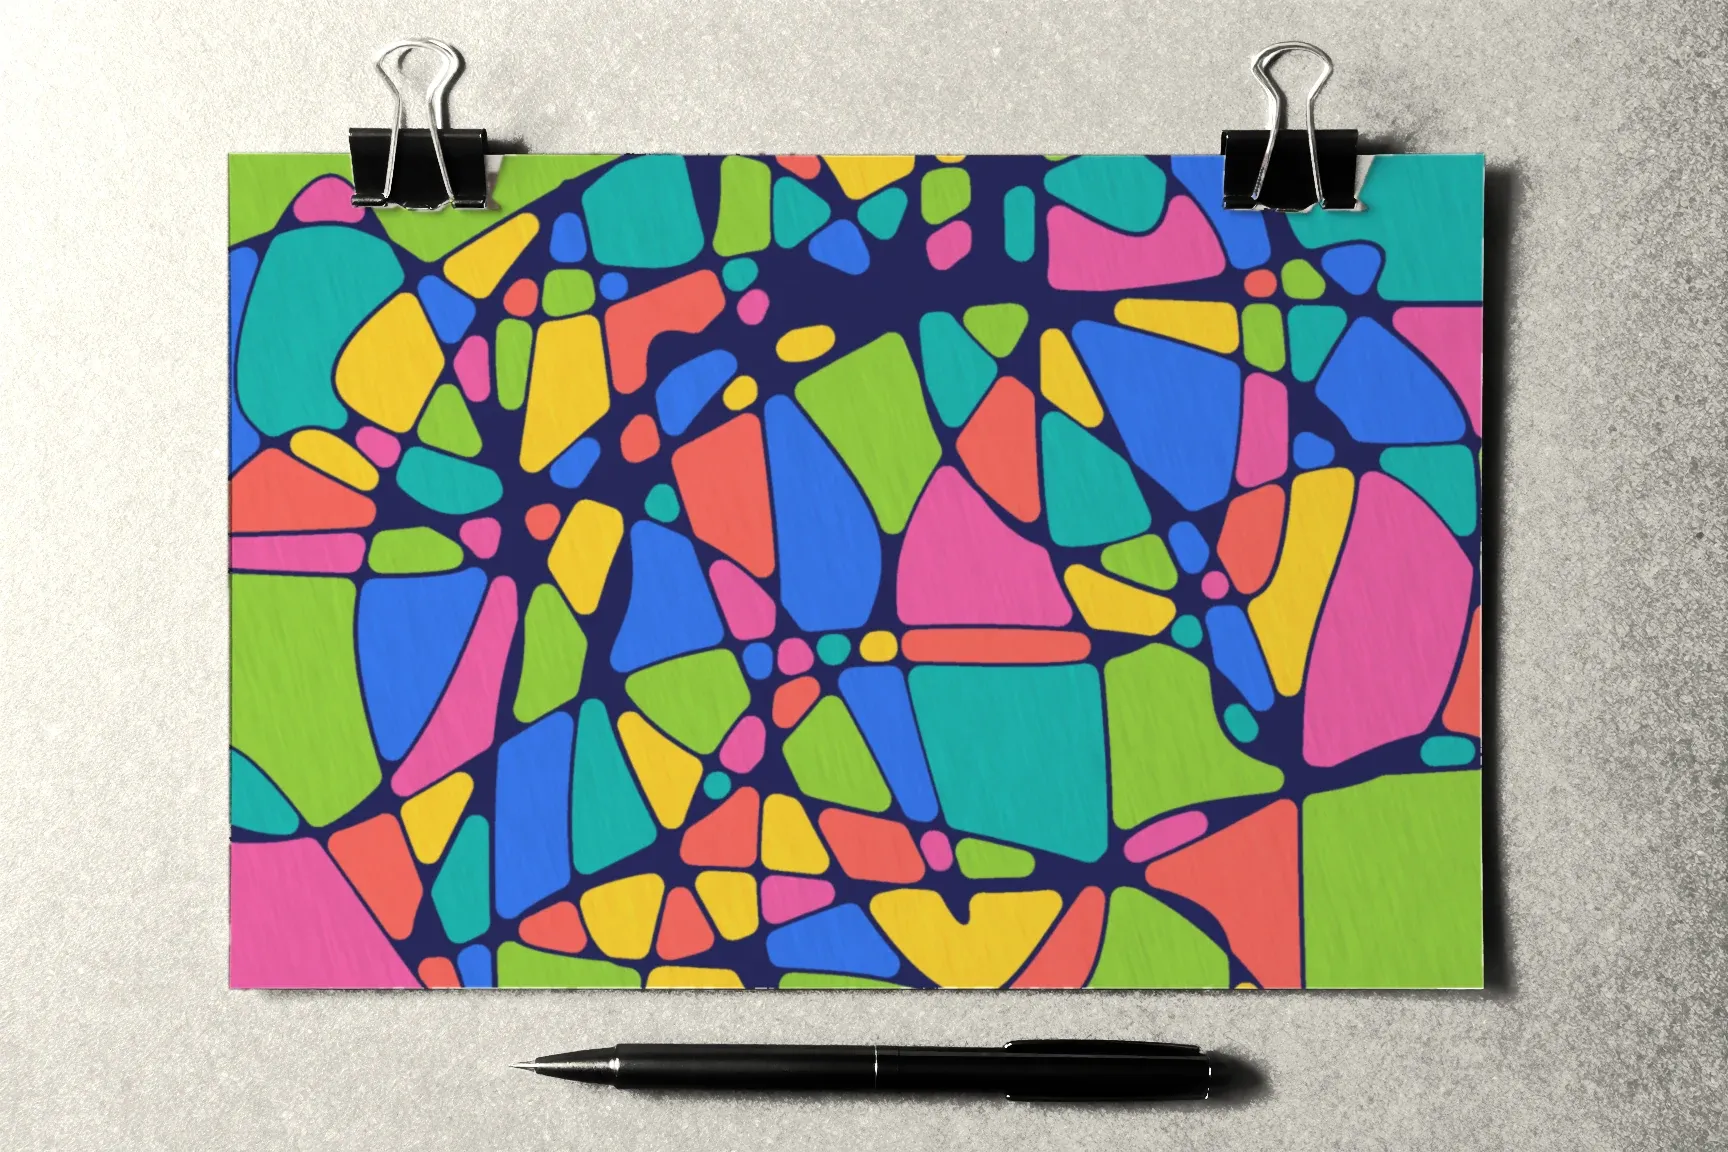
Most drawings in this technique are done on letter-size paper: it fits on any table and into a single evening. But sooner or later you may want to try a bigger sheet — 11 × 17, 18 × 24, or even a roll of paper. A large format changes more than the size: a different movement, a different pace, a different drawing.
Here’s what changes on a big sheet and how to get ready for your first one.
What changes
Movement
On letter-size paper your forearm drives the line; on larger sheets it’s your whole arm, from the shoulder. The movement gets wider and smoother, and the line longer and more confident. See whether even waves come less easily here: a movement that wide is rarely a habit.
Lines and crossings
To keep the page from looking empty, you need more lines — six to eight on 11 × 17 instead of three to five on letter. That means many more crossings, and rounding takes a lot longer.
Time
A large drawing rarely fits into half an hour. Plan for an evening. Since the course suggests finishing the rounding the same day, plan so there’s time for it: fewer lines beat unfinished rounding.
Perspective
You can’t take in a big sheet at a glance up close. Step back a pace or two more often, or prop the sheet upright, to see the whole composition.
Supplies
- Paper. Heavy, 150–200 gsm or more, or a big sheet buckles under color and creases easily. An 11 × 17 pad or individual sheets from an art store both work.
- Pens. A fine fineliner gets lost on a big sheet. Use 0.5–0.8 mm for lines and a brush pen or broad marker for rounding.
- Color. Filling big cells with regular markers takes a while and can leave streaks. Broad chisel-tip markers, oil pastels, or gouache are easier.
Space
- A table or the floor. 11 × 17 fits on a normal table; 18 × 24 barely does. The floor works too, with something firm underneath.
- An easel or a wall. A sheet mounted upright lets you see all of it and draw standing up — an even freer movement.
- Protection. Put cardboard or old newspaper under the sheet: on a large area, a marker will bleed somewhere.
Your first big sheet, step by step
- Warm up on scrap paper — a few wide strokes from the shoulder.
- Lines — six to eight, each edge to edge. Stand if the sheet is on the wall.
- Step back and look — is the page evenly filled?
- Rounding — in sections, band by band, with short breaks.
- Color — on another day if you like. Big cells call for a broad marker or pastels.
- Photos — one from a distance to fit the whole page, plus a few close-ups.
Storing large drawings
- A flat portfolio sized for the paper.
- A roll, drawing facing out so the color doesn’t crack.
- On the wall. A big drawing makes a nice piece for a room.
What comes next
How many lines to draw and how to spread them across the page are in How Many Lines? and Composition. Paper for different sizes is covered in Which Paper to Choose. The first module of the Neurojournal course is open without an account — start there.