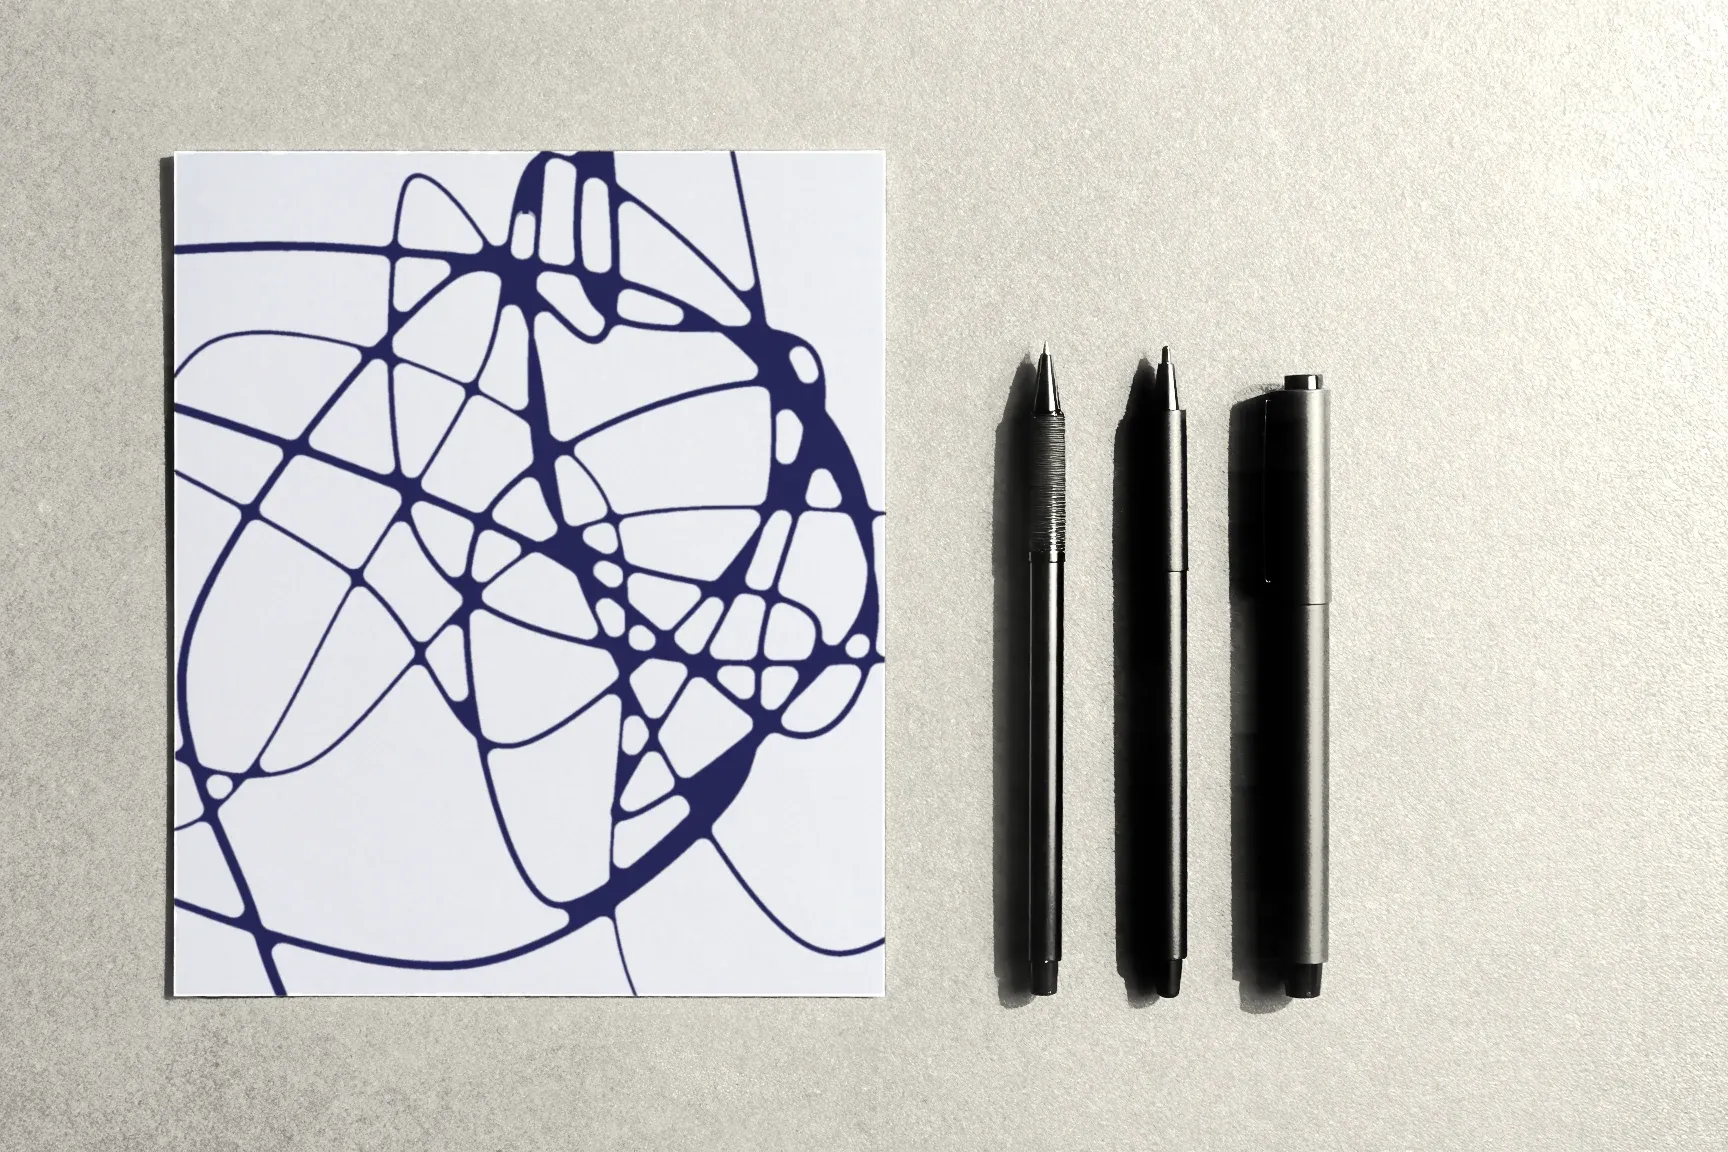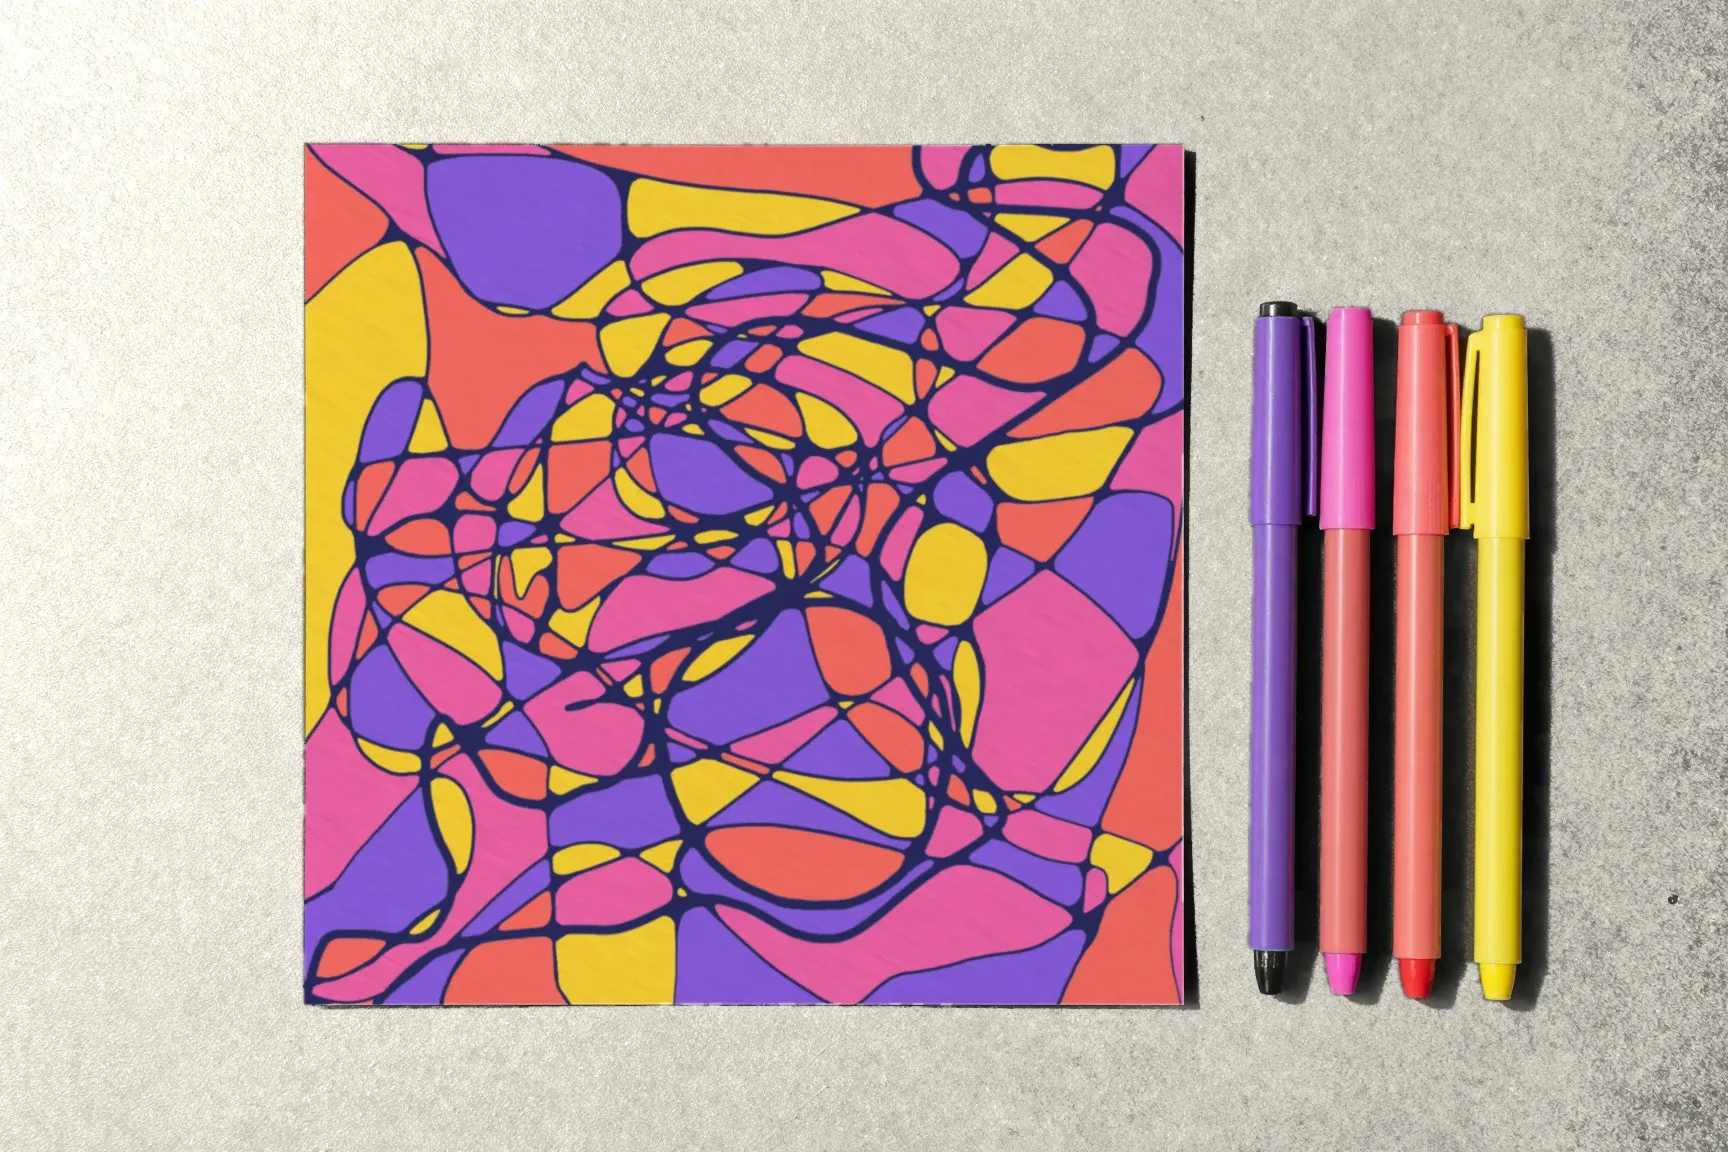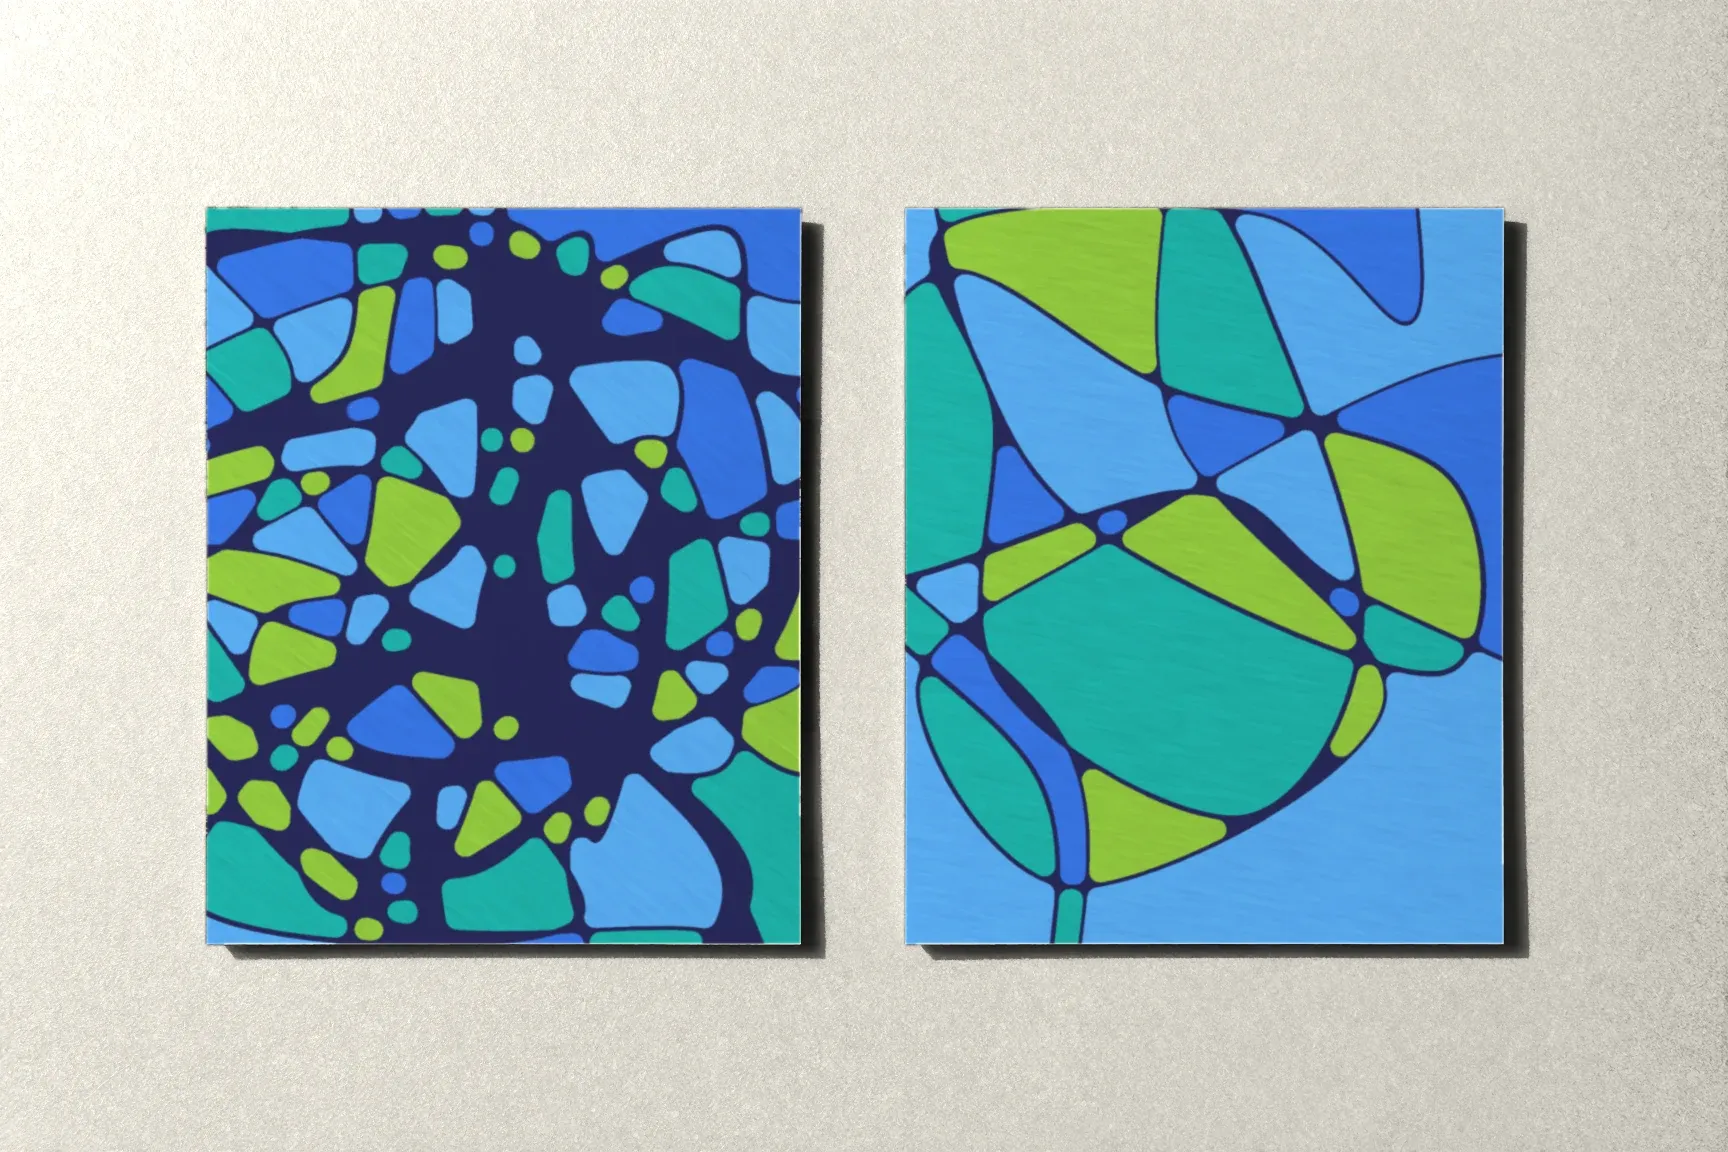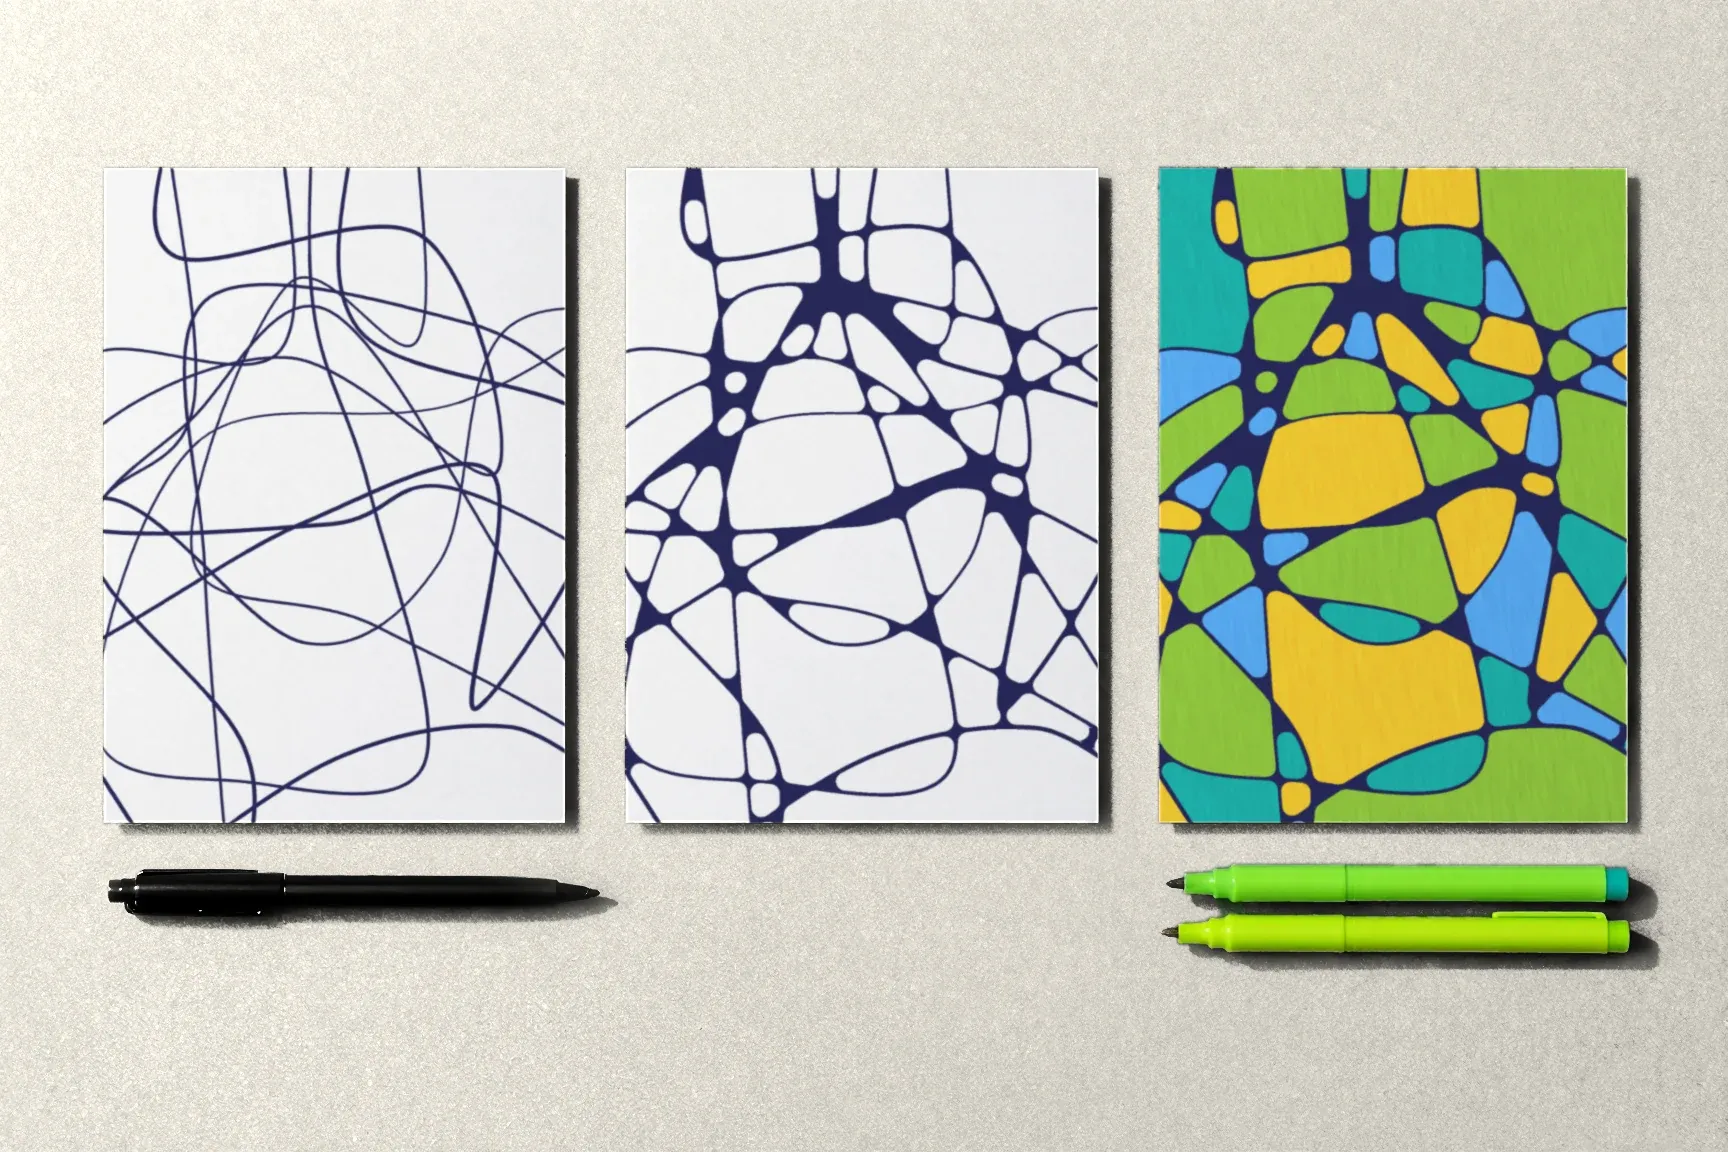
Your first neurographic drawing doesn’t take skills or special supplies. It takes a sheet of paper, a pen, a few markers and about forty minutes when no one will interrupt you. Here is the whole path from a blank page to a finished piece.
What to get ready
A sheet of heavy paper — letter size works, or half of it. A black fineliner that draws an even line and doesn’t smudge. Four to six markers or felt-tip pens in different colors. There’s more on choosing them in our supplies article. Put everything within reach so you don’t have to get up halfway through.
Step 1. A theme
Some people start with a theme: a thought, a question or a feeling they want to work with. It’s optional. For your first time you can simply draw — a theme may show up along the way, or it may not.
Step 2. The free line
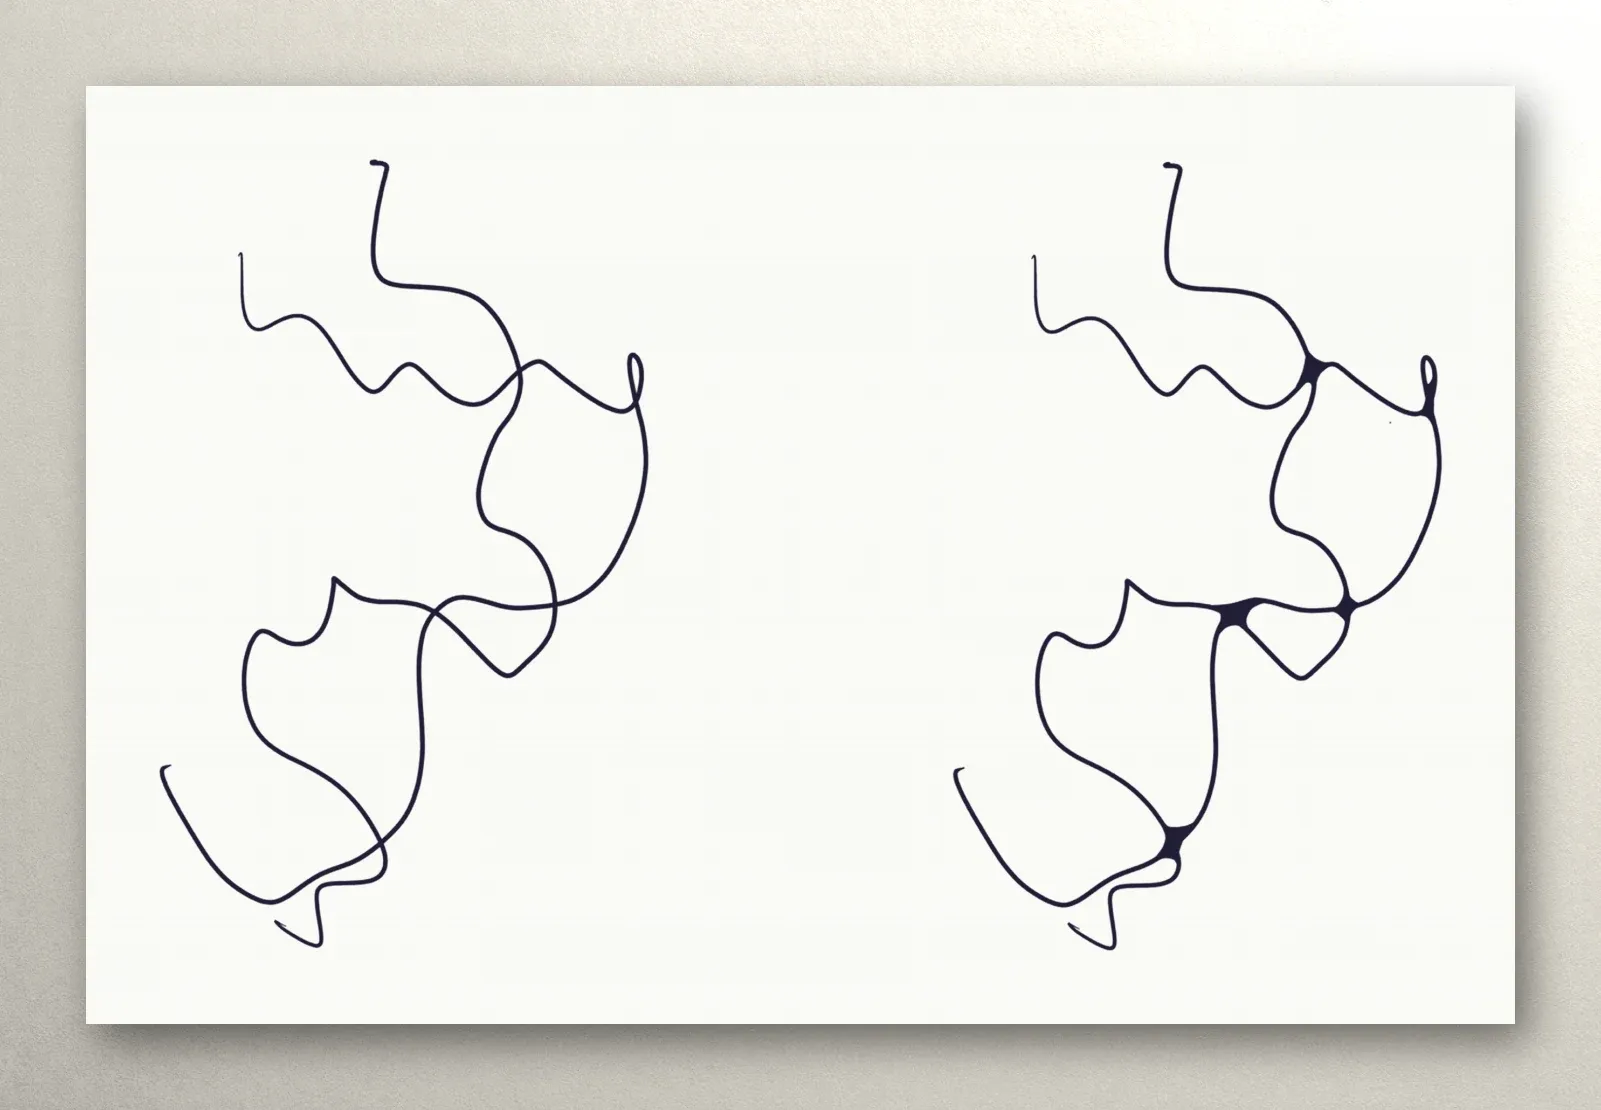
Set the pen down just off the edge of the page and draw slowly, without lifting your hand. Let the line turn, loop, cross itself and run off the opposite edge. Don’t try to draw anything recognizable. Add three to five more lines like it, each starting and ending off the page.
Step 3. Rounding
Find the places where lines cross. At each intersection, add a small curve between the lines so the sharp corner becomes smooth. Start with the big intersections, then move to the small ones. Tiny closed cells that end up very small can be filled in with the pen.
Step 4. Color
Color the spaces between the lines, giving neighboring shapes different colors so the edges stay clear. You don’t have to fill everything: a drawing with half its shapes colored is finished too.
Step 5. Look at the result
Put the pen down and look at the drawing from a little farther away. What came out? How did you feel while drawing? You can jot down the answers next to it — that helps the habit stick, and in a month you’ll have something to compare.
Common first-time mistakes
- Lines that stop in the middle of the page. Take each one all the way to an edge, even if it seems unnecessary.
- Too many lines at once. Five or six are plenty for a first drawing.
- Rounding that looks like a dot. The curve should be visible so the corner really turns smooth.
What comes next
What to draw with is in What You Need to Start Drawing, rounding in detail is in Rounding the Intersections, Step by Step, and color is in How to Color Your Drawing. The course has a whole lesson on the line, and its first module is open without an account — start there.