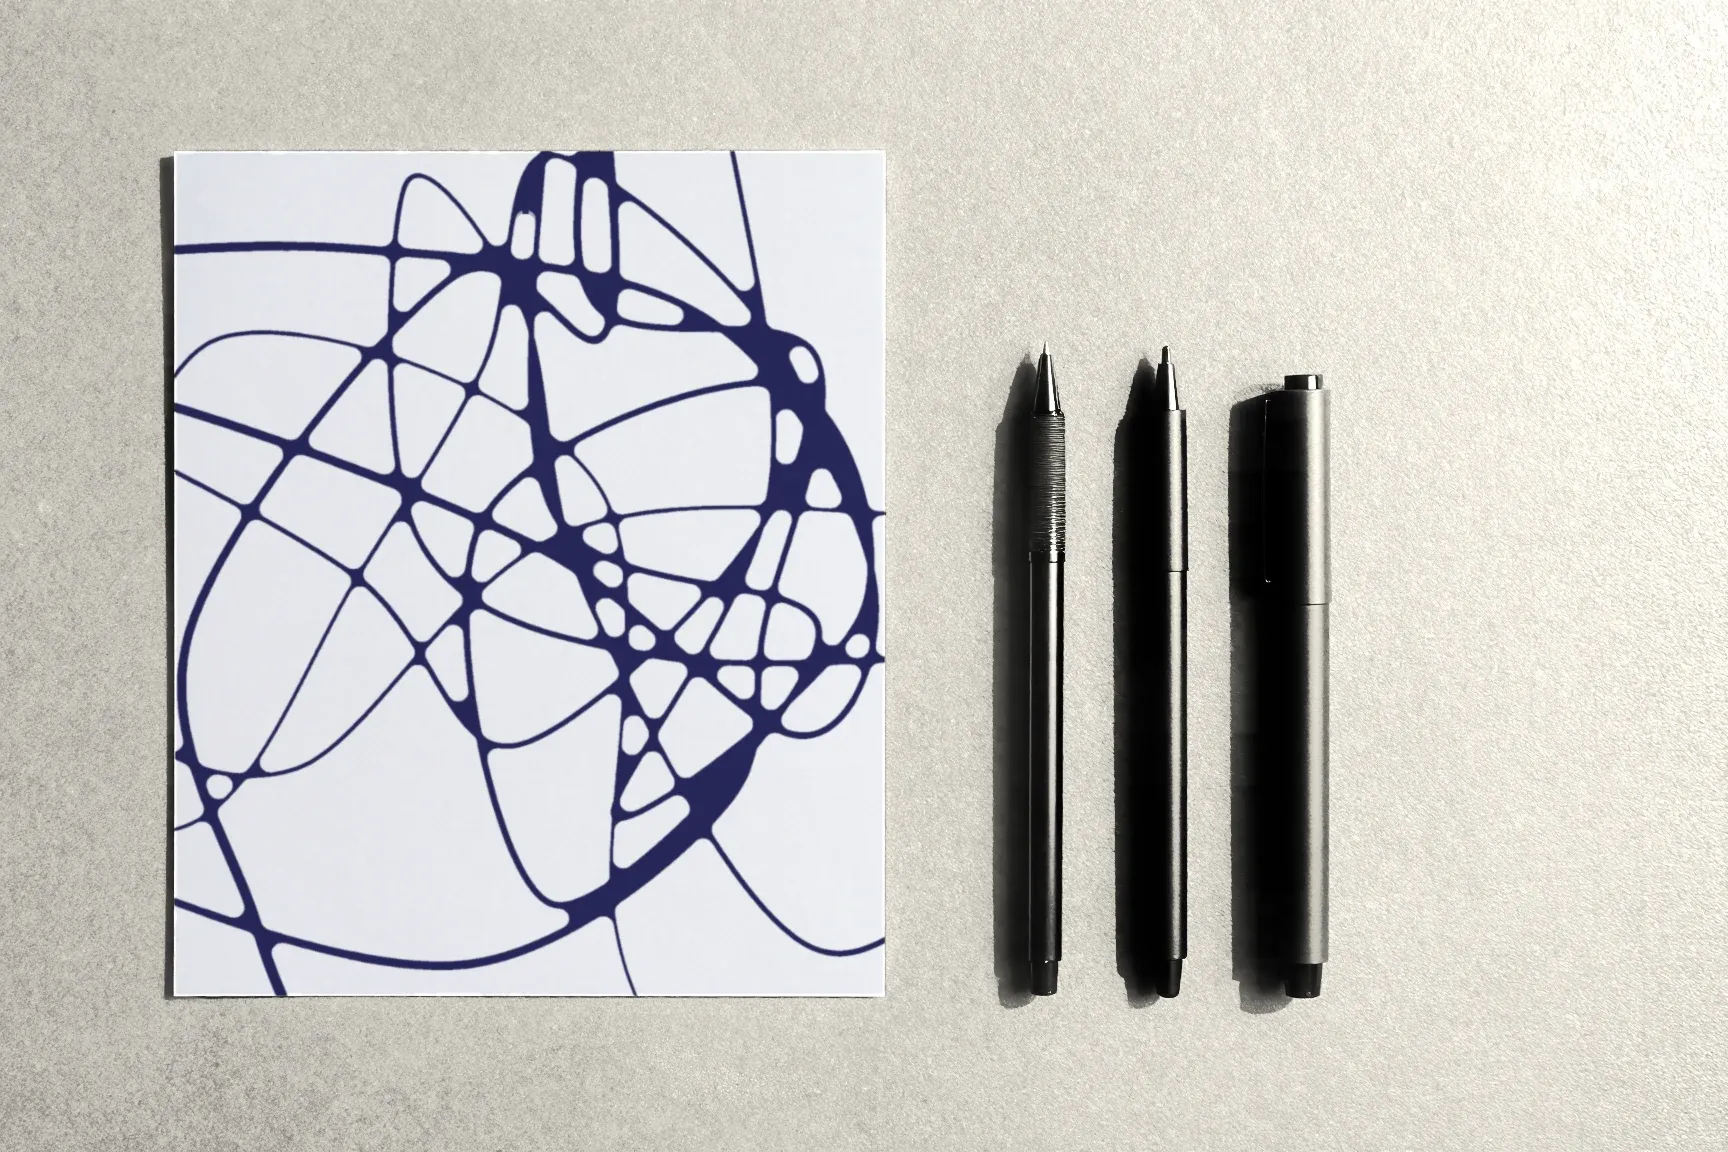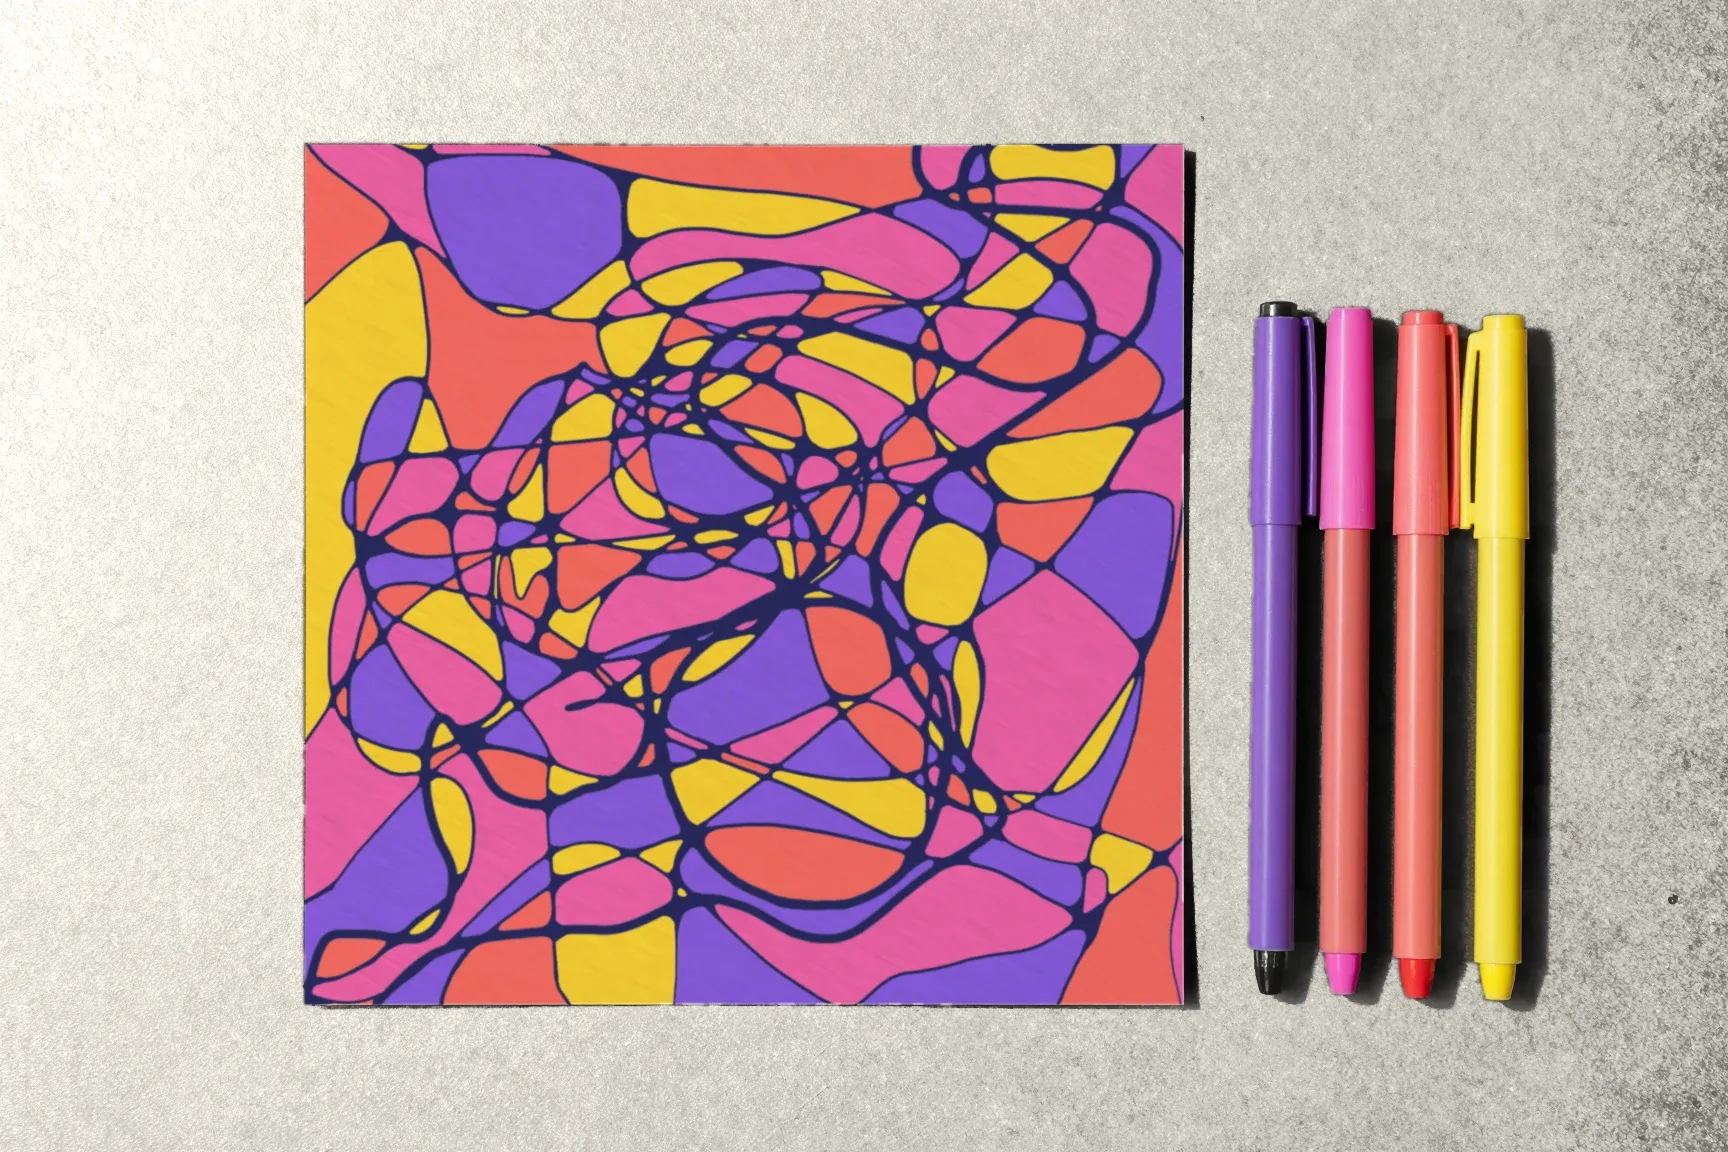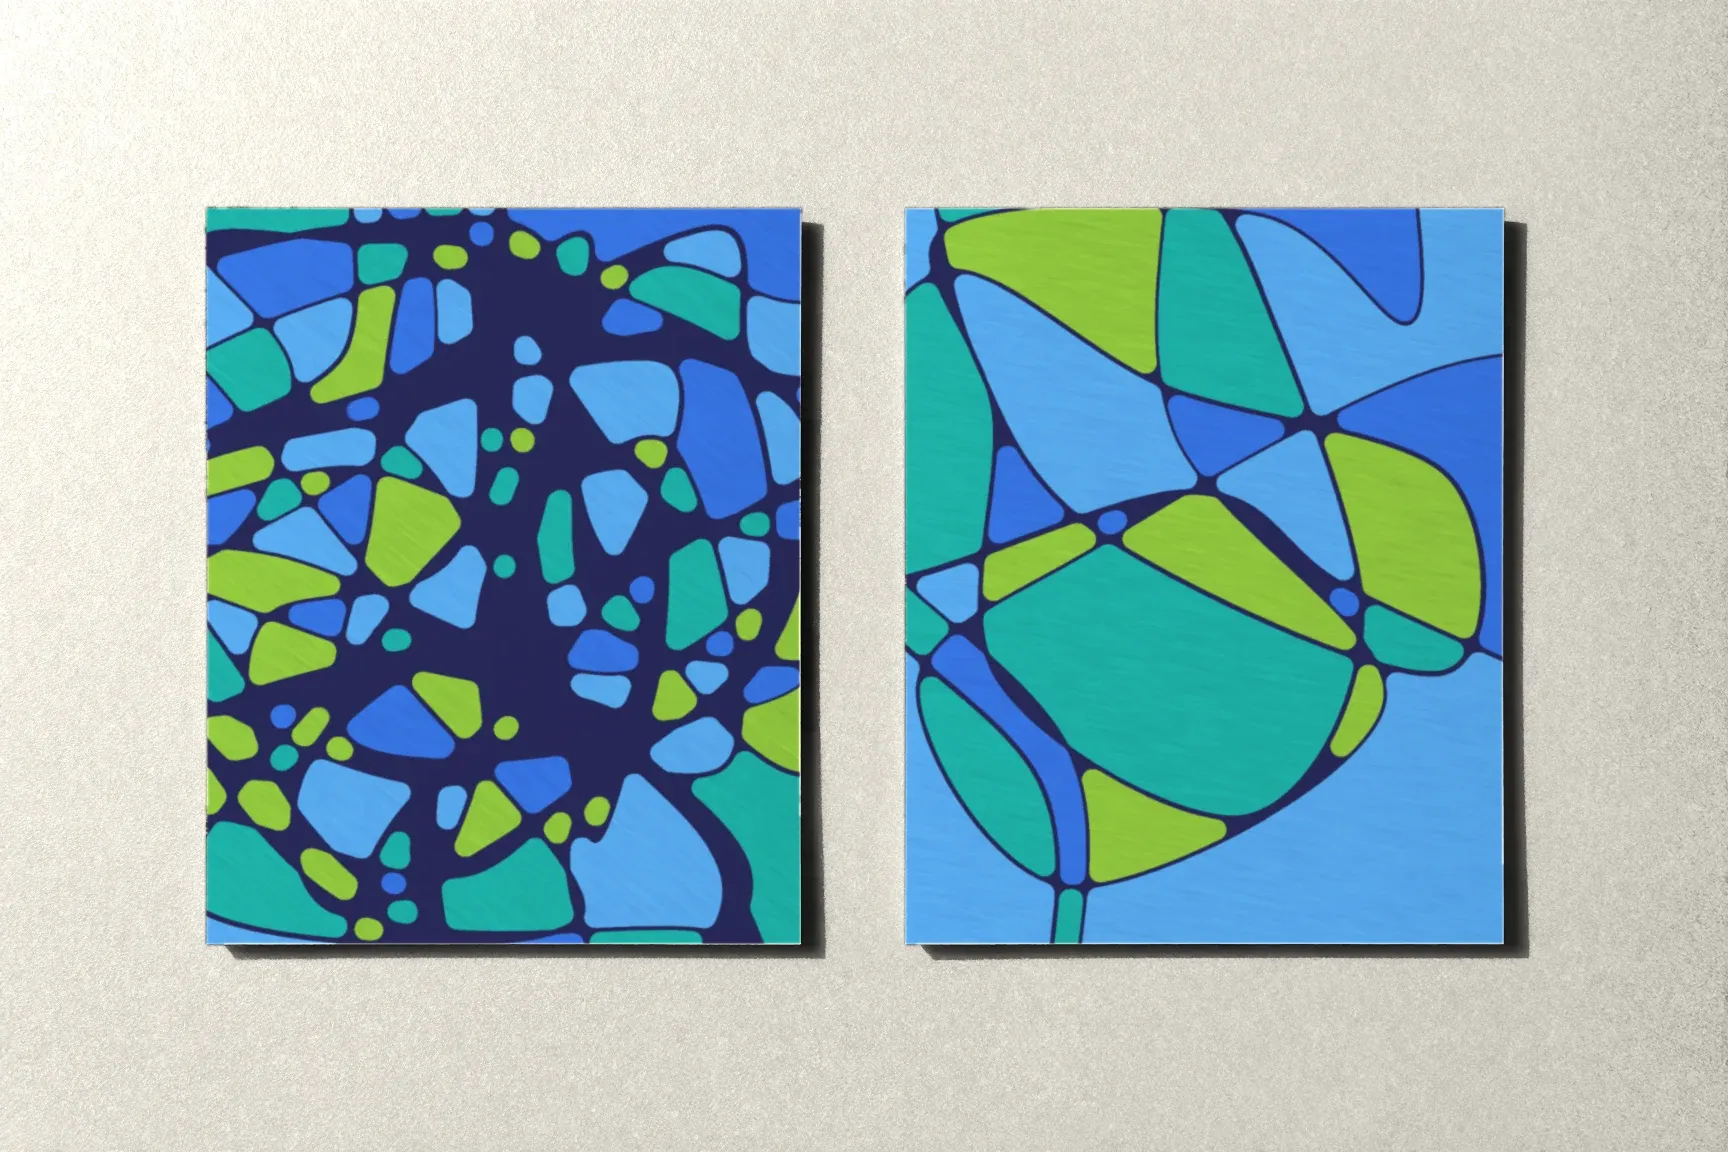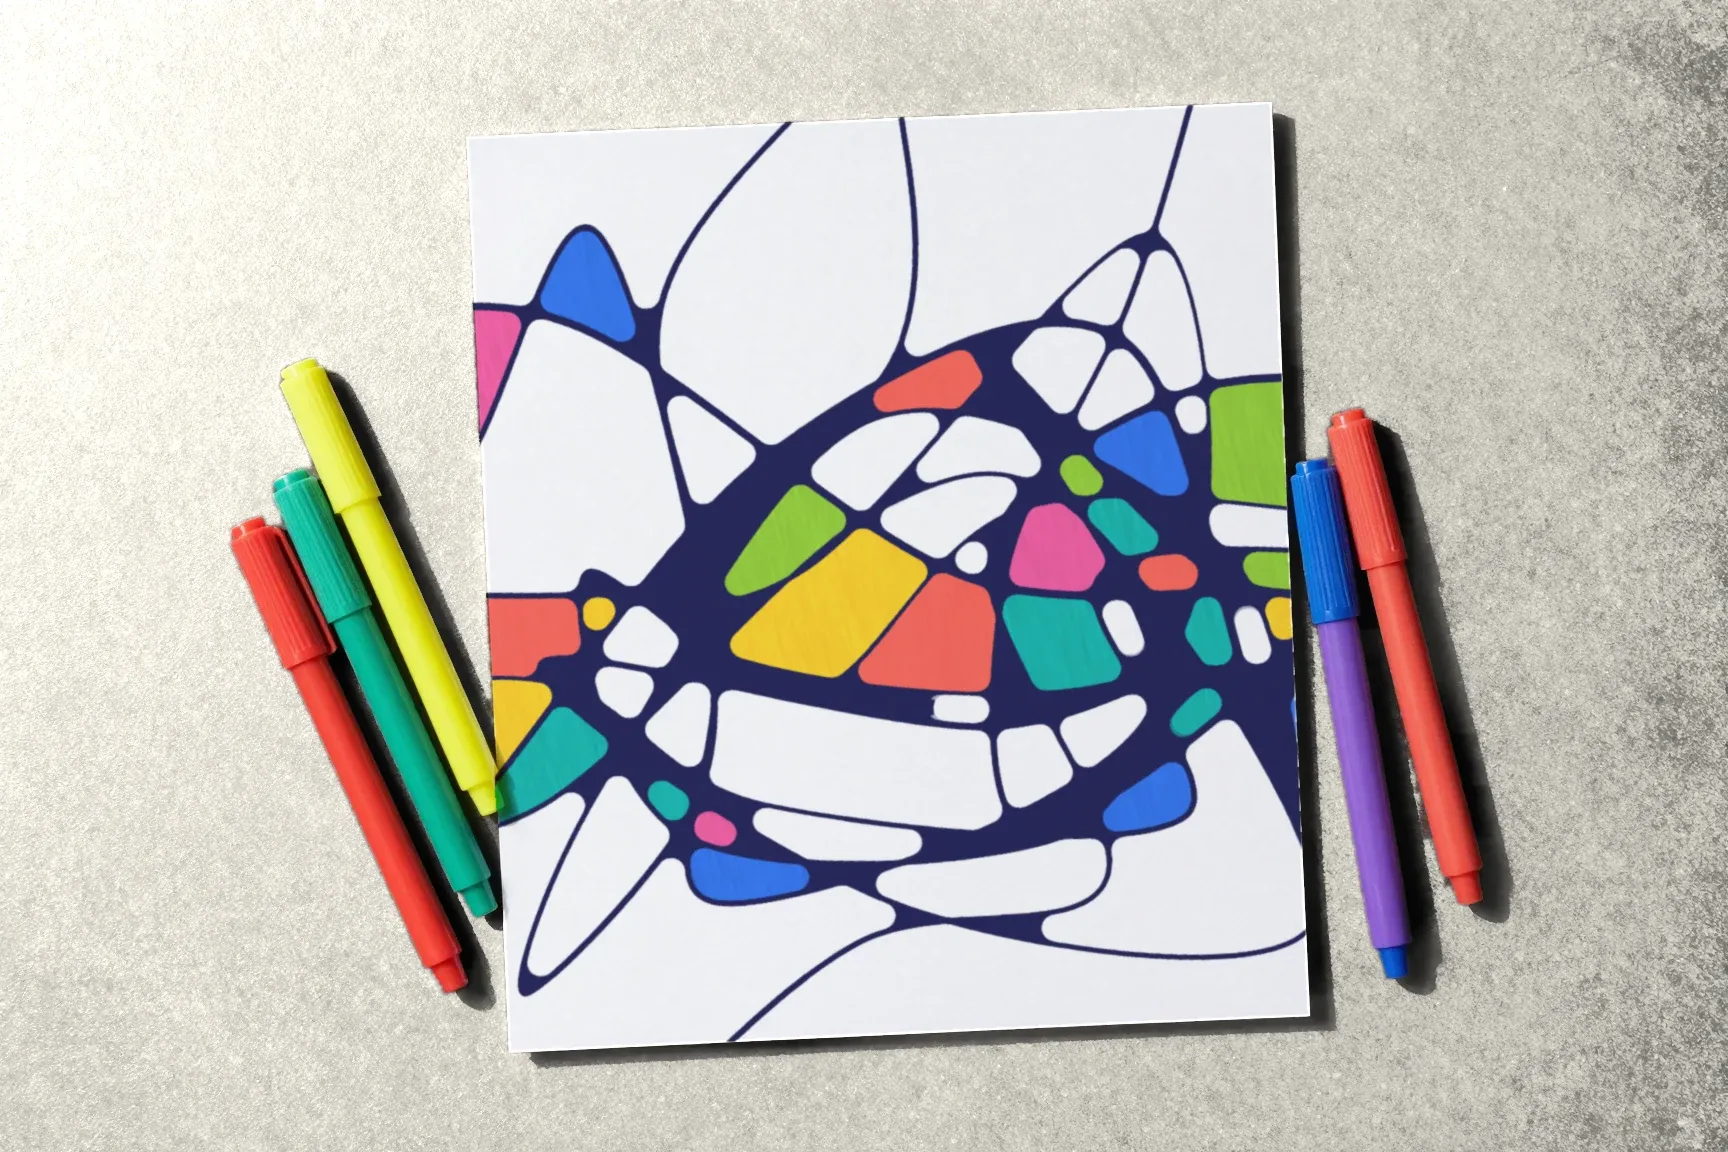
Color is the third step of transformational drawing — and an optional one. A drawing with its lines in place and its crossings rounded is already finished. Still, many people want to go further: fill the cells the lines have made and watch the page change.
Here’s when to start on color, how many colors to choose, how to spread them across the sheet, and how to fill cells with markers or colored pencils.
When to start on color
After every crossing is rounded. Color goes into cells whose edges are set by the lines and the rounding. Start earlier and you’ll end up rounding over color — and black ink on fresh marker can bleed.
Once the ink is dry. Especially if you drew the lines with a gel pen. Test with a fingertip at the edge of the page: if the line doesn’t smudge, you’re good.
You can color on a different day from when you drew. The course suggests finishing the rounding the same day, but there’s no such rule for color.
How many colors to choose
For a first try, three to six. That’s enough to keep neighboring cells different without turning the page into a patchwork quilt.
A few approaches that make an easy start:
- One color in several shades. Light blue, blue, navy. A calm, unified drawing.
- Neighboring colors. Yellow, orange, red — or green, teal, blue. Colors that sit next to each other on the color wheel get along easily.
- Contrast. Two opposite colors, say blue and orange, plus one or two neutrals. Bright and energetic.
- Pastels. Light, muted shades. A soft drawing in which the lines stand out more.
There’s no correct palette for this technique. Use the colors you want to look at today.
How to spread colors across the page
- Start with your main color. Fill a few cells in different parts of the page rather than one area. That way the color runs through the whole drawing.
- Add the second color the same way, in different spots. Make sure neighboring cells don’t match.
- Fill in the rest with the third and remaining colors.
- Leave some cells white if the drawing starts to feel crowded. White paper is a color too.
- Look at the page from a distance. If one area feels “heavier,” add a lighter color there or leave a few cells white.
The main rule is simple: neighboring cells get different colors. Then each shape reads on its own, and the drawing doesn’t clump into blotches.
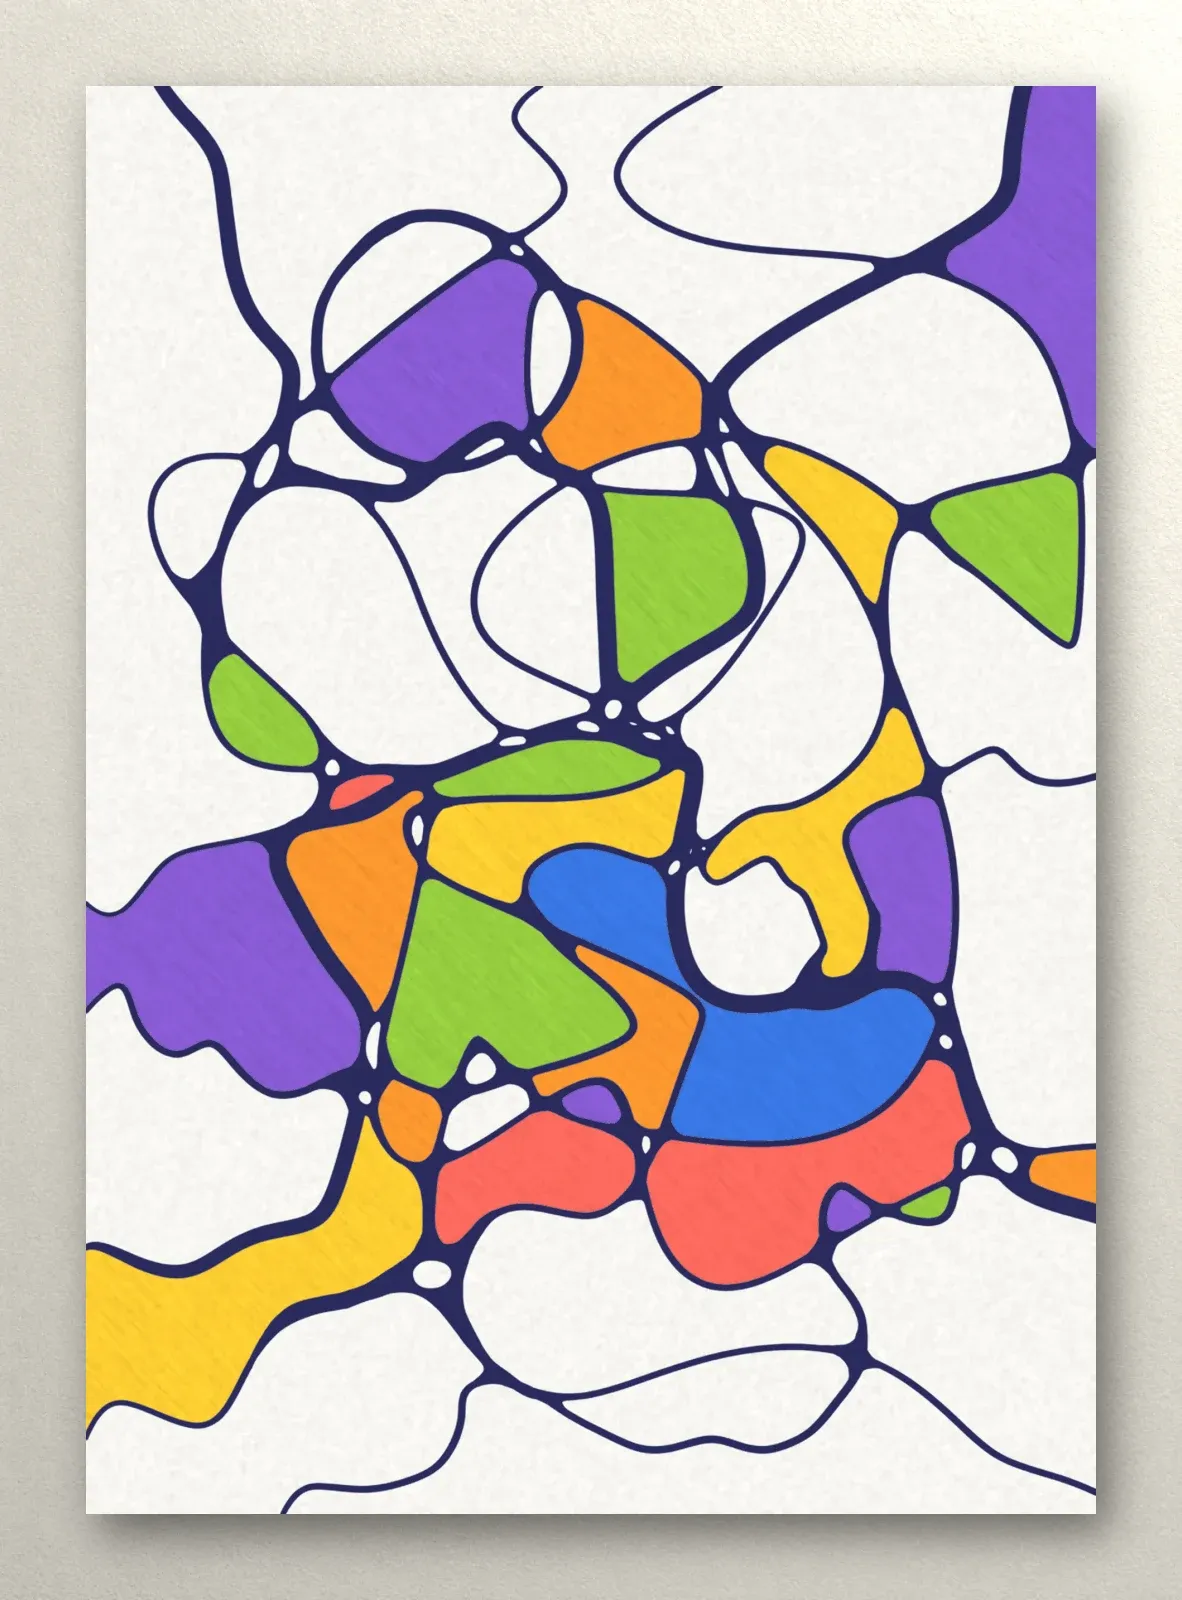
Filling with markers
- Stroke in one direction — horizontal or vertical. Strokes going every which way leave streaks.
- Don’t go back over a dried area. A second pass over a dried first one goes down darker. With a large cell, work quickly so the edge doesn’t dry before you finish.
- Color right up to the black line. The black ink hides a small overlap, while a white gap between color and line is noticeable.
- Put a sheet under your drawing if you’re using alcohol markers: they bleed through even heavy paper.
Filling with colored pencils
- Light pressure, several layers. Color builds up gradually and is easier to even out.
- Small circular motions give a smoother fill than back-and-forth strokes.
- Gradients. With a pencil it’s easy to make one side of a cell darker, which adds a sense of volume.
- Keep the pencil sharp for small cells next to the rounded crossings.
When things go wrong
Streaks in a cell. Go over it again in the same direction while the first layer is still wet, or switch to pencil for large cells.
The color turned muddy. This happens when one color is layered over another. Next time, test combinations on scrap paper first.
The drawing is shouting. Too many bright colors side by side. Leave some cells white, or use a more muted shade for the rest.
A marker bled. Treat the edge of the bleed as part of the drawing and round it off, or make the neighboring cell darker so the spot disappears into it.
What do the colors mean?
The course’s lesson on color includes a list of the feelings people often associate with each color. But the same lesson makes the key point: how we perceive color is highly personal. What seems calm to one person feels sad to another. So treat that list as a prompt, not a rule: pick colors you like, and after the drawing, you can jot down why you chose them.
What comes next
For practice, the Neurojournal course includes a ready-made drawing for coloring: the lines and rounding are done, and only the color is left. You’ll find it in the colors lesson of “The alphabet” module. If you haven’t tried the technique yet, start with What Is Transformational Drawing?; for what to color with, see What You Need to Start Drawing. And for seasonal palettes, there’s Fall Drawing Ideas.