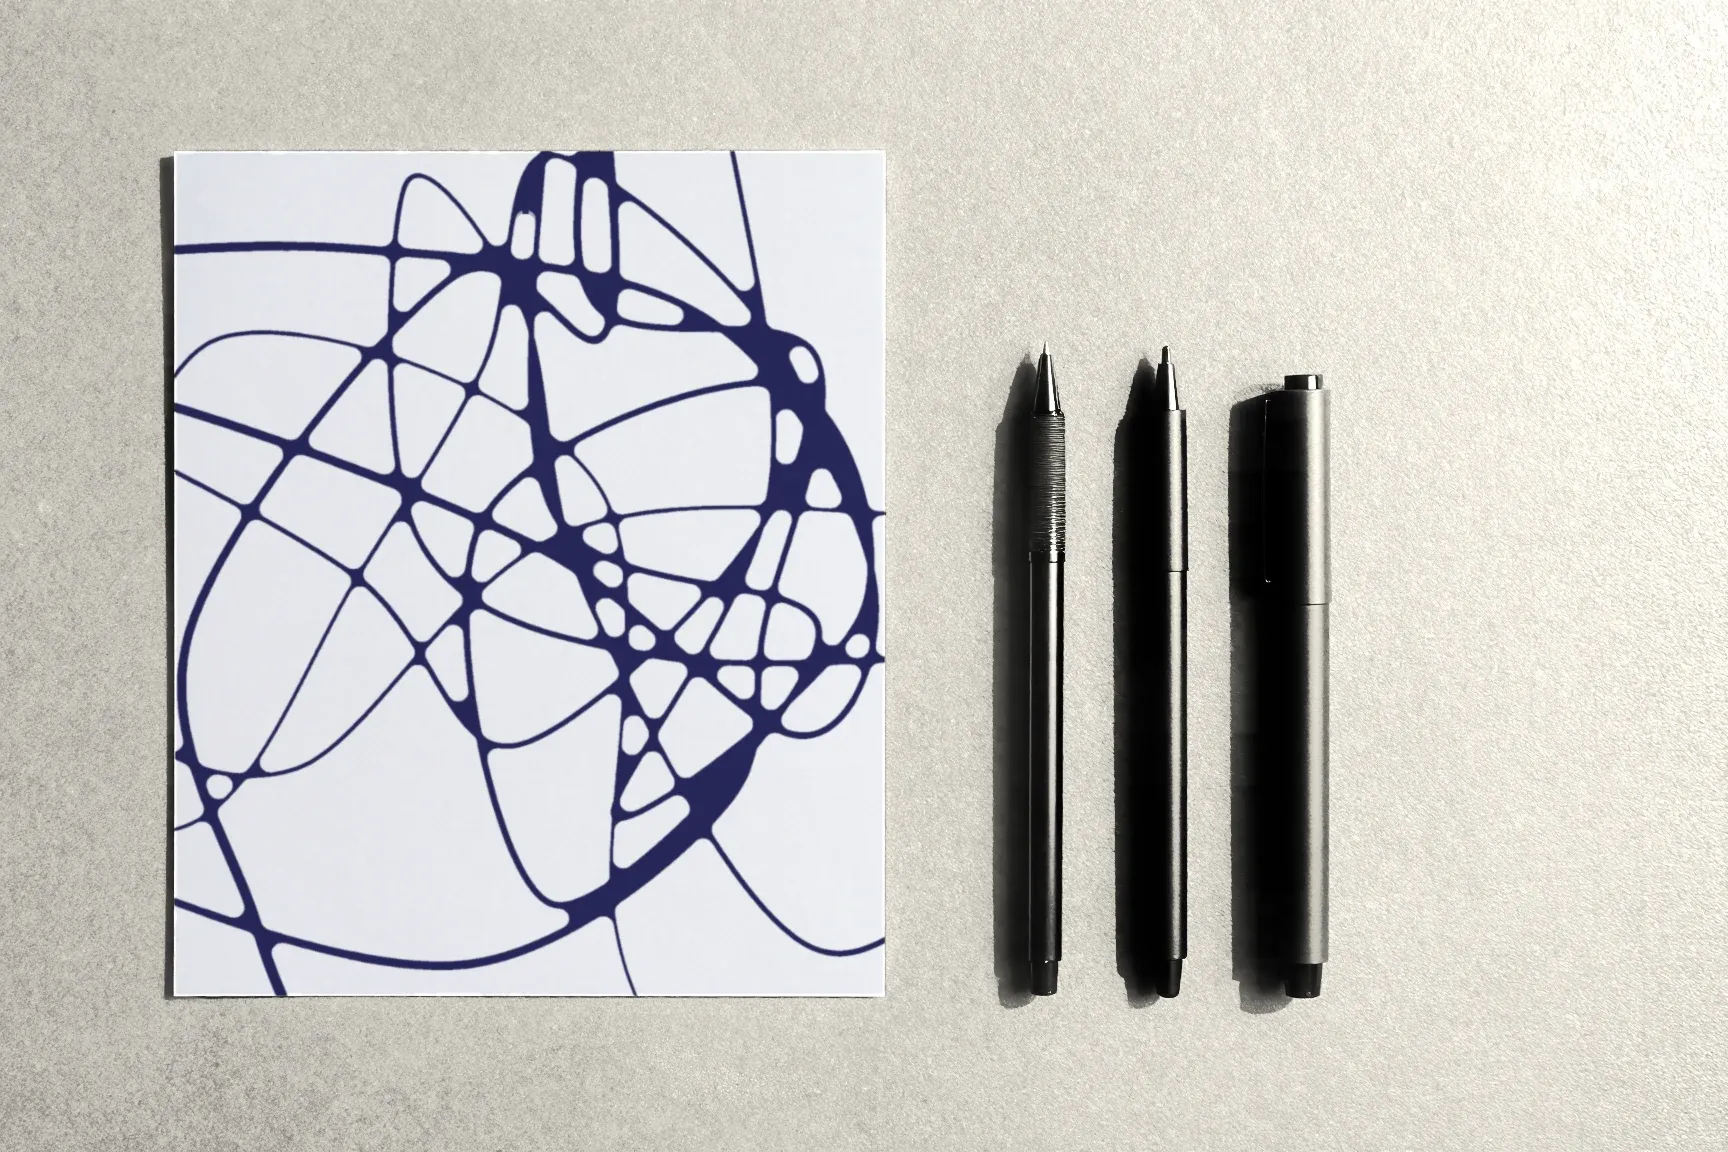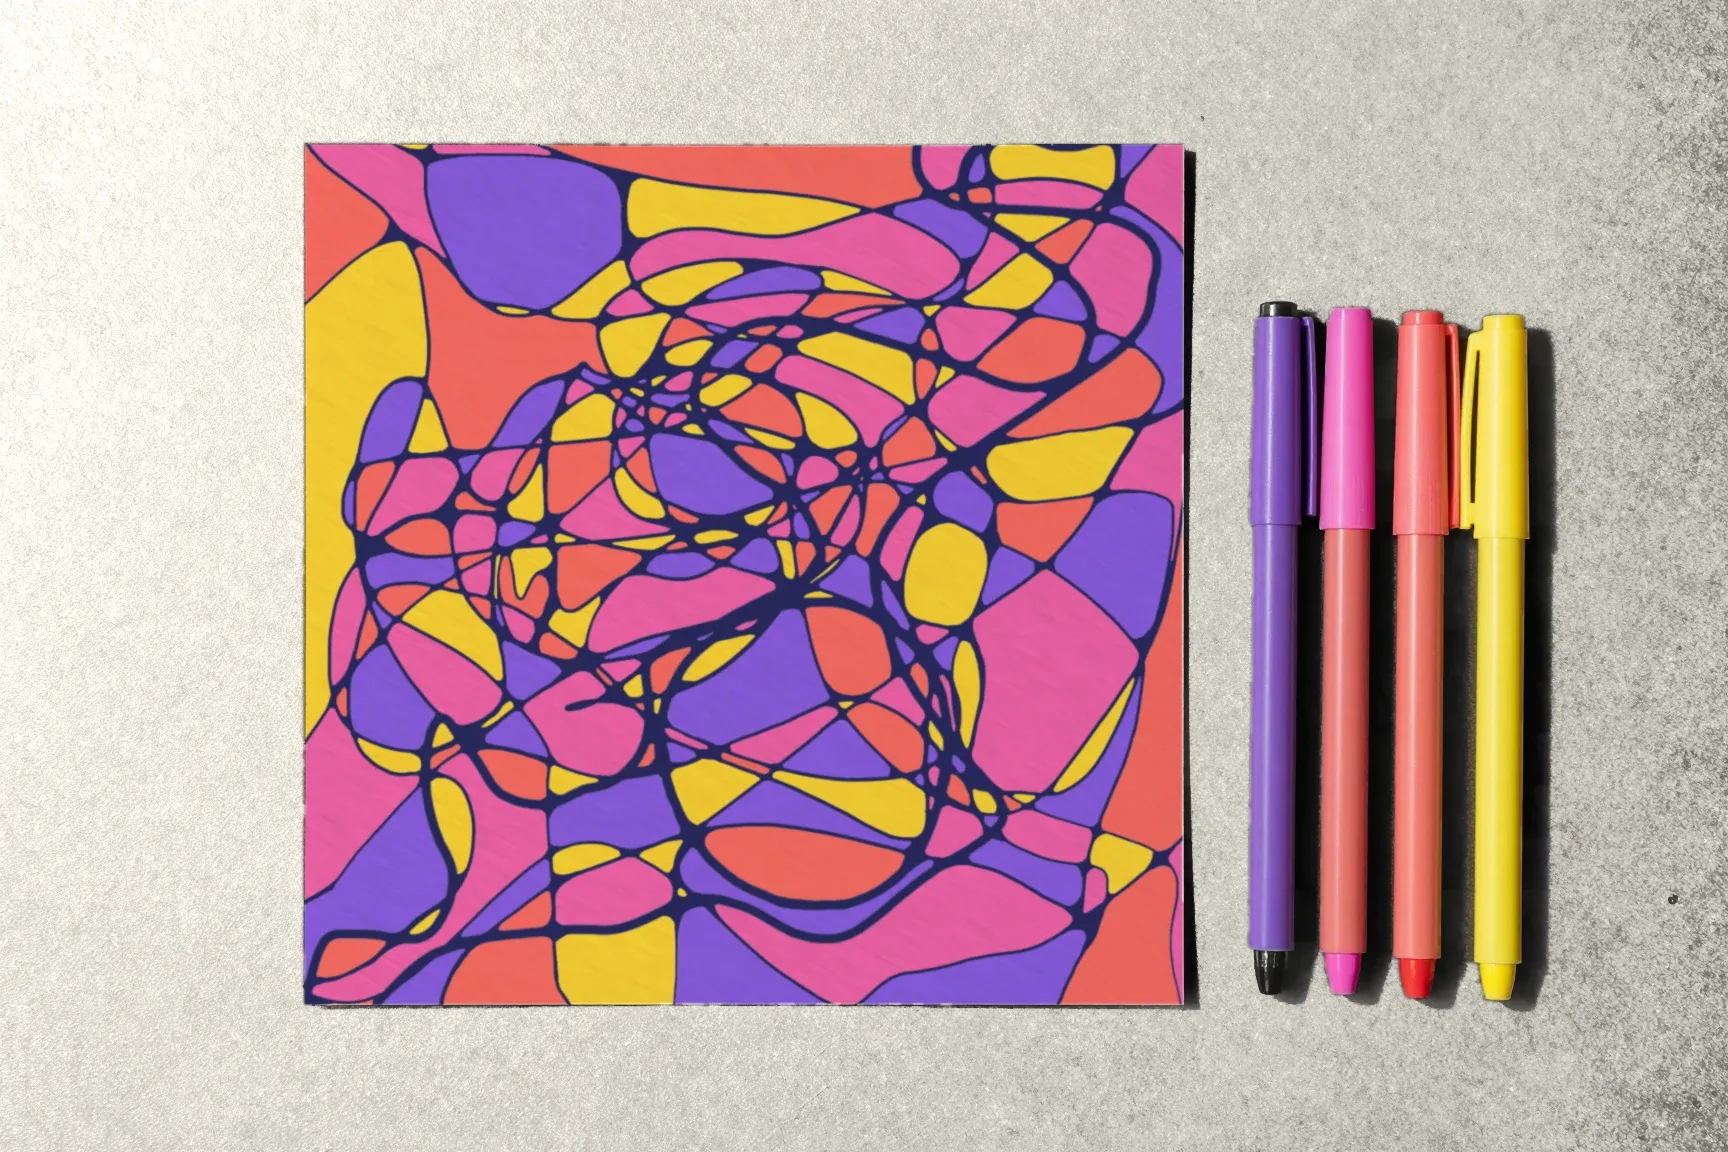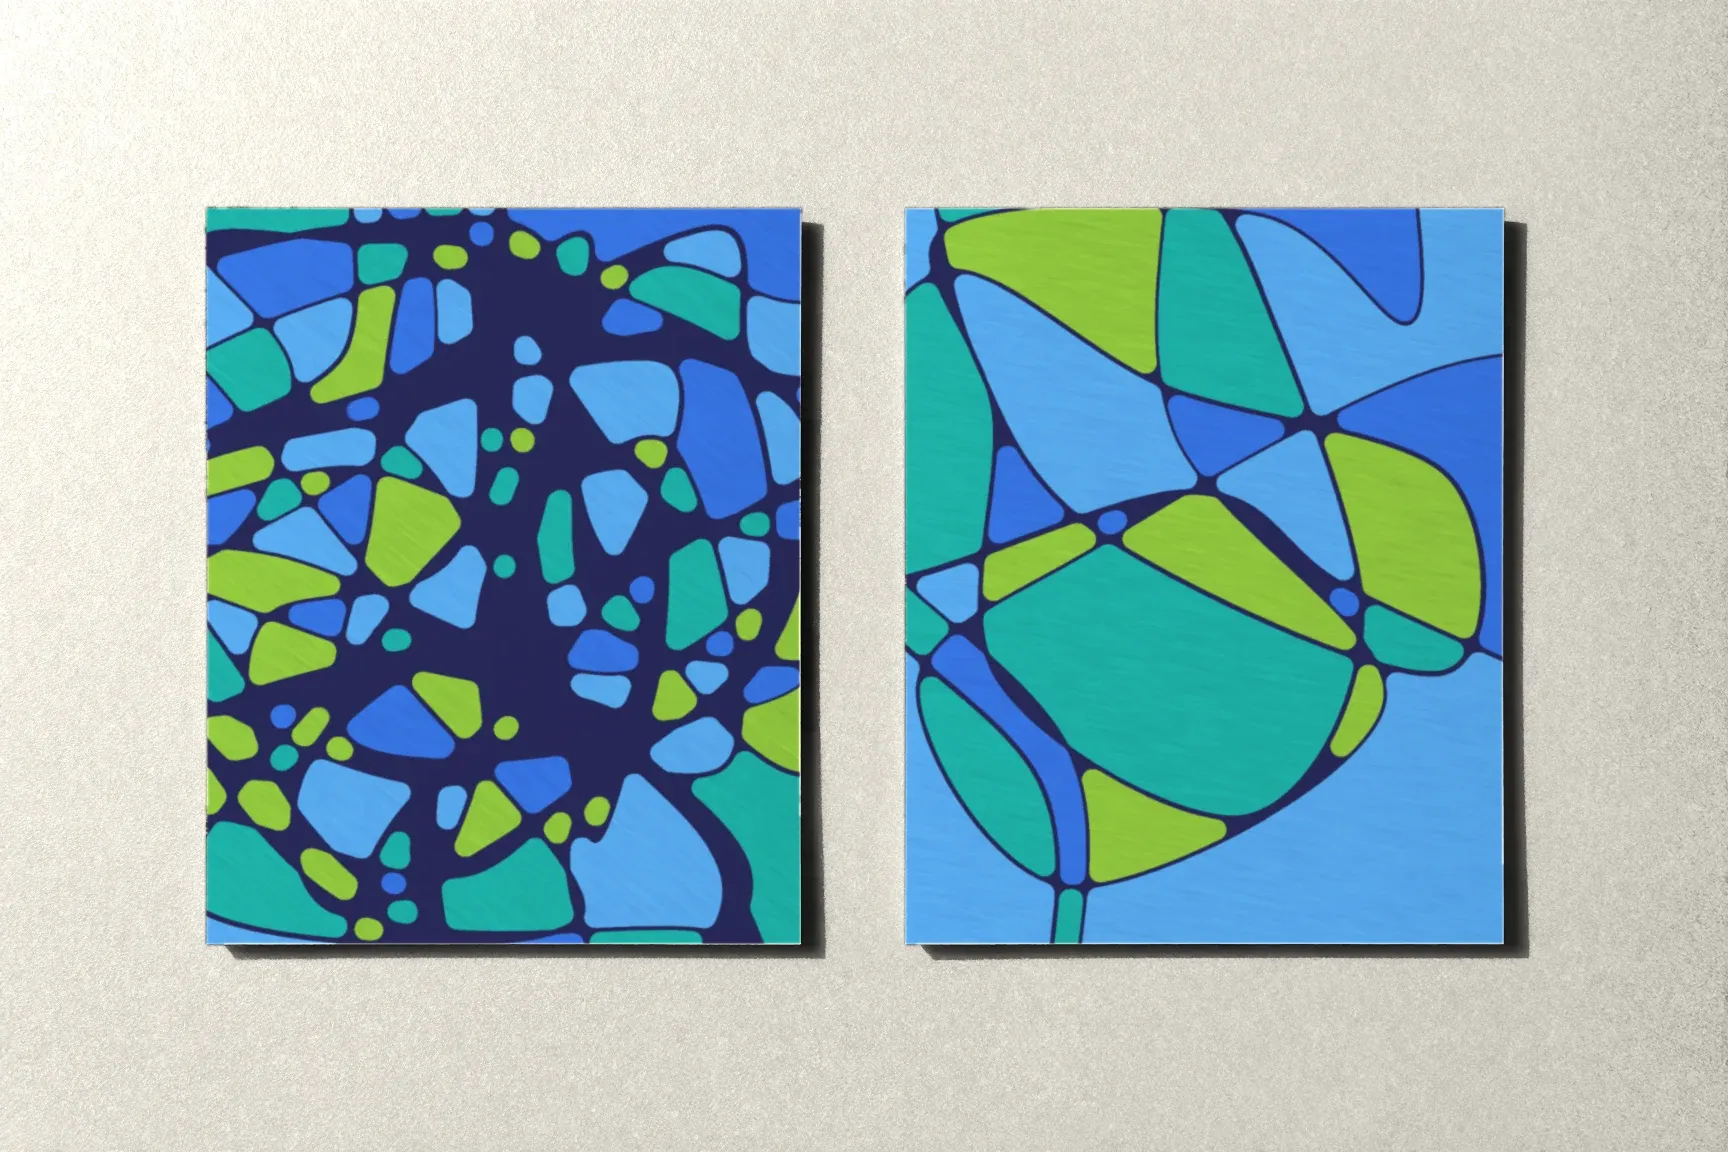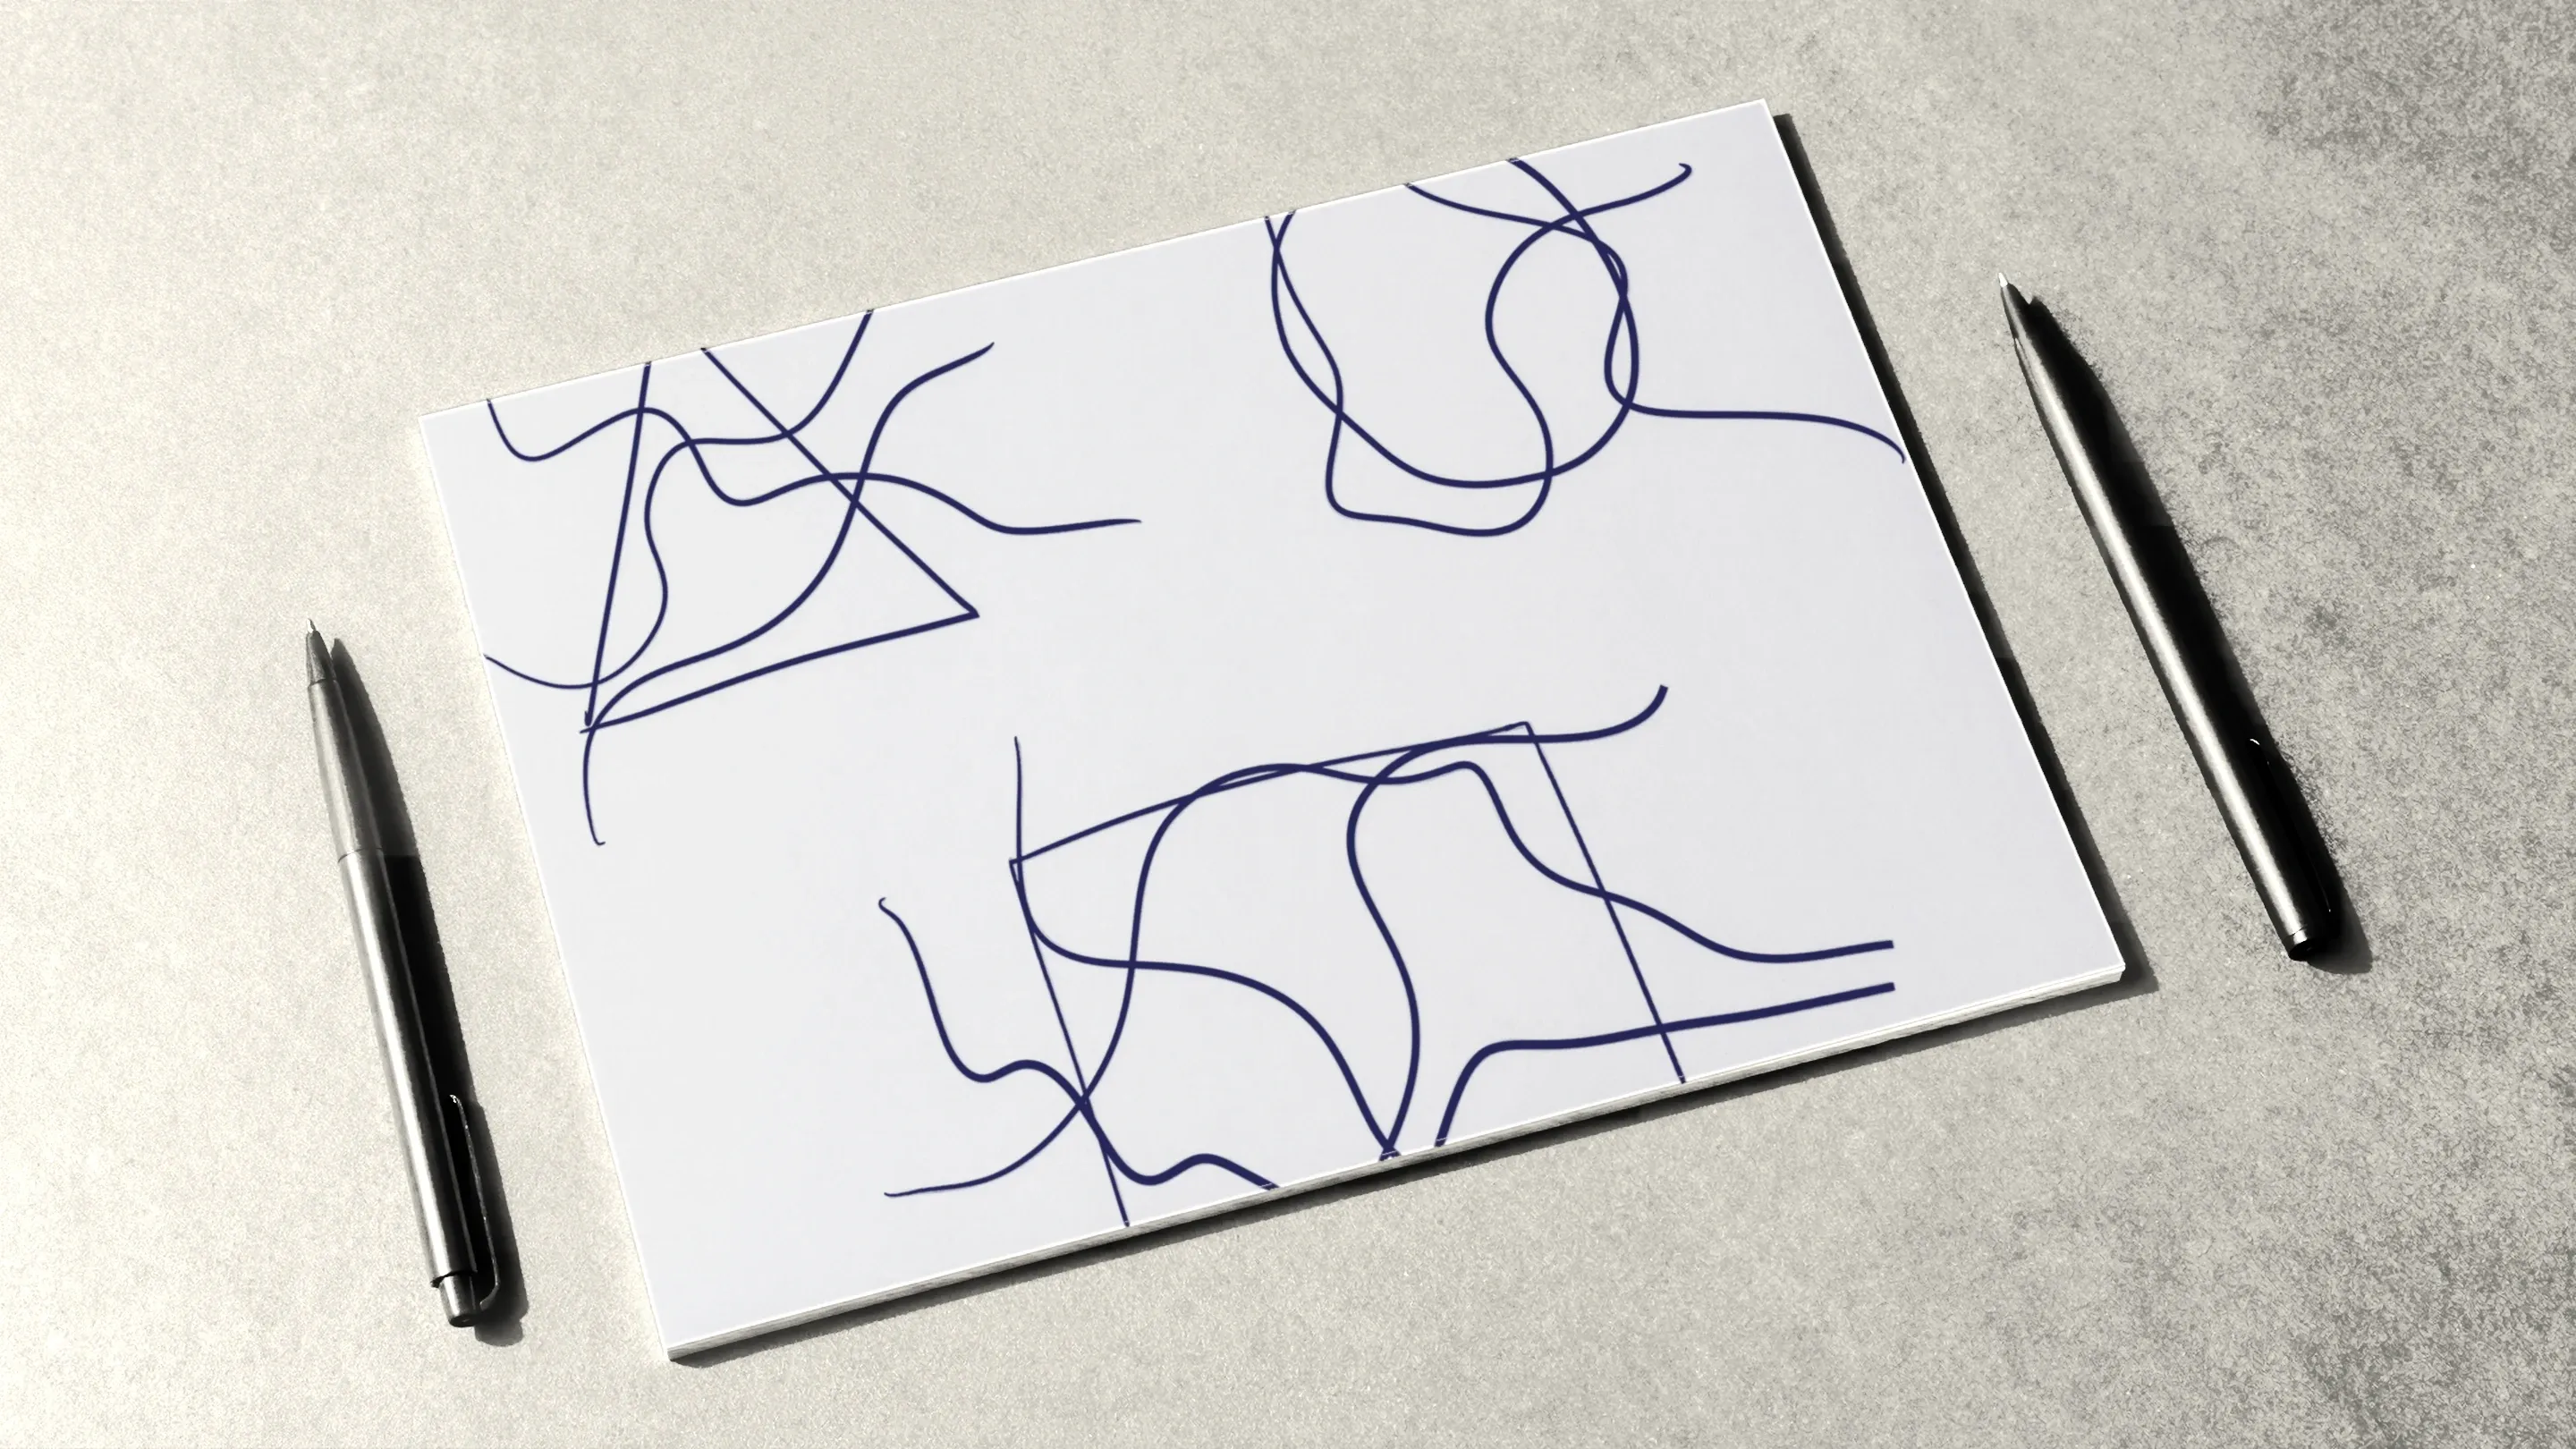
Once the free line and rounding feel familiar, you can add shapes to the drawing: a circle, a triangle, a square. They bring a different character into the flowing pattern — a clear form the eye can hold on to. For the technique itself, a shape is one more reason to draw lines and round new crossings.
Here’s how to place a shape in a drawing, what order to work in, how to pick its size and position, and how to practice on templates.
Which shapes are used
The course talks about three basic shapes, plus the line:
- the circle — the most common shape in the technique. It turns up in the algorithms too: as a step of its own, as the center of a spiral, or as several circles joined by lines;
- the triangle — the most dynamic of the shapes, with its sharp points;
- the square and the rectangle — the most stable, with even sides.
Shapes are drawn freehand, with no compass or ruler. A slightly uneven circle looks more natural in this technique than a perfect one.
The order of work
A shape usually goes into a drawing that already has lines. The order looks like this:
- Lines and rounding. Start with an ordinary drawing: a few free lines across the page, every crossing rounded.
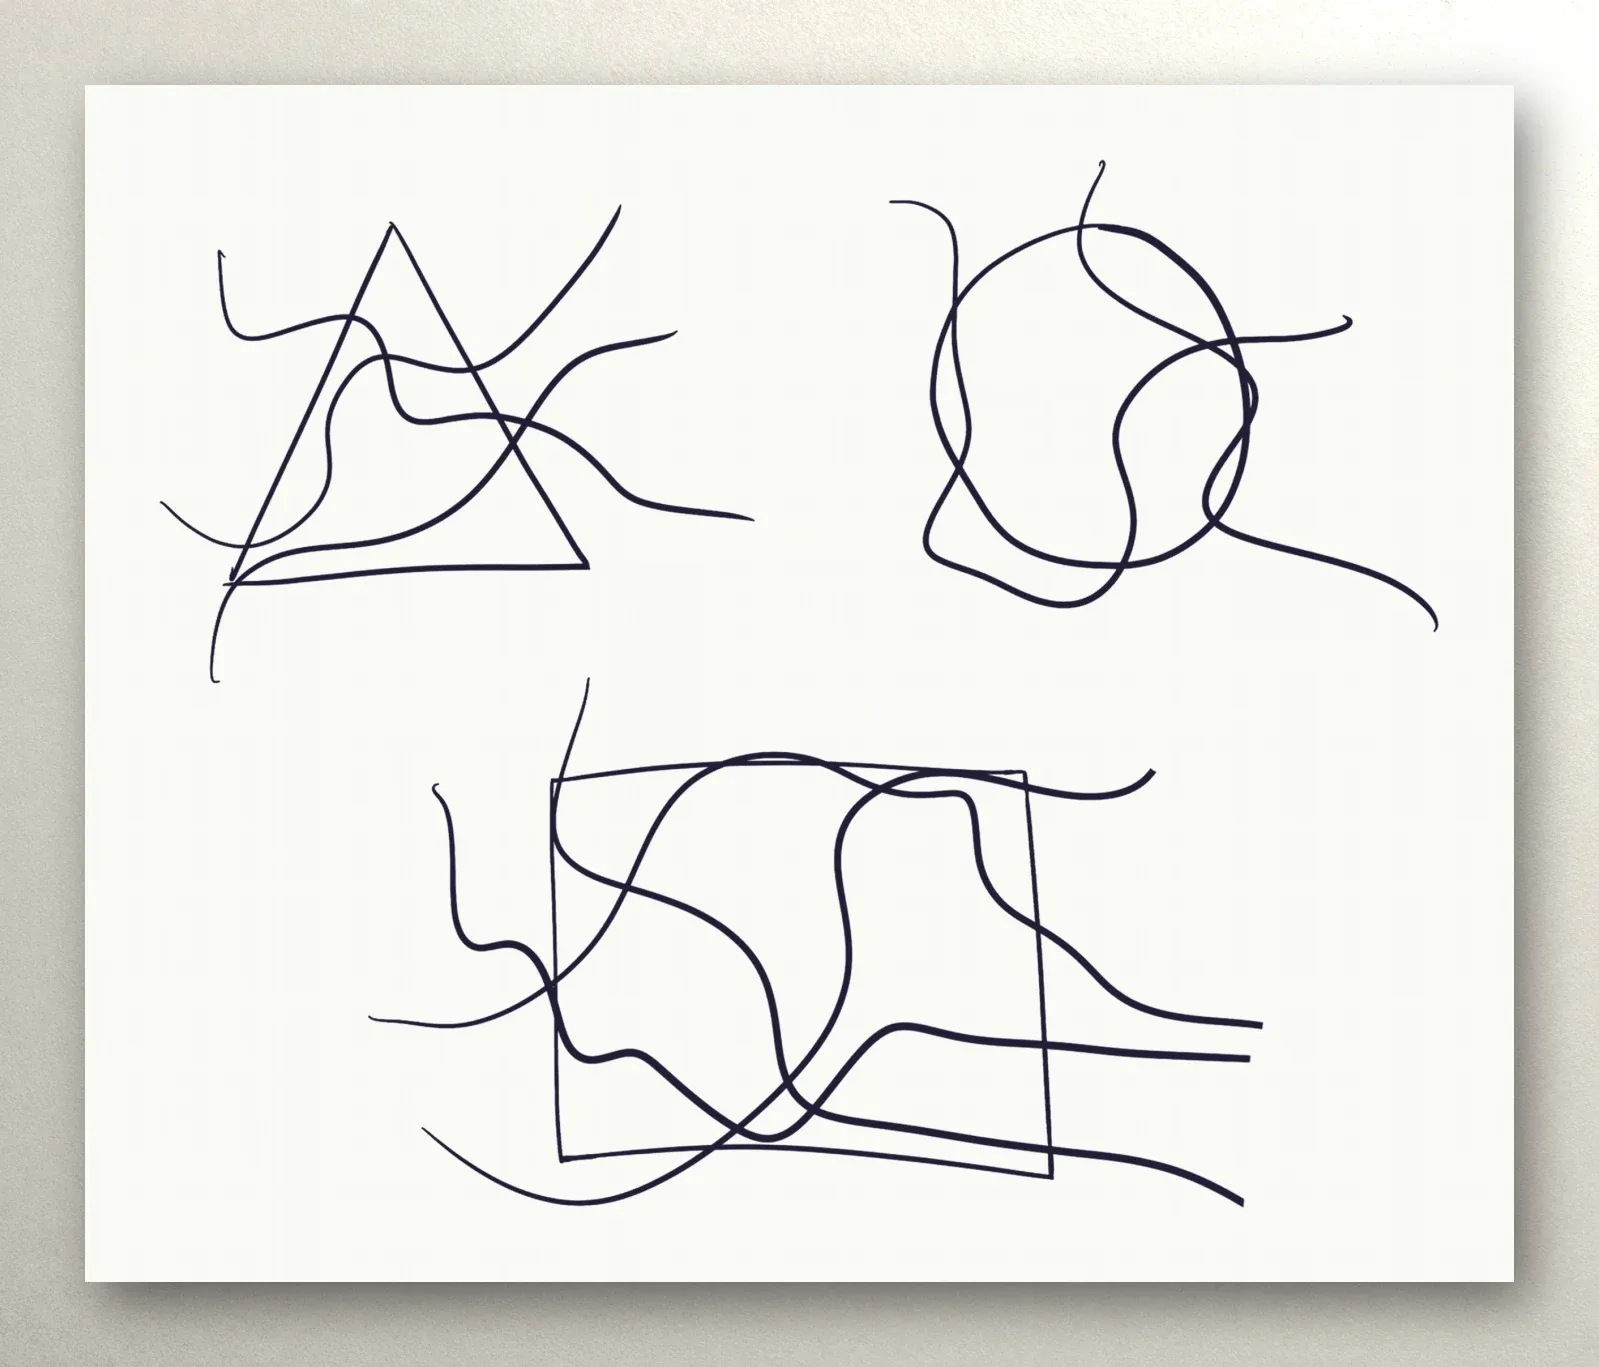
- The shape. Draw it on top — a circle, a triangle, or a square. The lines already there will cross its outline.
- Connect it to the page. If the shape is sitting off on its own, draw one or two free lines that pass through it and run out to the edges of the sheet.
- Round. Round every new crossing where the shape’s outline meets the lines, both outside the shape and inside it.
That’s how shapes work in the course’s algorithms: after each new shape or set of lines comes the step “round all the new intersections.”
Size and placement
- A large shape takes the lead on the page, and everything else arranges itself around it.
- A small shape is an accent among the lines that you don’t notice right away.
- It doesn’t have to be centered. A shape nudged toward a corner often looks livelier than one placed squarely in the middle.
- The outline can be thick. One of the course’s algorithms specifically suggests drawing the circle thick and noticeable.
The course suggests choosing the place and size intuitively: wherever your hand is drawn to, at whatever size feels right just then.
What the shapes mean
In its lesson on shapes, the course offers a few associations: the circle is often linked with wholeness and harmony, the square with stability and order, the triangle with change and movement. But the same lesson stresses the main point: what a shape means is personal and depends on each person’s experience. So the associations in the lesson aren’t a dictionary, just a prompt. If a triangle is a roof over your head to you, and a circle is the sun, then that’s what they are.
It’s interesting to note down after a drawing which shape you chose and why. A few weeks of notes like that will show which forms you keep coming back to.
Several shapes on one page
Shapes can be combined:
- two circles joined by lines — that’s how one of the course’s algorithms begins;
- small circles around a large one — another step of the same algorithm;
- a triangle and a square side by side — a contrast between the dynamic and the stable.
The main rule doesn’t change: connect every shape to the rest of the page with lines, and round all the new crossings.
Common snags
The shape came out too perfect. A circle traced from a template looks out of place among free lines. Draw it freehand, and not too slowly.
The shape is cut off from the drawing. If no lines cross it, it looks like a sticker. Run at least one line through it to the edge of the page.
It’s crowded inside the shape. When lots of lines pass through a small circle, rounding in there gets awkward. Next time, make the shape bigger or run fewer lines through it.
Template exercises
The course includes templates for practicing shapes:
- Round the shapes that are already there. A triangle, a circle, and a square are already crossed by lines; you round the crossings.
- Add the shapes yourself. The template has only a web of lines; you draw the shapes in and round them.
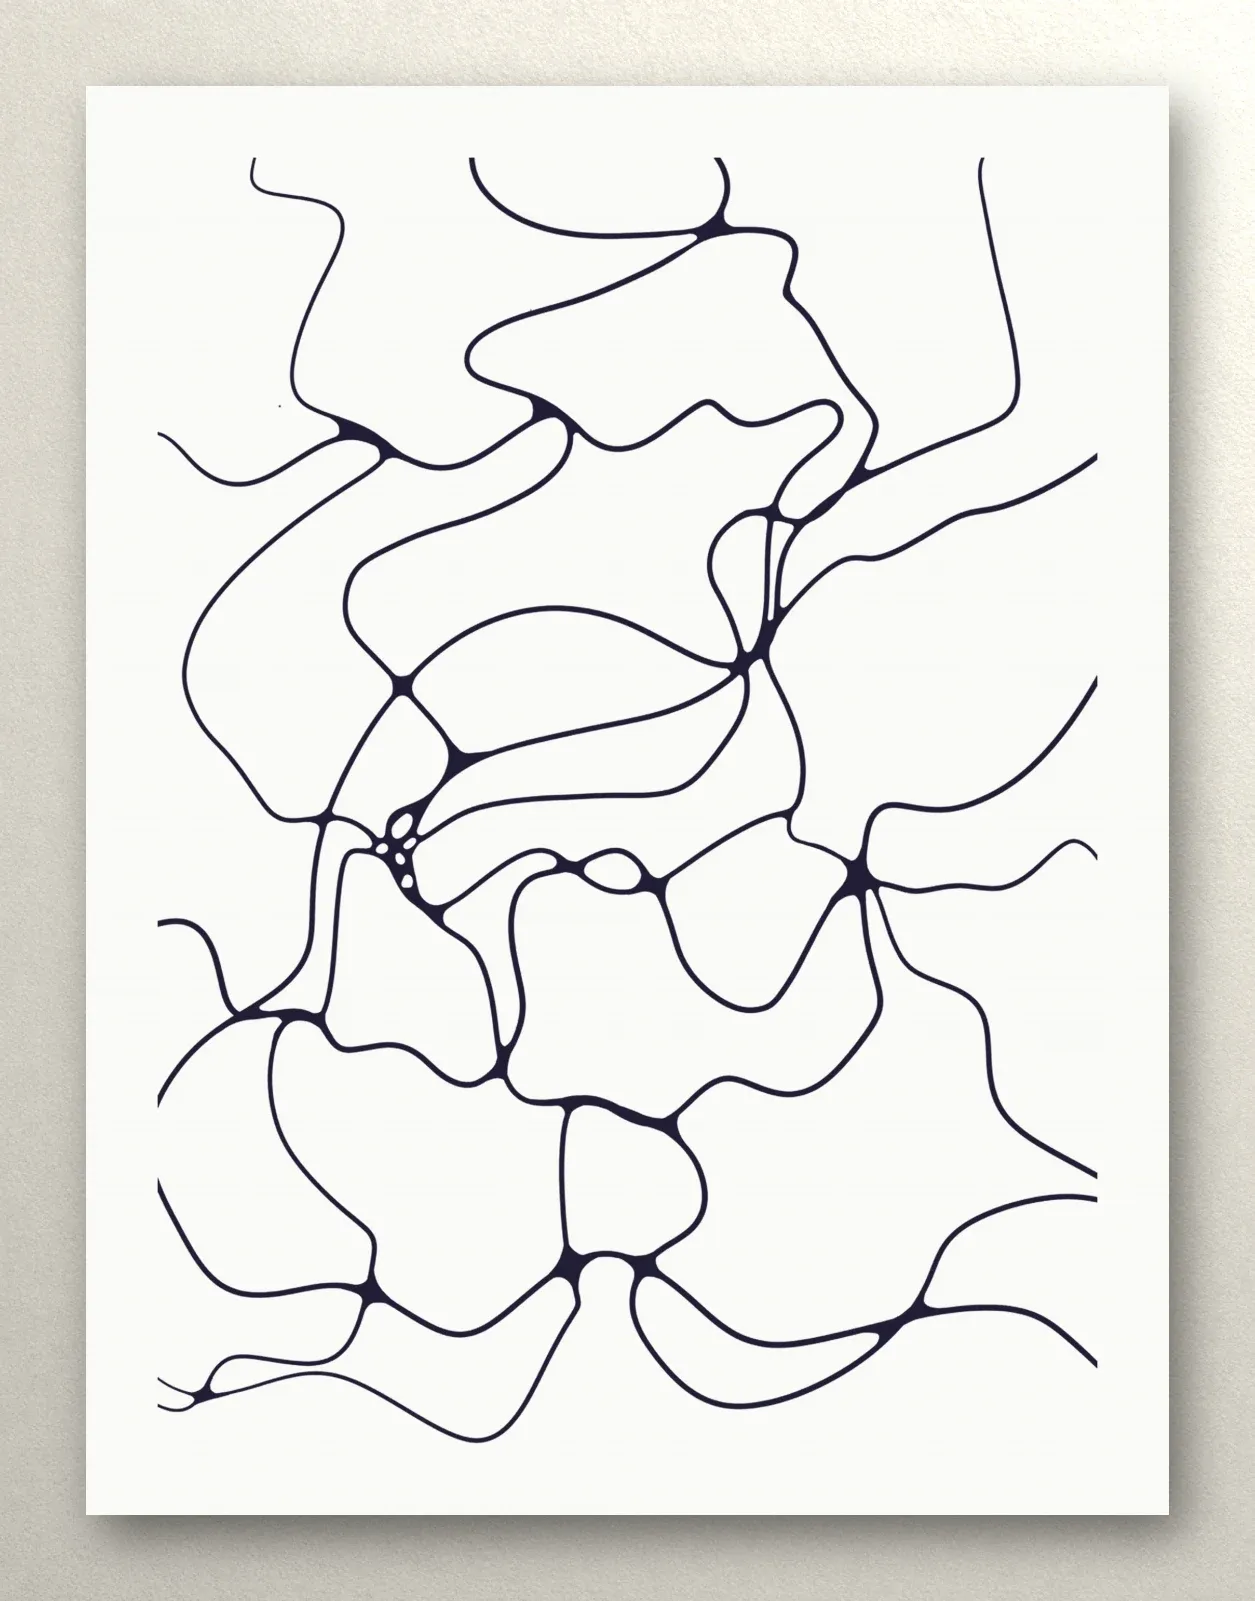
The templates print on A4 (Letter works fine) and live in the shapes lesson of “The alphabet” module.
What comes next
Shapes are a step toward the algorithms, where every action has its place: lines, a circle, rounding, general lines. We covered drawing the lines in The First Line, rounding in Rounding the Intersections, Step by Step, and placing a shape on the page in Composition. The first module of the Neurojournal course is open without an account — start there.