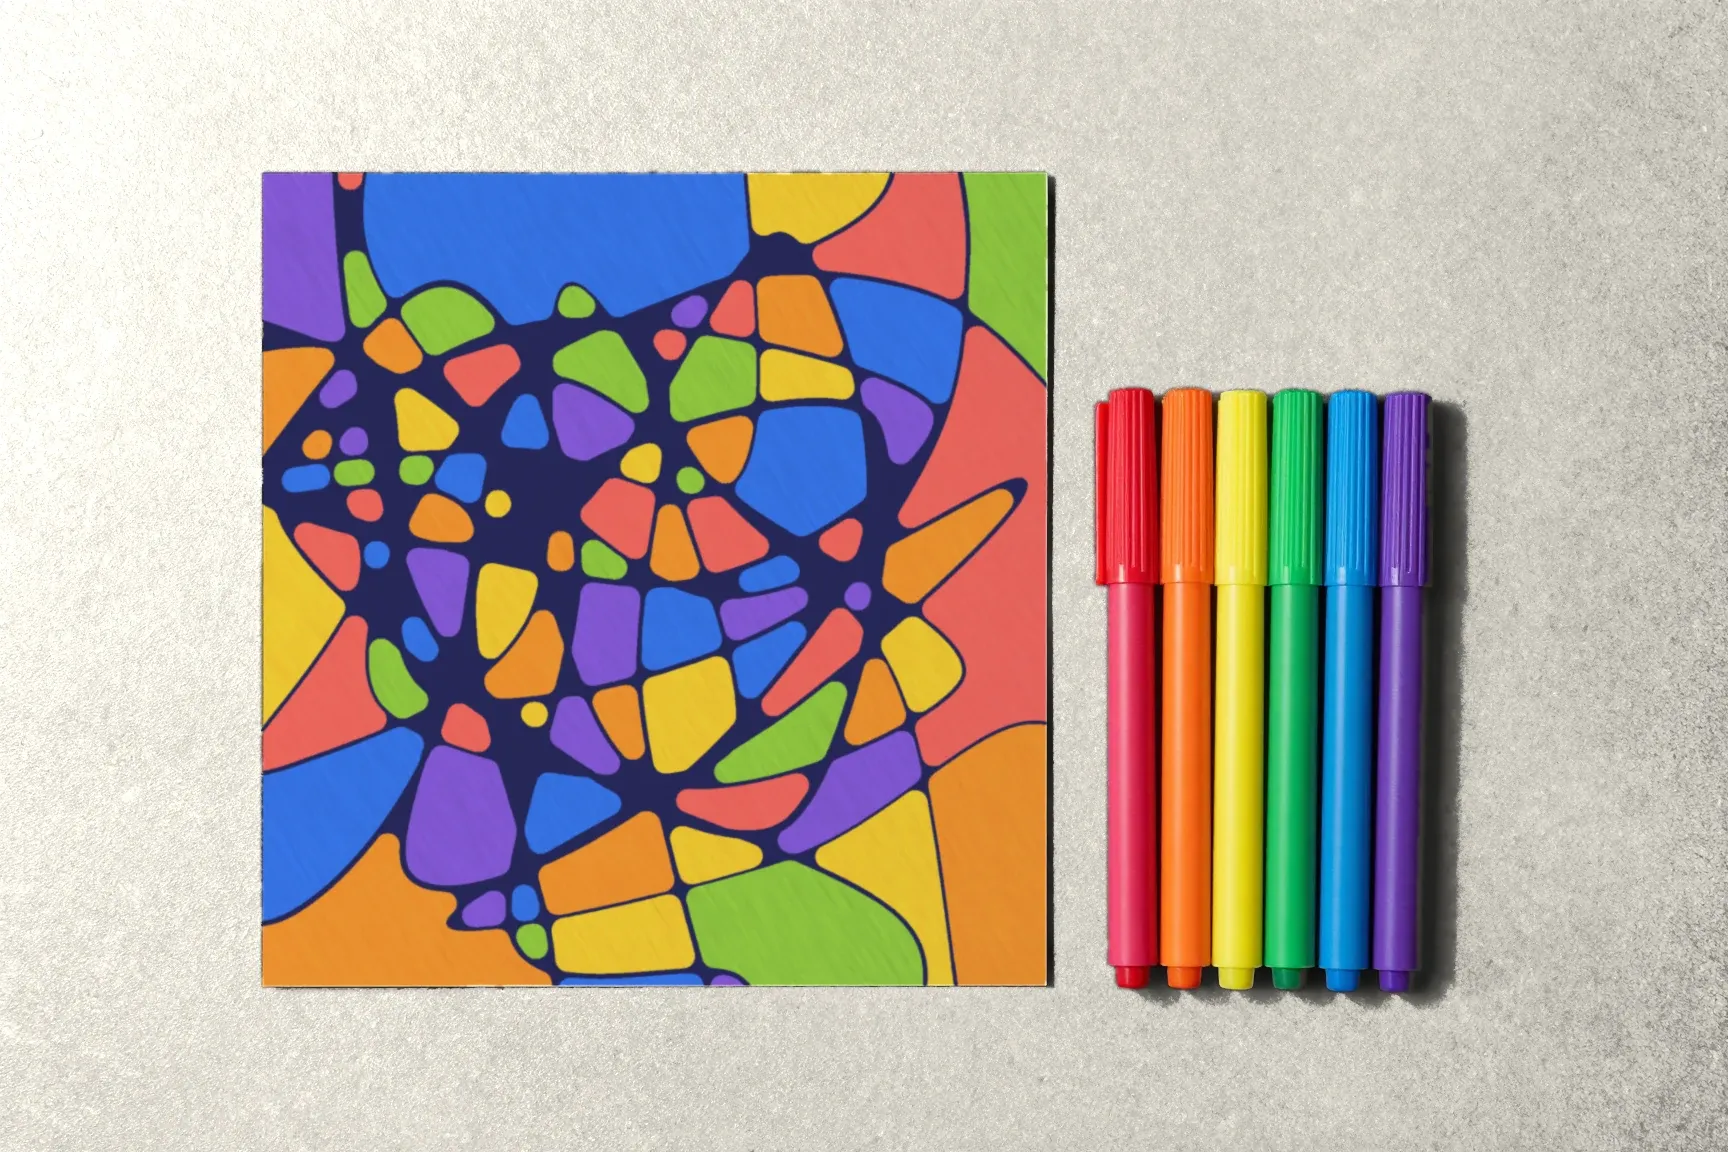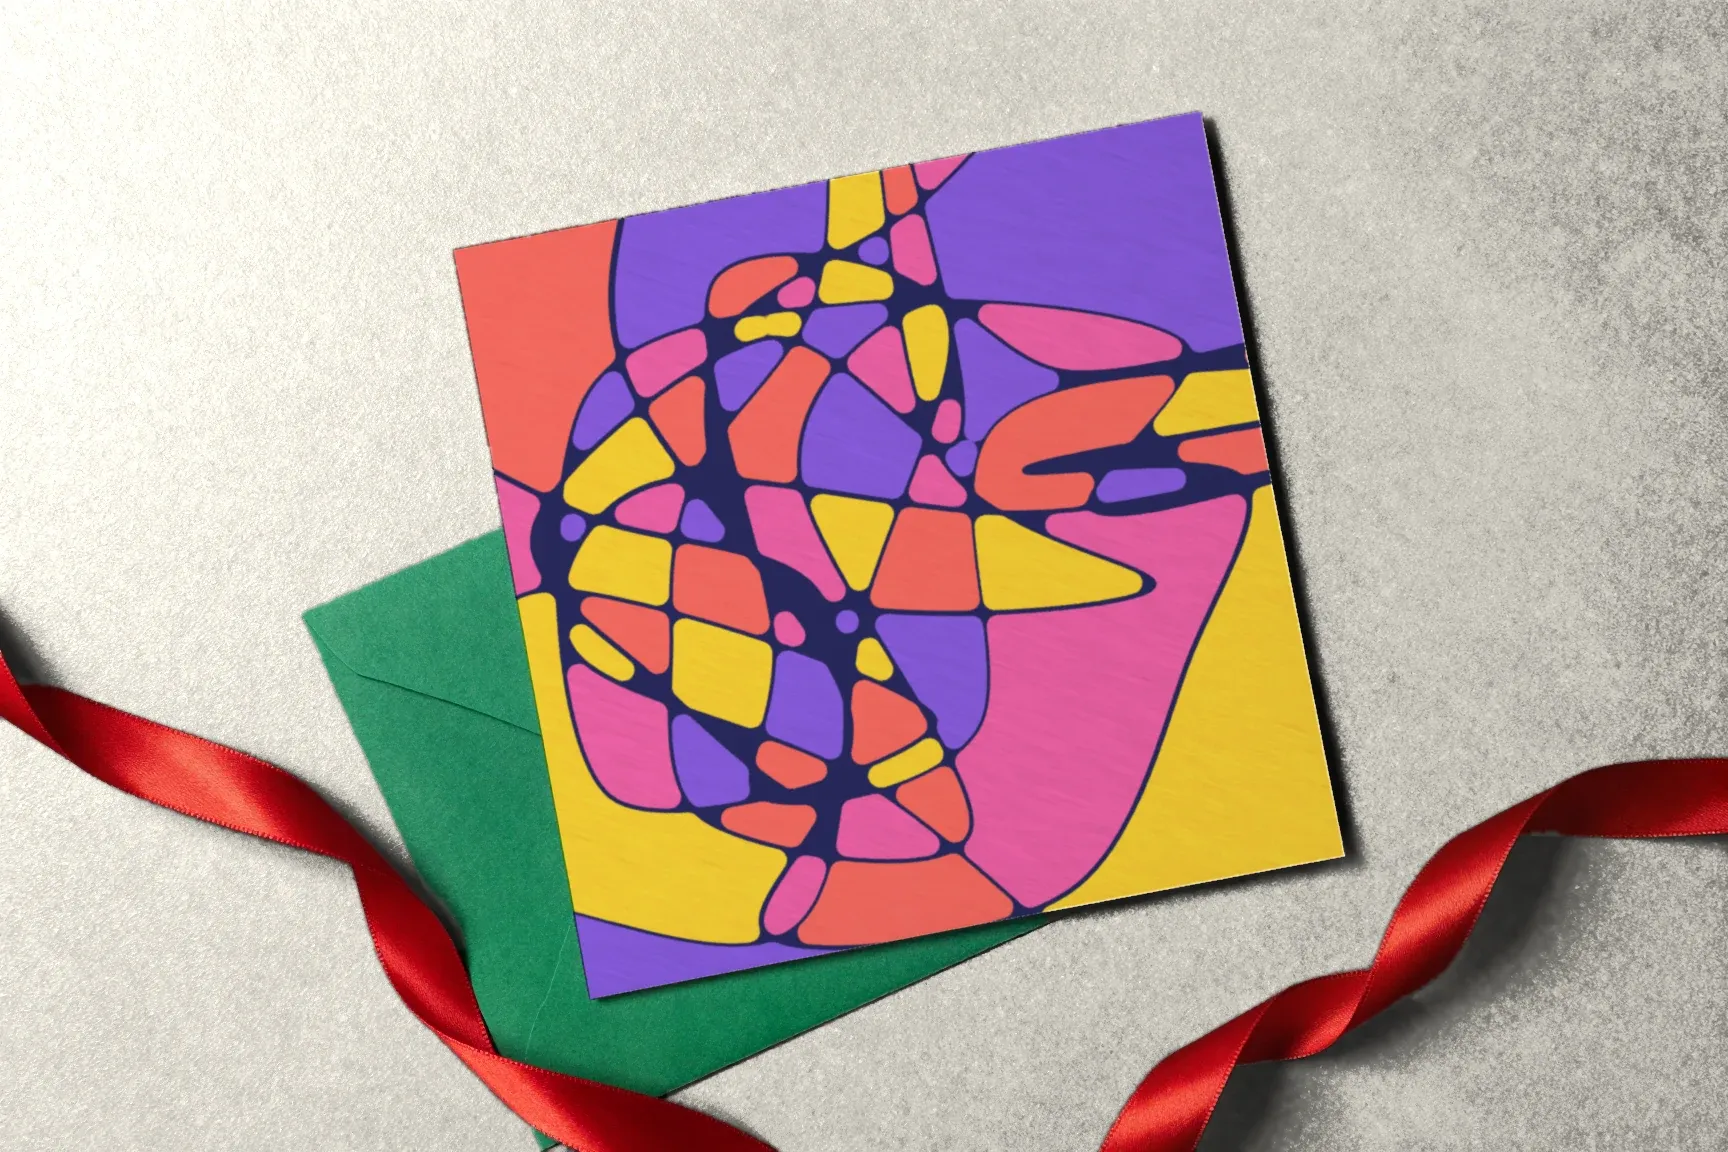
Around the holidays, it’s nice to give something you made with your own hands. A card in transformational drawing is an easy option: free lines, rounded crossings, a few colors — and on a small format it takes about half an hour. A drawing like this can’t be repeated, so every card is one of a kind.
Here’s how to choose a size and paper, how to fit a drawing onto a small sheet, and how to finish the card.
Size and paper
- A folded half-letter sheet gives a classic 4.25 × 5.5 in card (A2 envelope size). Drawing on the front, words inside.
- A folded letter sheet gives a 5.5 × 8.5 in card, with more room for the drawing.
- A flat card — drawing on one side, words on the other.
Use paper heavier than copy paper: 200 gsm (around 75 lb cover stock) or more, or the card won’t hold its shape and markers will show through to the inside. Heavy drawing paper or watercolor paper both work.
Drawing on a small format
The technique on a small sheet is the same, but the proportions change:
- Two or three lines, no more. On a small card, even three lines make plenty of crossings.
- A finer pen — 0.3 mm instead of 0.5 — so small crossings don’t merge.
- Careful rounding. On a card, every corner is seen up close.
- Three or four colors. More than that looks busy on a small format.
If you want the lines to run off the edge, draw on a larger sheet and then cut the card to size: the lines get “cropped” at the edge naturally, just like on a big drawing.
A palette for the person
What makes a card personal isn’t only the drawing but the colors:
- their favorite colors, if you know them;
- the colors of the season: for winter, gray-blue, deep blue, silver (the white of the paper), and one warm accent;
- the colors of a shared memory: the ocean, a forest, a city you visited together.
For more ideas, see 12 Color Palettes to Try.
A theme for the drawing
You can draw the line while thinking about the person you’re giving the card to — a trip you took together, a conversation, a habit of theirs. Nobody will read it in the drawing, but you’ll know. And if you like, write about it inside.
Words and signature
- Leave room — inside or on the back, not on the drawing.
- Write after the color has dried, so the marker doesn’t bleed into your pen.
- Keep it short: a few warm lines.
- Add the date in a corner — years from now it’ll be nice to see.
Envelope and packaging
- Buy an envelope or fold one from heavy paper.
- A tiny drawing on the envelope — a line with a few rounded crossings in a corner — ties it to the card.
- If you’re mailing the card, slip it between two pieces of cardboard so it doesn’t bend.
Several cards in one evening
If you need several cards, work assembly-line style:
- draw the lines on all the cards;
- round the crossings on all of them;
- color them all, one color at a time.
Your hand doesn’t have to switch between steps, and the cards come out different but with a shared mood.
Don’t forget a photo
The card goes to its recipient, but the photo stays with you. Take one before you seal the envelope, and add it to your practice journal with a few words about who it was for.
What comes next
We covered drawing the line and rounding the crossings in The First Line and Rounding the Intersections, Step by Step, and photographing a drawing in How to Photograph a Drawing. The first module of the Neurojournal course is open without an account — start there.