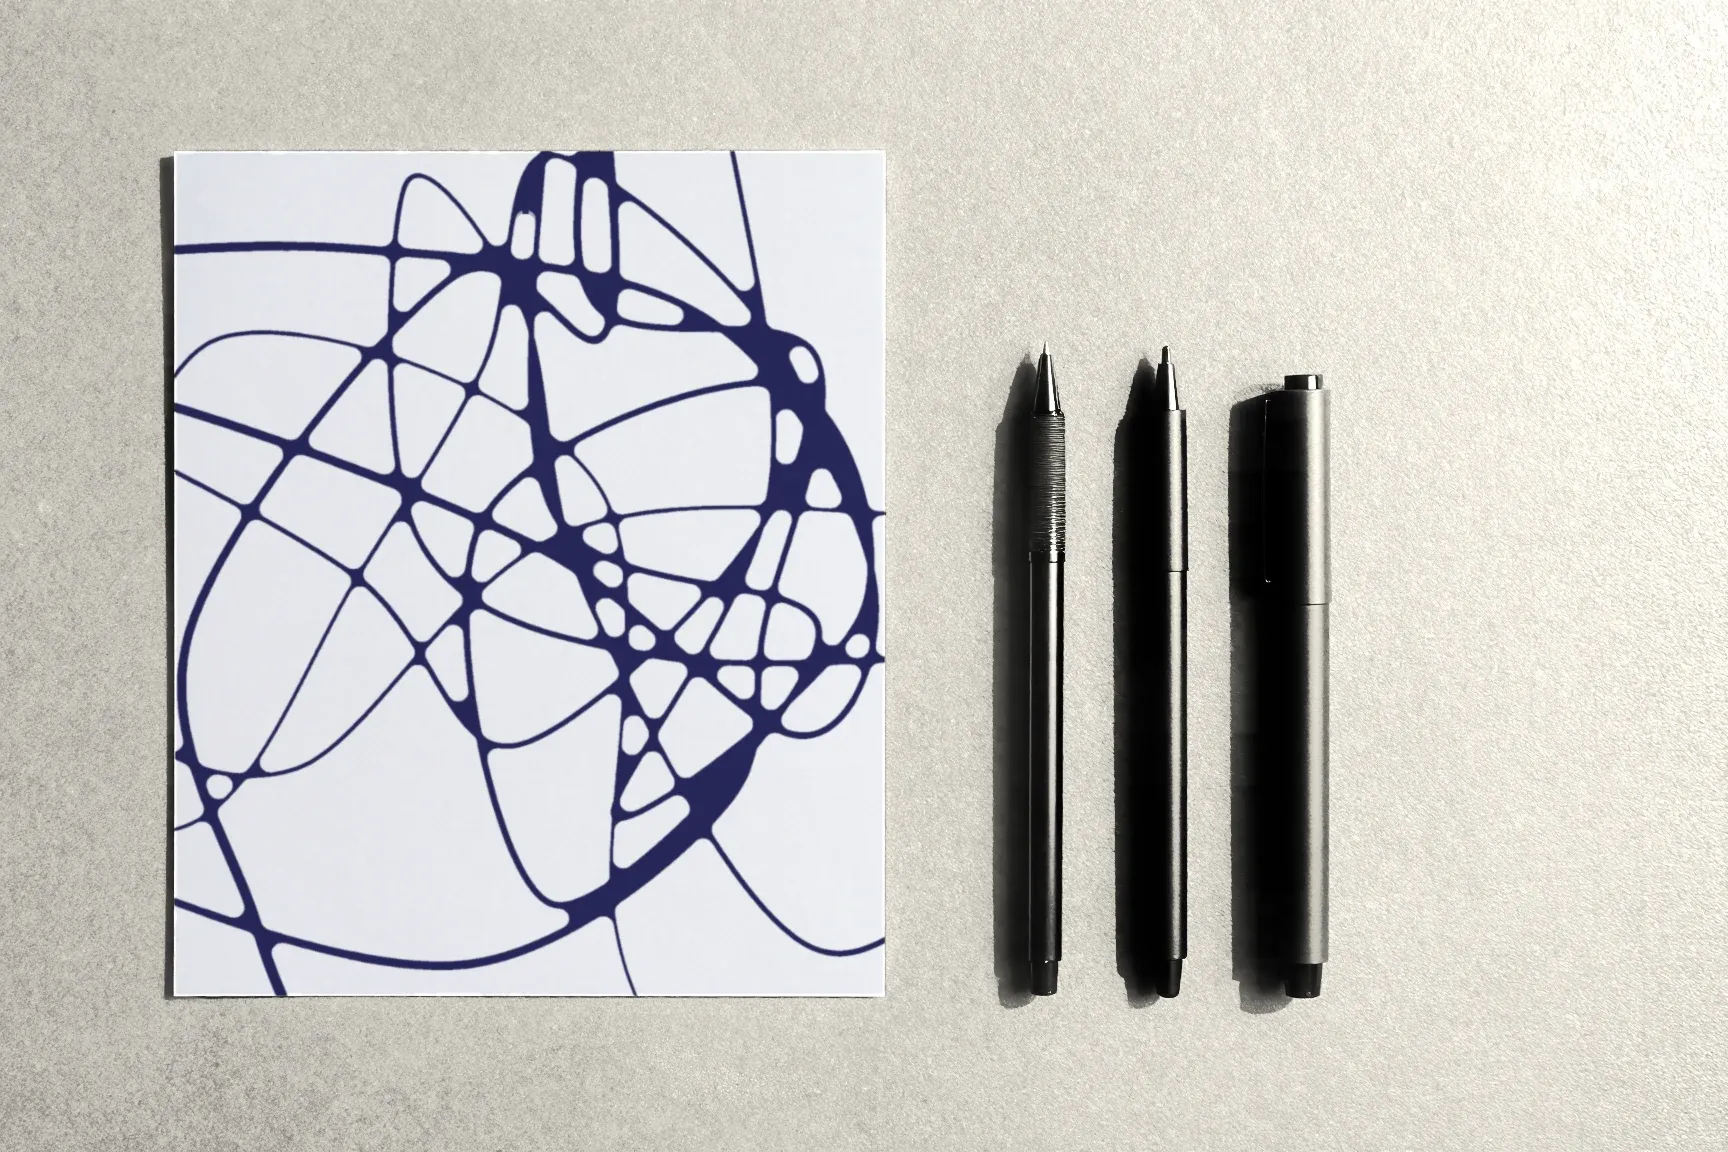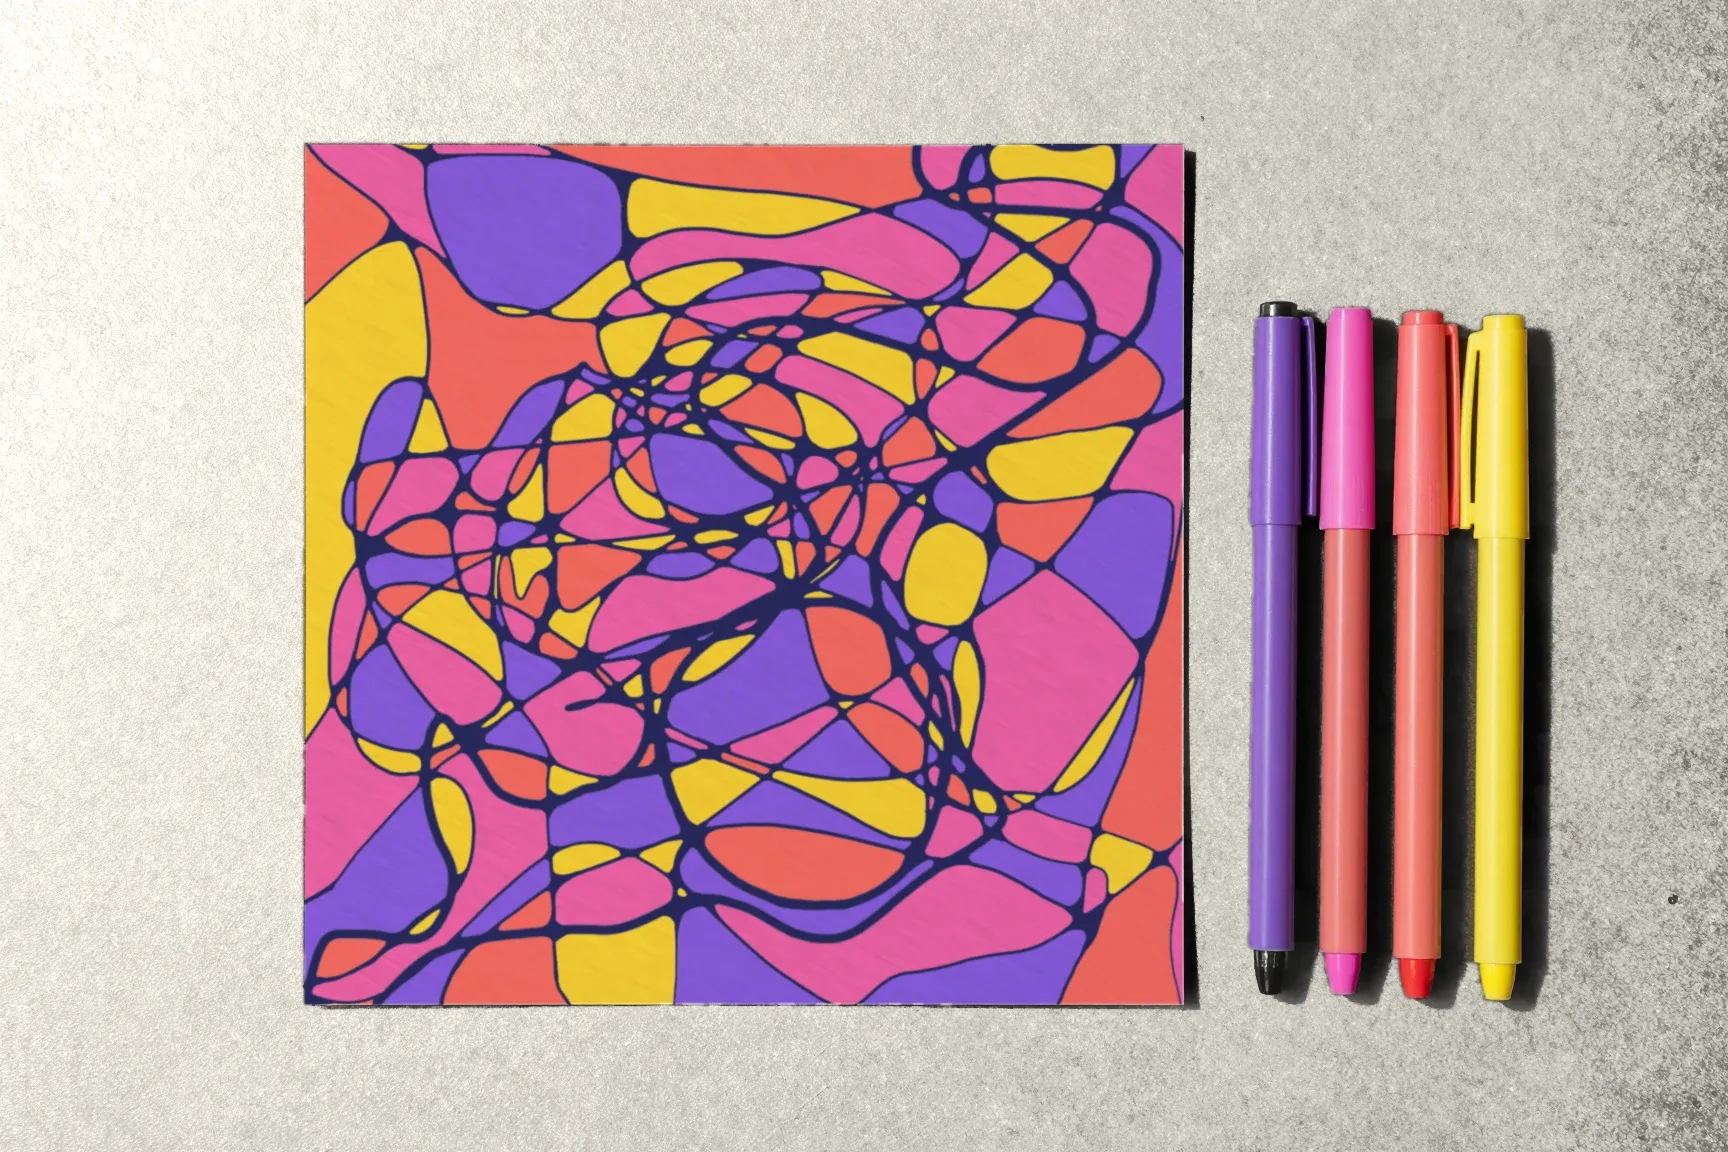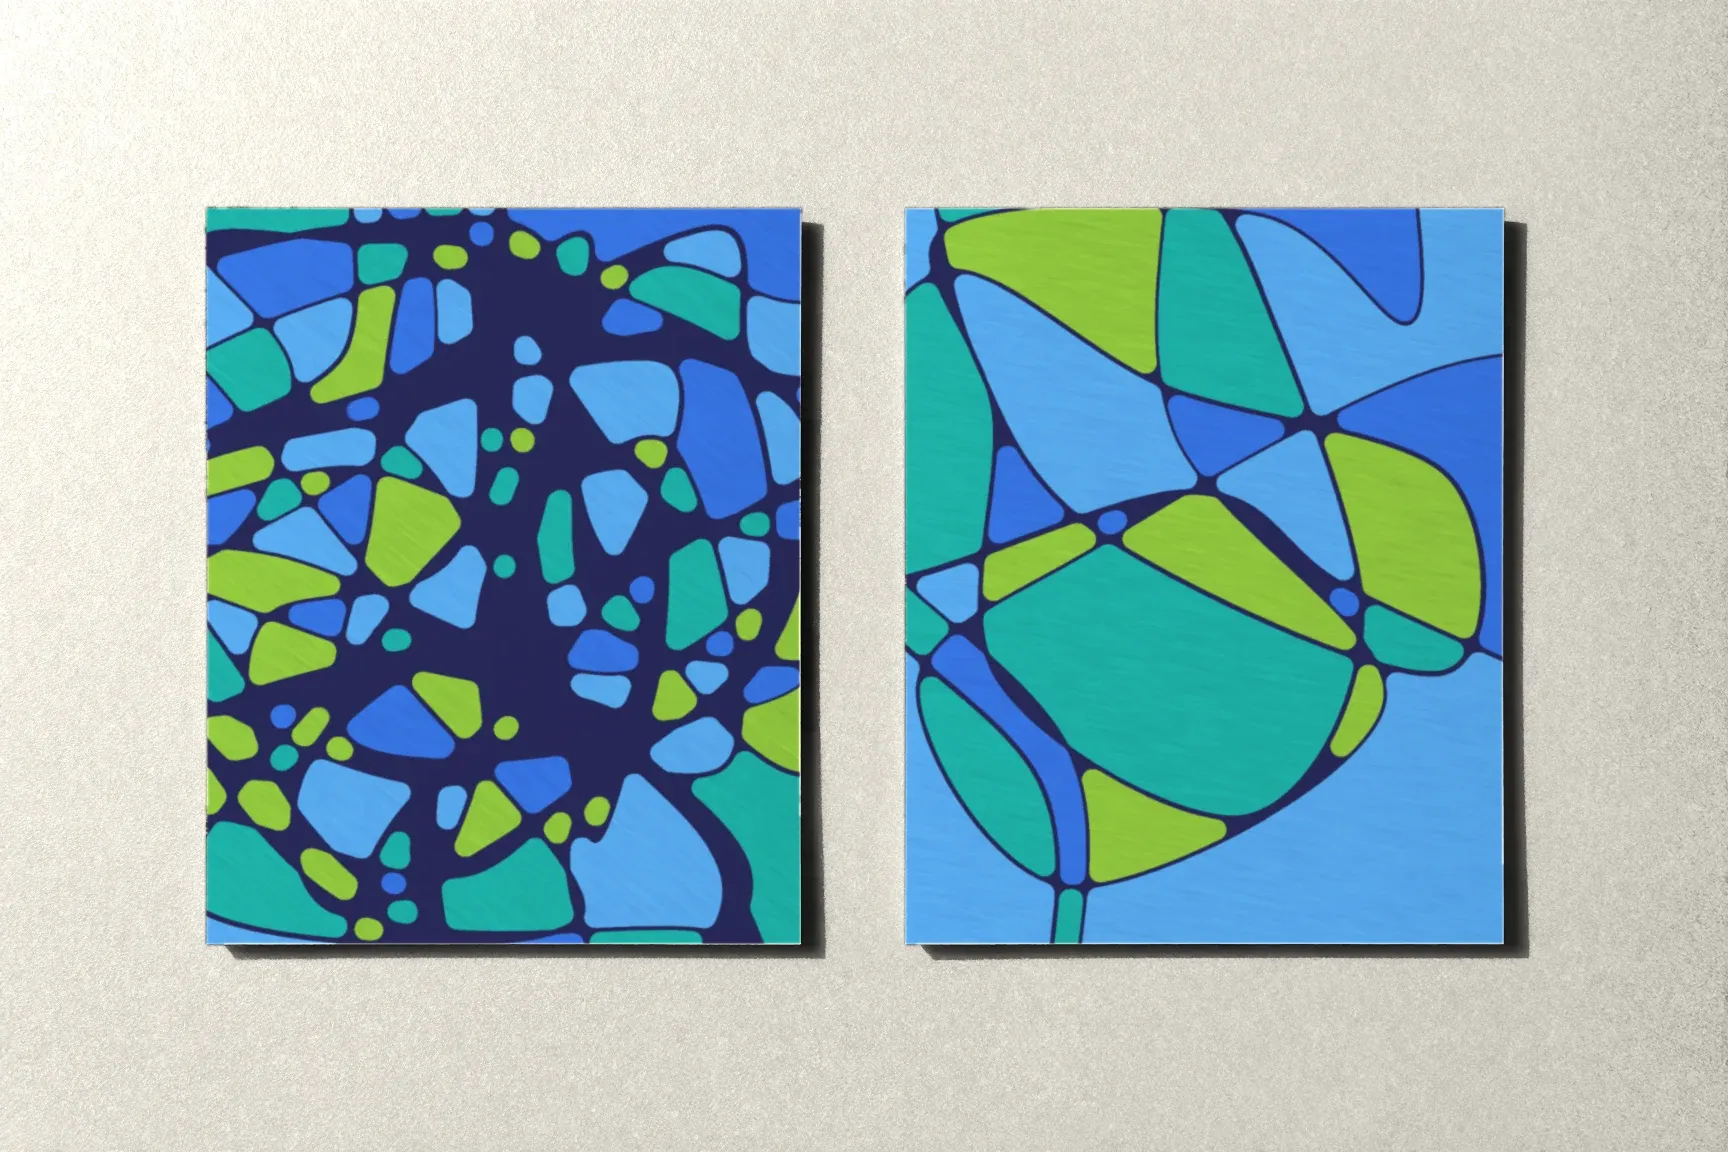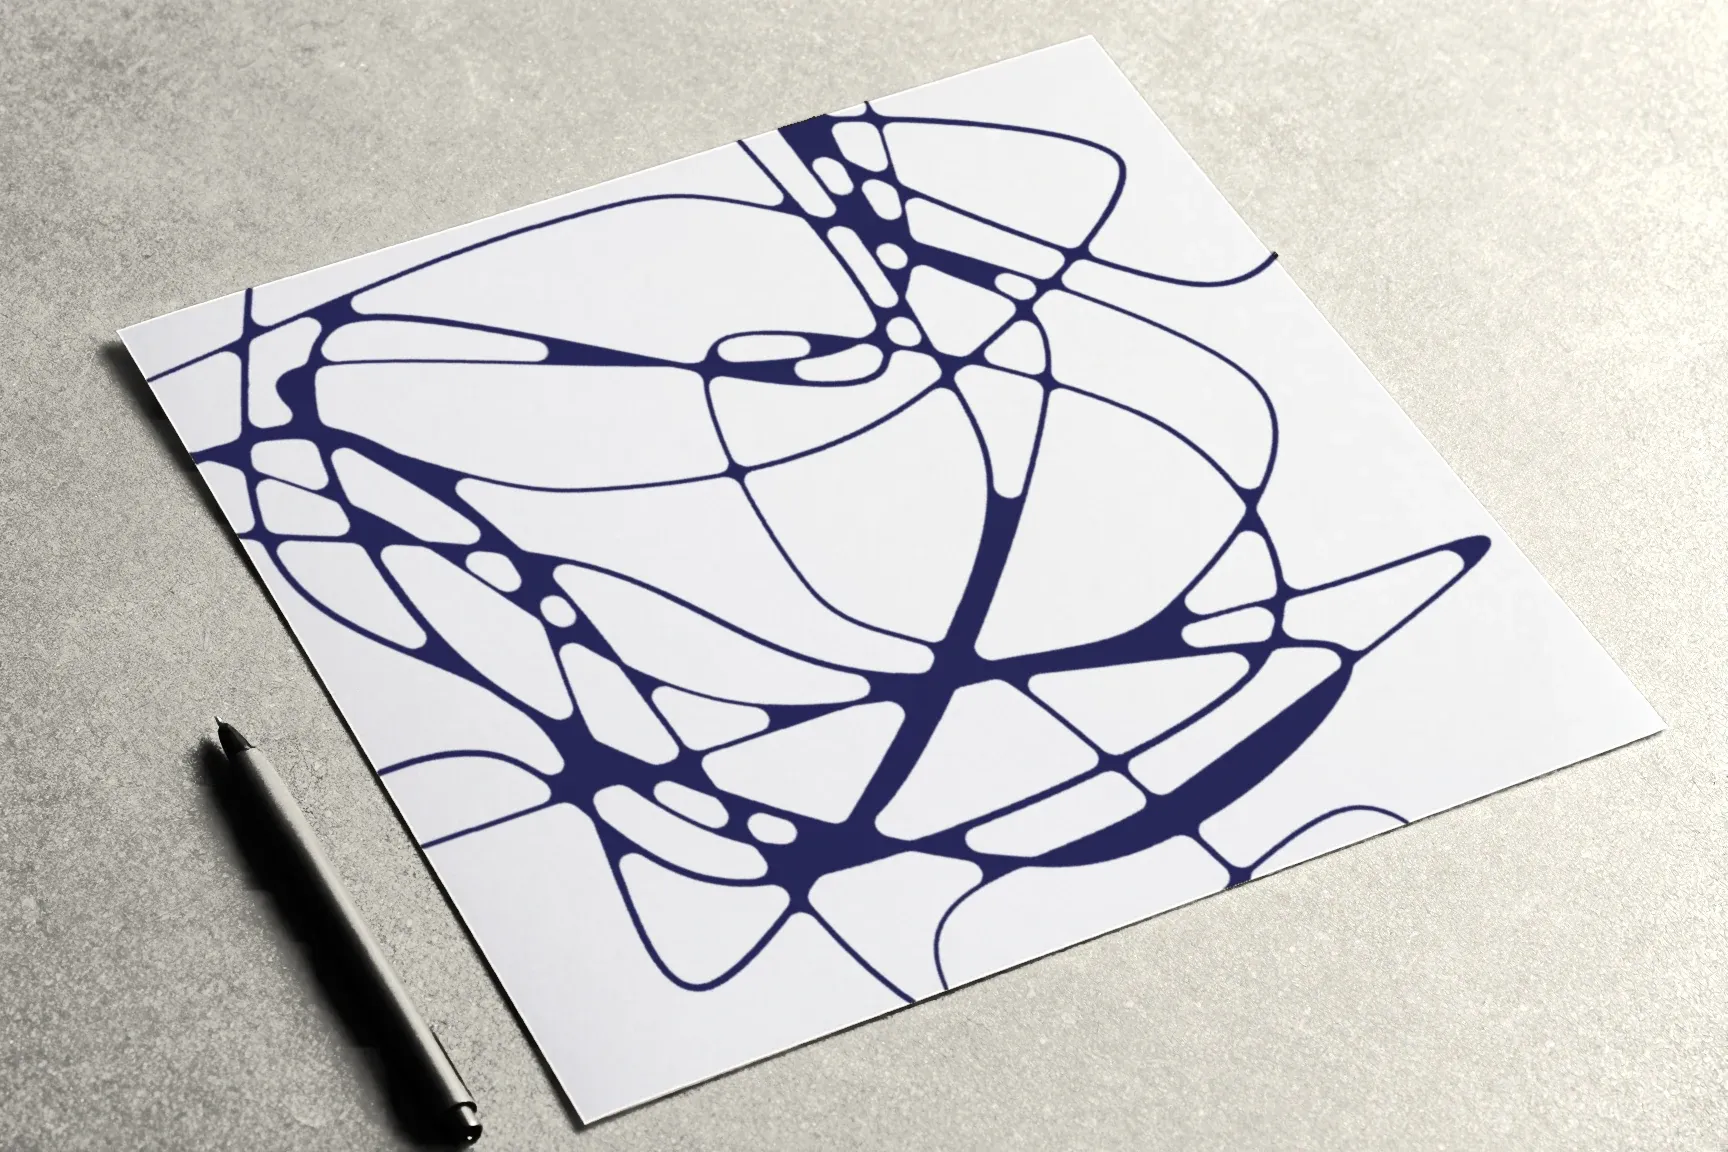
Rounding is the main step of transformational drawing. The lines lay the groundwork and color adds mood, but rounding is what changes the drawing: a spiky web of crossings turns into smooth joints that look almost sculpted. It’s also the longest part of the work, so it’s worth taking apart in detail.
Here’s what rounding is, what to do it with, a step-by-step guide, and how to practice on ready-made templates.
What rounding is
When two lines cross, they form corners. Rounding a crossing means filling each of those corners with ink so the lines meet in a soft curve rather than a sharp point. The lines stay where they are; only the place where they meet changes.
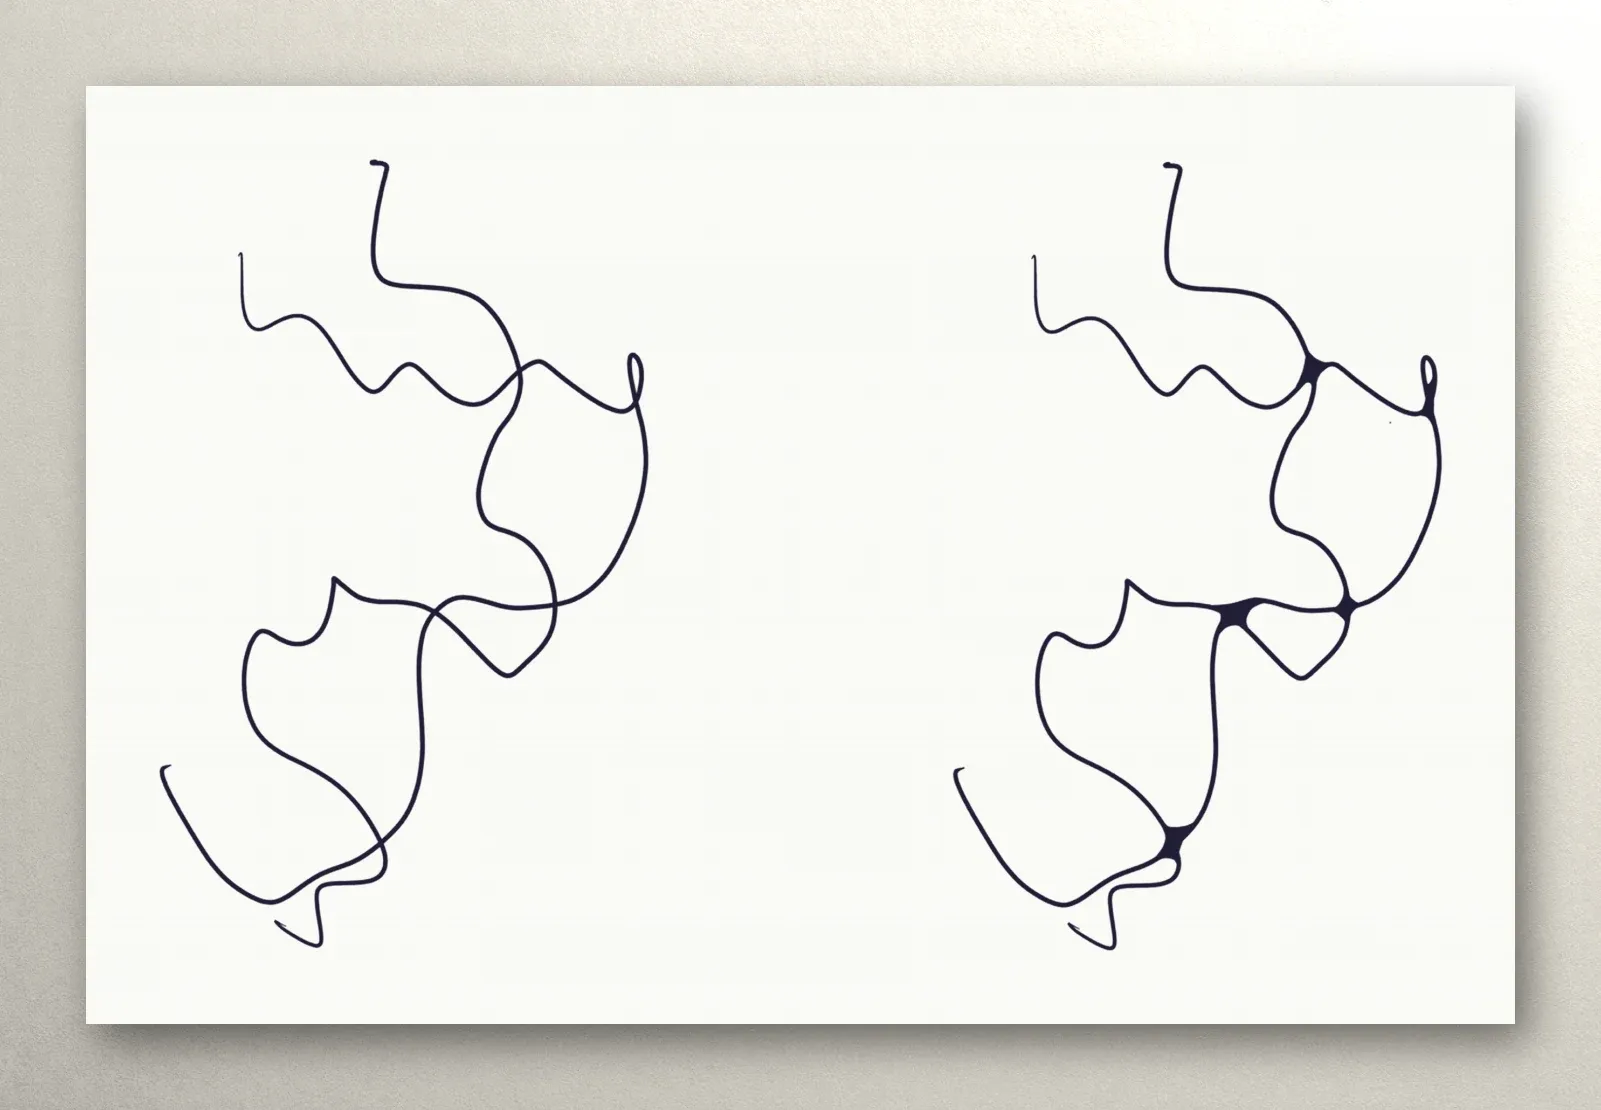
This diagram shows the same line twice: on the left, the crossings have sharp corners; on the right, they’re rounded. Rounding doesn’t erase the crossing — it makes it thicker and smoother. That’s why the drawing looks denser and more unified after this step.
What to round with
You can round with the same pen you used for the lines, but a second, bolder one makes life easier:
- a 0.8 mm fineliner or thicker for most corners;
- a black brush marker for big corners you want to fill quickly;
- a fine fineliner for the tiniest crossings, where a thick pen would flood everything.
What matters most is that the ink is the same black as the lines. Otherwise the rounded spots will stand out by their shade.
Step by step
- Find every crossing. Look over the sheet and note where lines cross. There are usually more than you think: a line that crosses itself makes a crossing too.
- Pick an order. Working top to bottom in bands, or from one edge to the other, keeps any crossing from getting lost.
- Look at the corners. Two crossing lines make four corners: two sharp and two wide, or four that are nearly square. All of them get rounded.
- Start at the tip of the corner. Put the pen at the crossing point and draw a curve that joins the two sides of the corner, a little away from the tip. Then fill in the space between the curve and the tip.
- Round boldly. A sharp corner needs a deeper curve; a wide one, a lighter touch. Don’t be afraid to move into the open space of the page — rounding that’s too timid leaves the corner almost sharp.
- Fill tiny crossings completely. If a crossing is small and your pen is thick, just fill it in. That counts as rounding too.
- Keep one style. Try to round similar corners across the page in a similar way. The drawing then looks whole rather than patched.
- Check the sheet. When you think you’re done, turn the page upside down or step back. Any sharp corners you missed will jump out.
How long it takes
On a letter-size sheet with four or five lines, expect 20 to 40 minutes, depending on how many crossings there are and how thick your pen is. It’s slow work, and there’s no point rushing it: rounding is where the drawing becomes yours.
The course suggests not leaving a drawing with its corners sharp and finishing the rounding the same day. If you’re short on time, draw fewer lines rather than abandoning the rounding halfway.
How to practice on templates
Rounding is easier to learn on its own, separate from the lines. That’s what the course’s templates are for: sheets where the lines are already drawn and the corners are still sharp. They come in landscape and portrait, with sparser and denser webs.
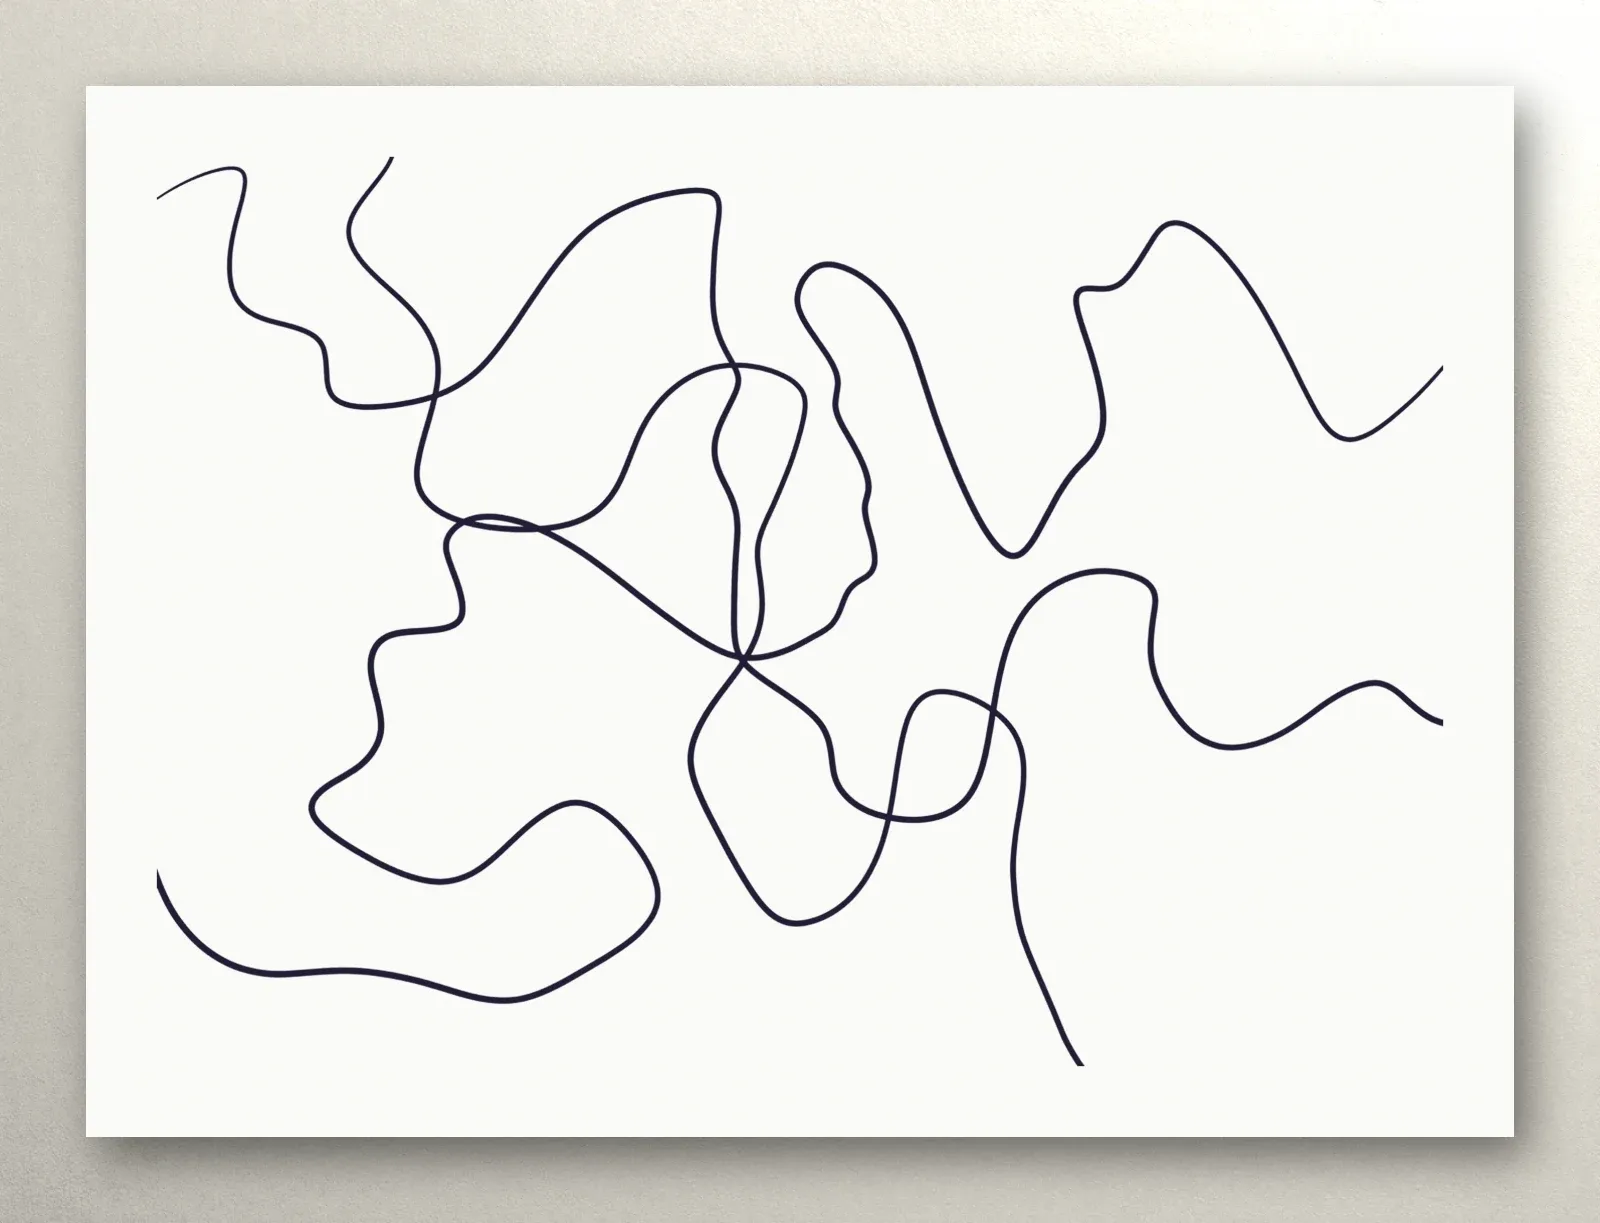
How to use a template:
- Print it out (A4 templates print fine on Letter paper) or copy it by hand.
- Round every crossing without thinking about the lines — they’re already there.
- Notice which corners come easily and where your hand hesitates.
- Compare two or three templates rounded on different days: each time, your hand moves with more confidence.
Templates are great for short sessions when there isn’t time for a whole drawing.
What to do about mistakes
If a curve comes out crooked or the ink spreads wider than you wanted, don’t try to “erase” it. Even out the neighboring corners to match that curve, or make the rounding a little bigger. Rounding forgives almost everything: extra ink simply becomes part of the joint.
What comes next
After rounding, you can leave the drawing black and white or color the cells the lines have made. We covered how to draw the lines themselves in The First Line, and the full cycle from line to color in What Is Transformational Drawing?
The Neurojournal course has a lesson devoted to rounding in “The alphabet” module, with printable templates. The first module, “Getting started,” is open without an account — start there.