Plenty of adults put off drawing for years. It feels like you first need the right supplies, a class, “the basics,” and a free weekend to get started. In reality, a first try takes one evening, a sheet of paper, and a pen. Everything else can wait until you know whether you enjoy it.
Here’s a plan for your first evening with transformational drawing: what to set up, how to split the time, and what to do when something doesn’t go the way you expected. If you haven’t met the technique yet, start with What Is Transformational Drawing? — it explains the three steps in a few minutes: the line, rounding, and color.
Three doubts before you begin
“I can’t draw.” This technique doesn’t ask you to. Nobody draws from life, builds perspective, or works out shading. You move a line across the page and soften its corners — something any hand that can hold a pen can do.
“I’m not creative.” Transformational drawing doesn’t need an idea. The line doesn’t have to depict anything, and the pattern builds itself while you follow the steps. Ideas may show up later; your first evening doesn’t need them.
“I don’t have time.” The first drawing takes about an hour; after that, as much or as little as you like. Many people draw for 20–30 minutes a few times a week — lines and rounding one evening, color another.
What to set up
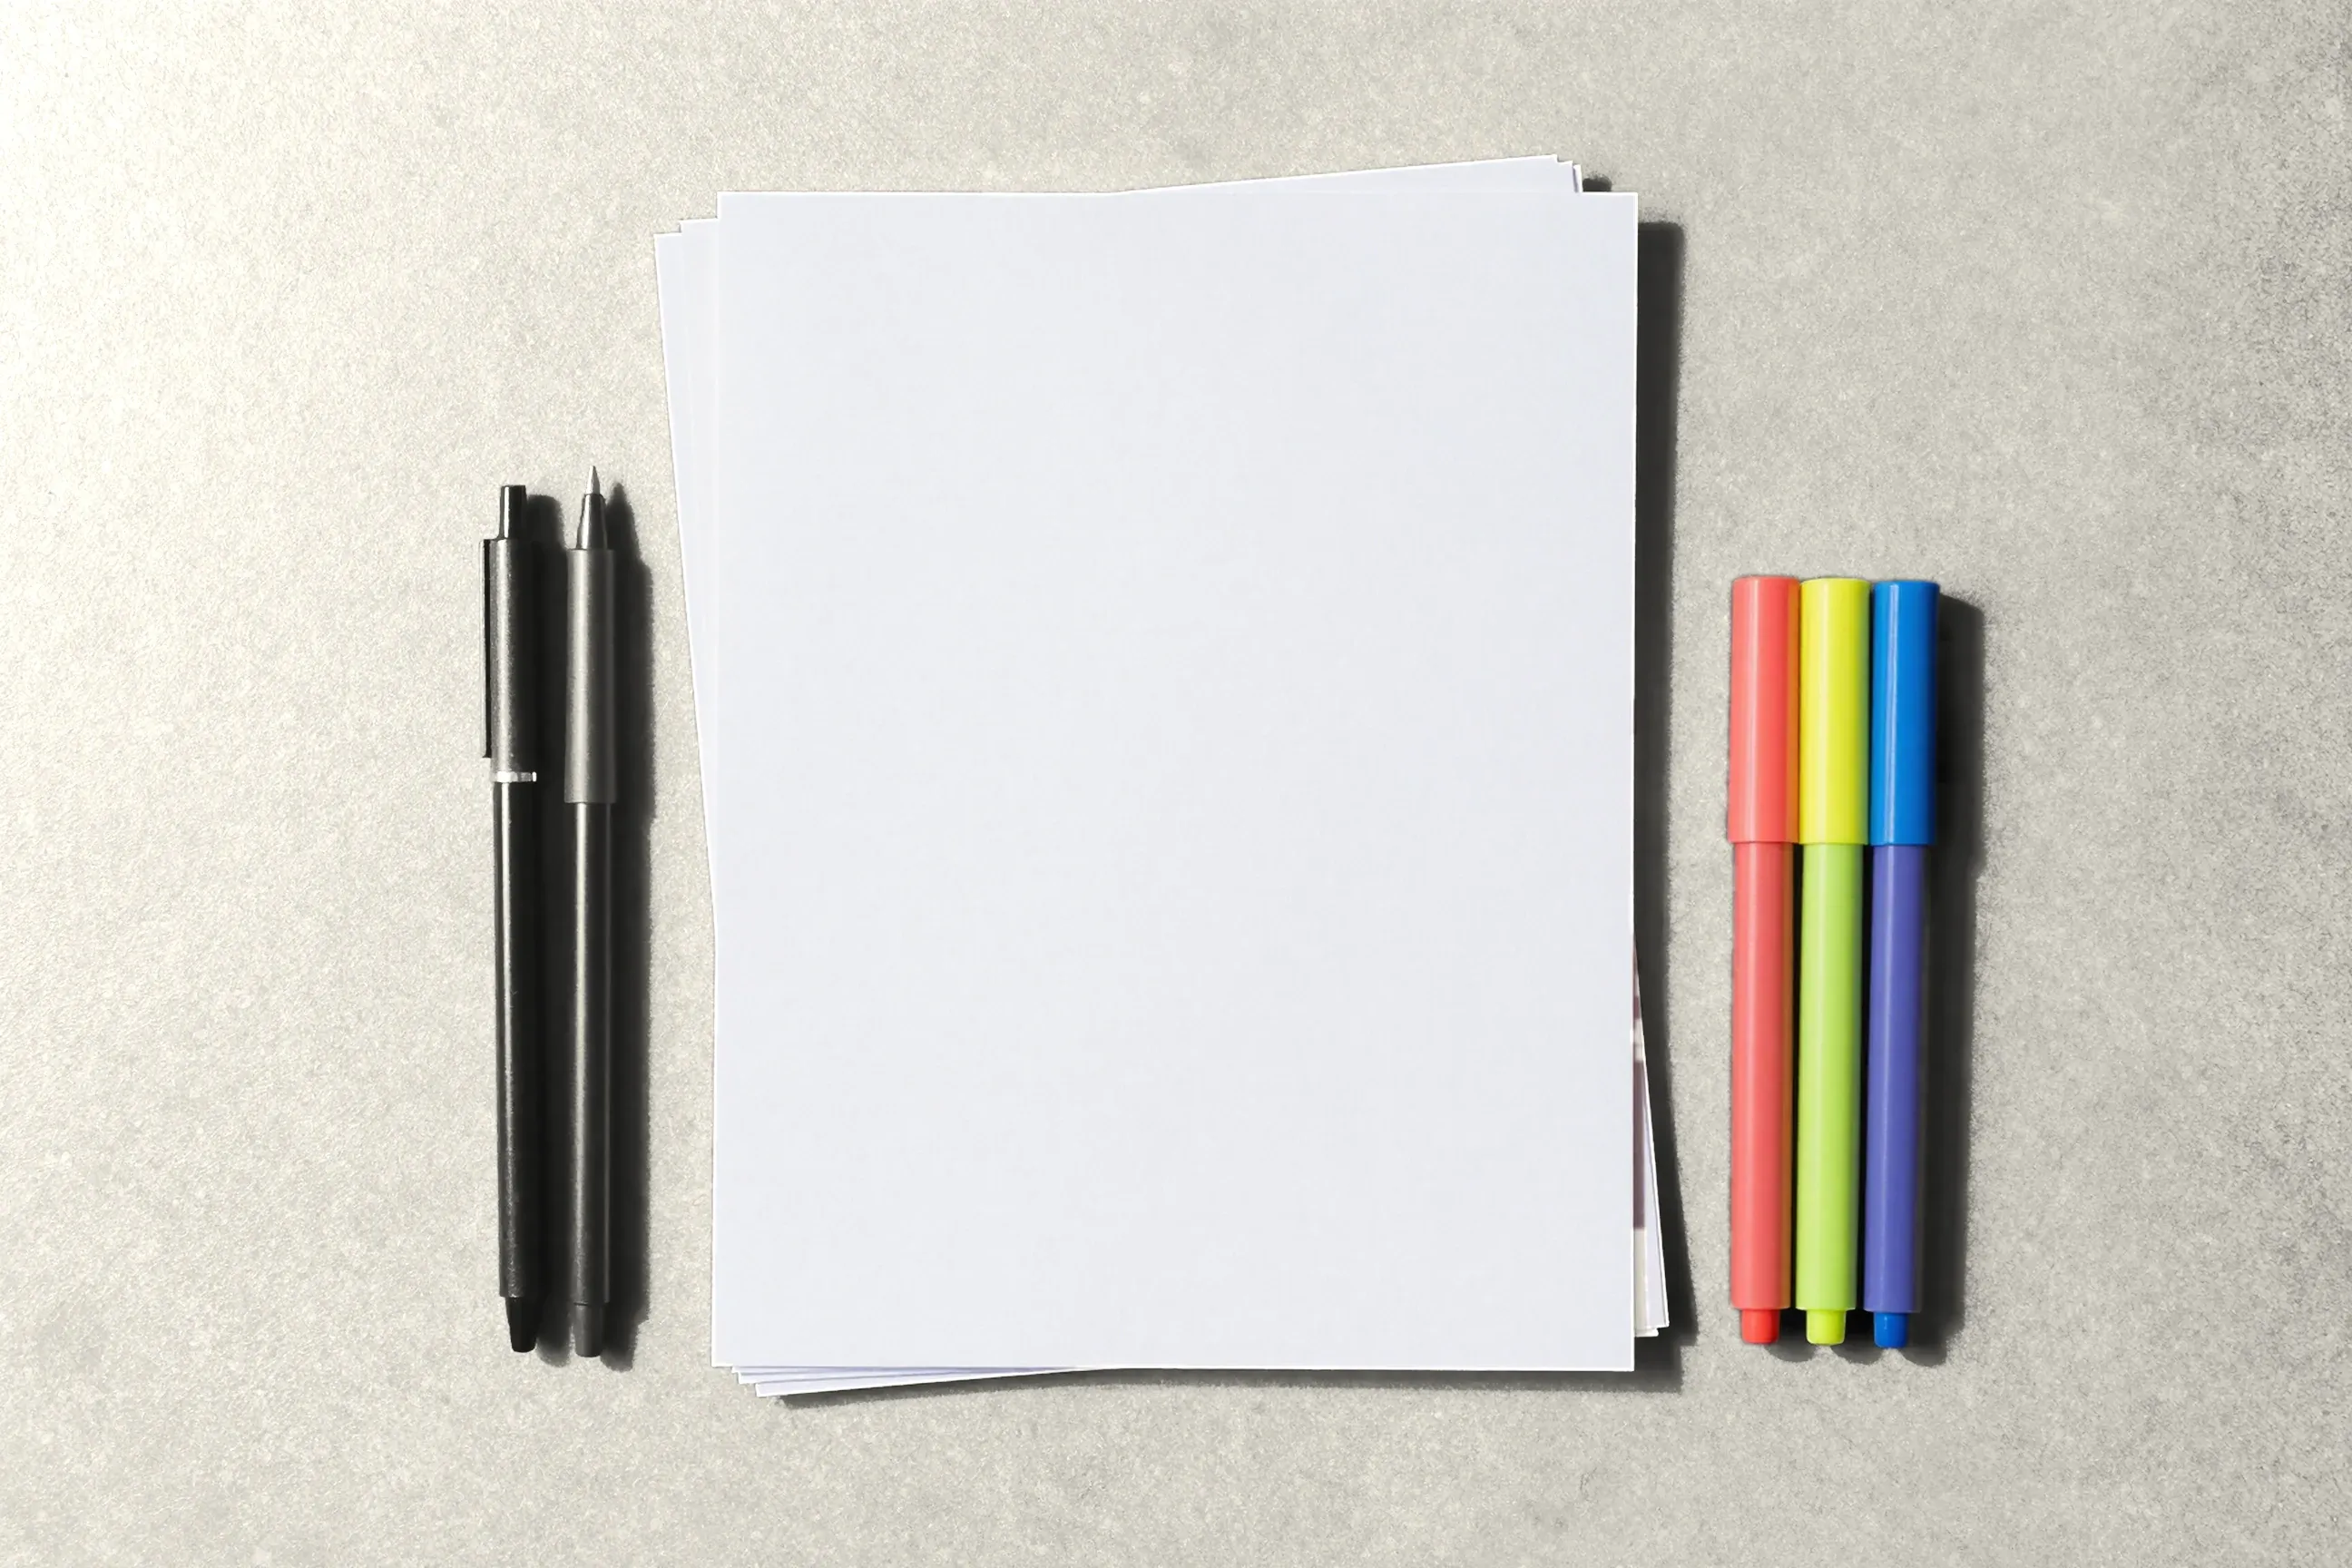
- A table and good light. Any table you can sit at comfortably for half an hour. Daylight, or a lamp off to the side so your hand doesn’t cast a shadow on the page.
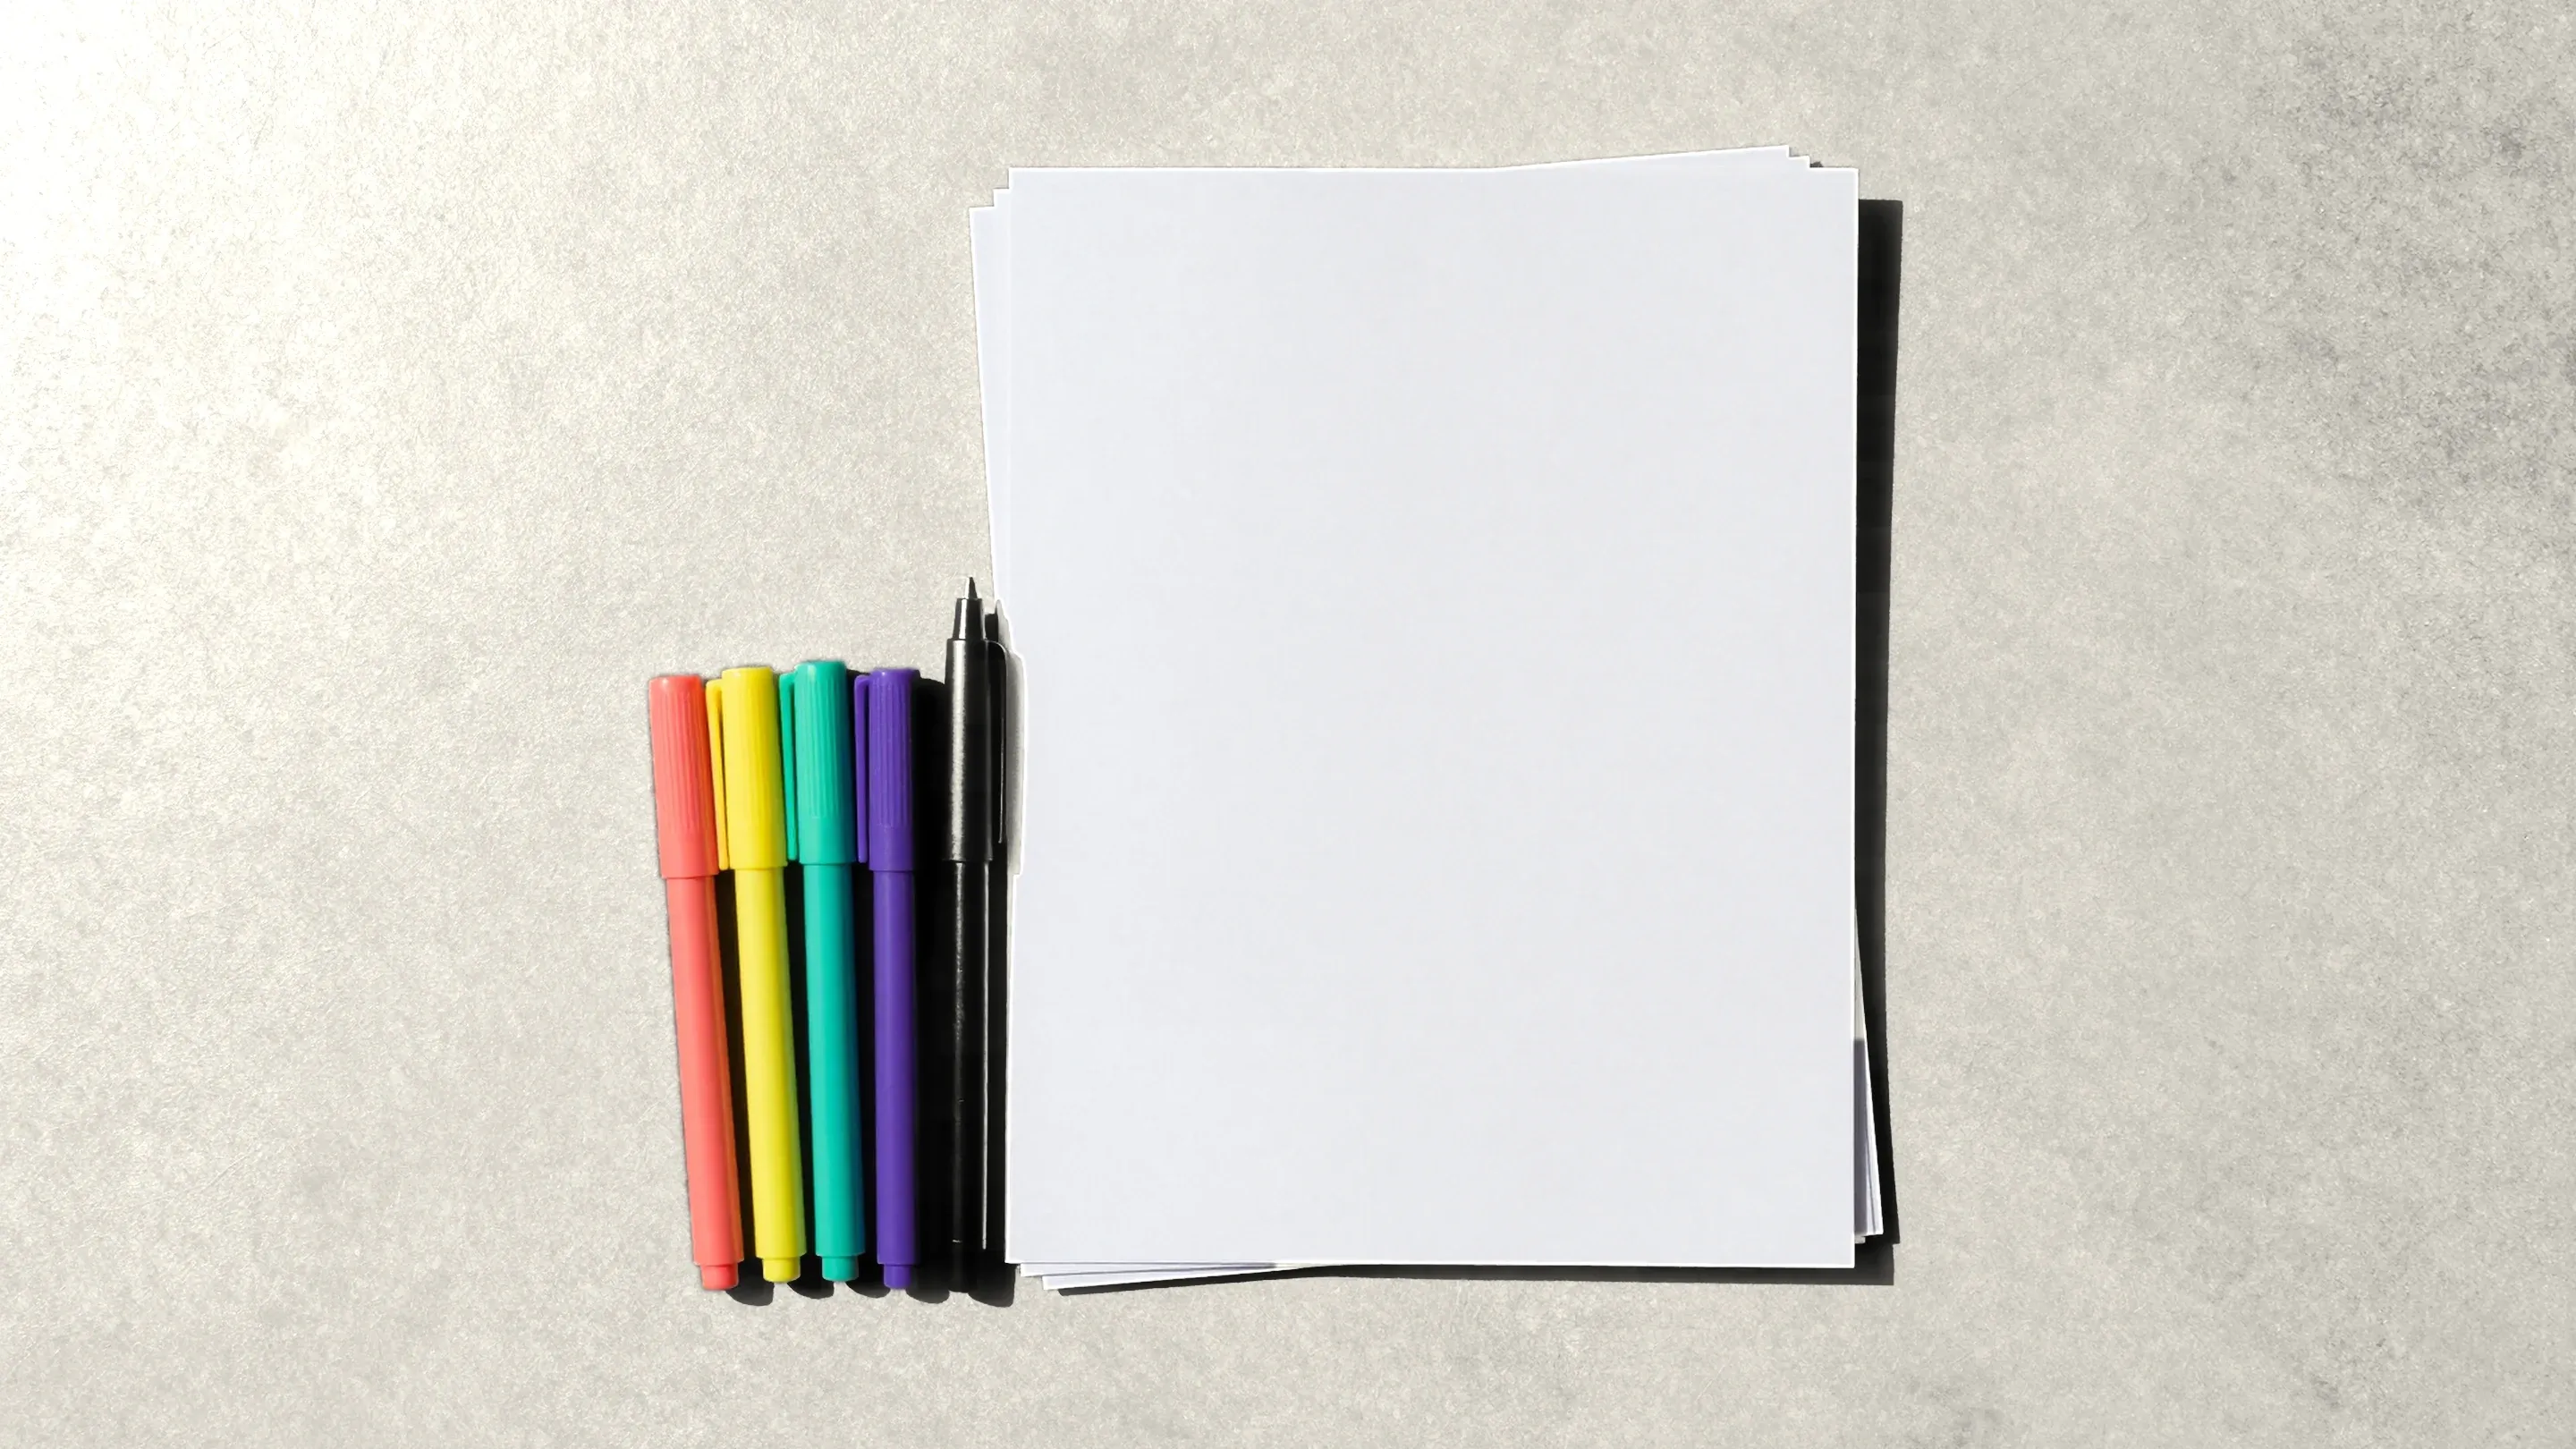
- Two or three sheets of paper. Regular printer paper is fine. One for warming up, one for the drawing, one spare.
- A black pen or fineliner. A gel pen works too. If you have two thicknesses, bring both: a fine one for lines, a bolder one for rounding.
- Colored markers or pencils — optional. Your first drawing can stay black and white.
- Quiet or music. Some people draw in silence; others put on calm instrumental music. Silence your phone notifications: half an hour without them is part of the evening.
You don’t need to buy anything special. If you want to keep going after the first evening, that’s the time to think about heavier paper and better markers — see What You Need to Start Drawing.
How much time to set aside
Plan on 40–60 minutes, on an evening when nothing is rushing you. A first drawing is rarely quick: rounding takes the longest, and your hand doesn’t yet know how to move. If it runs long, no problem. If you get tired sooner, that’s fine too — though the course suggests finishing the rounding the same day you start it.
The plan for the evening
- Warm up — 5 minutes. On your first sheet, draw a few lines without caring how they look. Try slow lines and fast ones, big curves and small ones. The goal is to get a feel for the pen and the paper, not to make anything.
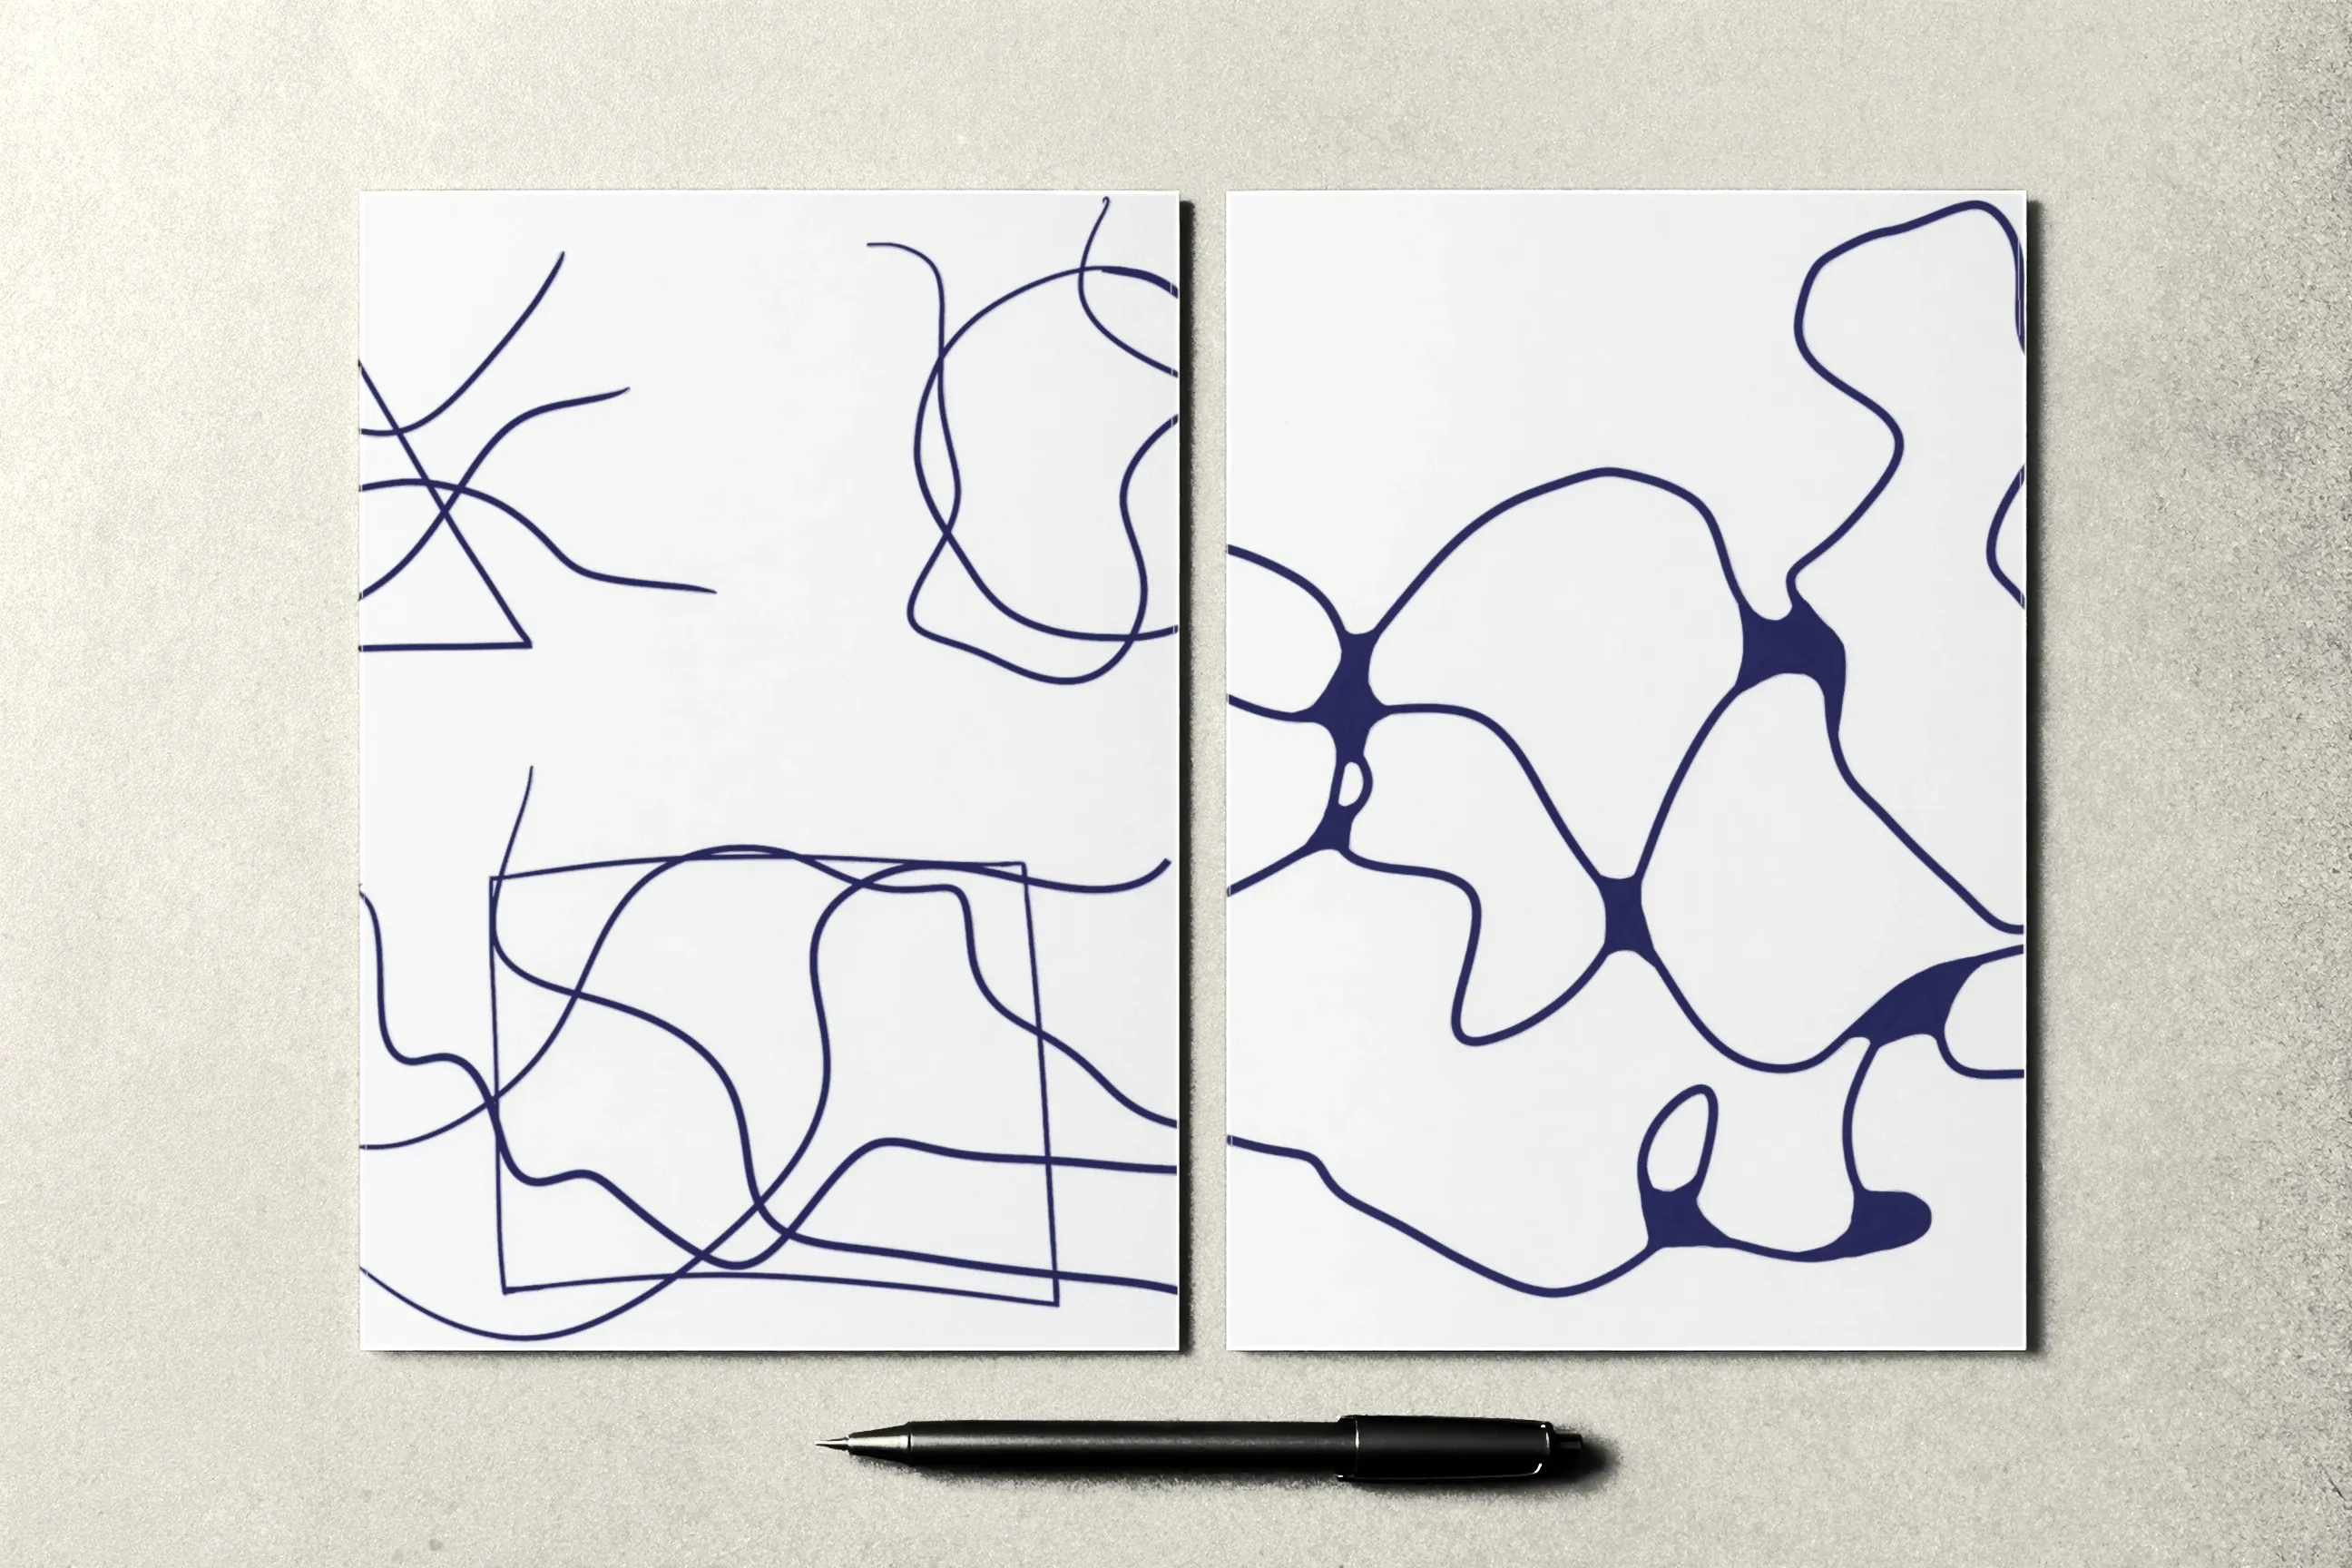
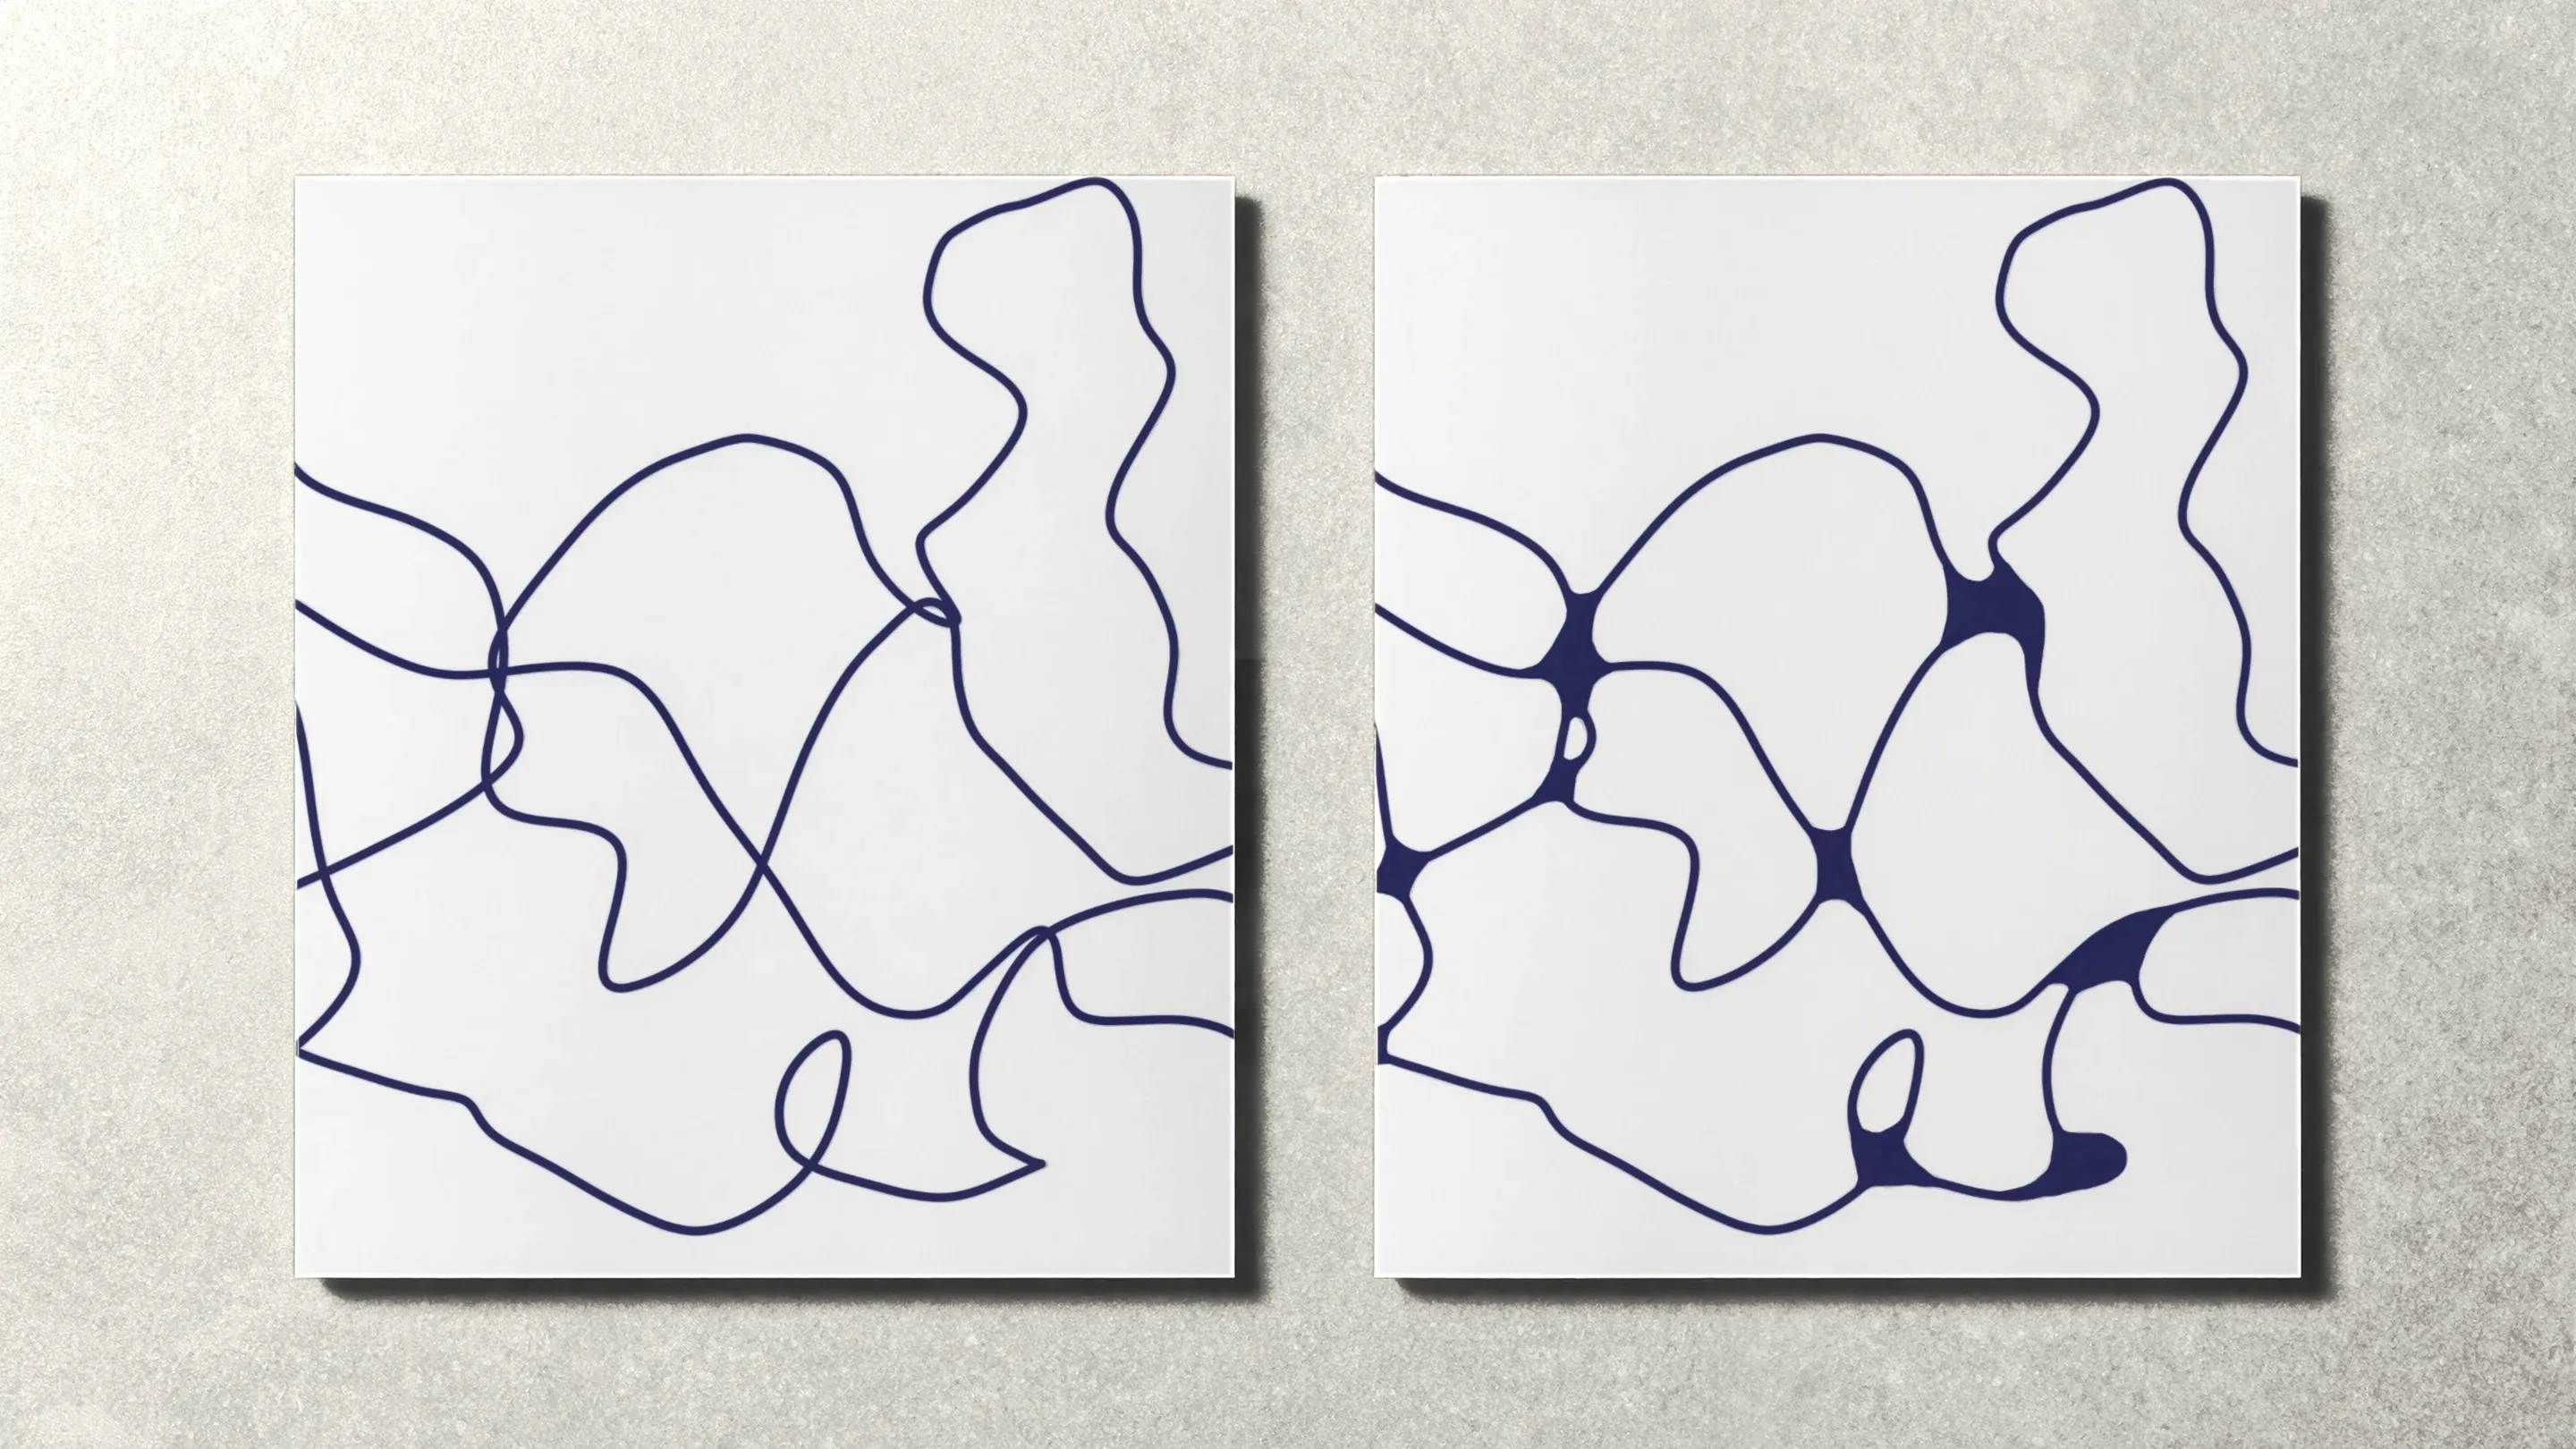
- Draw the lines — 5 to 10 minutes. Take a clean sheet. Start near the edge and let a free line travel across the whole page, changing direction unexpectedly and crossing itself. Draw three to five of these. Each one starts and ends off the edge of the paper.
- Round the crossings — 20 to 30 minutes. Find the first crossing and soften its corners: fill the corner with ink so the lines meet in a curve instead of a sharp point. Then move to the next. Working top to bottom, row by row, makes it easy not to miss any.
- Add color — 10 minutes, optional. Fill in the cells the lines created, giving neighboring cells different colors. Coloring only part of the page is fine.
- Look at the drawing — 5 minutes. Set the sheet in front of you and simply look at it. Then jot down a few words (more on that below).
When things don’t go to plan
Your hand shakes and the line is uneven. That’s how it should be. In this technique an uneven line isn’t a mistake; it’s material. Rounding will smooth the crossings anyway.
The line came out too regular. Noticing that is already a good sign. Draw the next line more slowly and change direction more often, as if you were steering around invisible obstacles.
Rounding feels slow and boring. That’s the most common first-evening feeling. Take a two-minute break, switch to a thicker pen, or put on some music. Rounding is the slow part, which is exactly why it takes up most of the time.
You lose interest halfway through. Stop, look at how much you’ve done, and decide: keep going or come back tomorrow. The drawing isn’t going anywhere.
It looks ugly. First drawings are rarely anyone’s favorite. Don’t throw it away — in a few weeks it will be interesting to compare it with newer ones. If you want to change something, add a line and round the new crossings.
What to write down afterward
A few words after a drawing aren’t a journal entry that fills a page. Three short answers are enough:
- What was on the page, and how long did it take?
- Where did I spend the most time?
- What did I notice — in the drawing, or in myself while I worked?
Take a photo of the sheet and keep it together with those words — in your phone’s notes app or a paper notebook. Neurojournal has a private practice journal for exactly this: a photo of the drawing and a few words about it, visible only to you.
What comes next
Don’t wait too long before your second evening. A day or two later, your hand still remembers the movement, and you still remember how the first one went. There’s no need to make things harder right away: the same three steps on a fresh sheet will already feel different — bolder lines, steadier rounding.
If you’d like to be guided step by step, the first lessons of the Neurojournal course are open without an account. The “Getting started” module explains what the technique is and how it works; after it, “The alphabet” takes the line, rounding, shapes, and colors one at a time, with diagrams and printable practice sheets. Open the course.