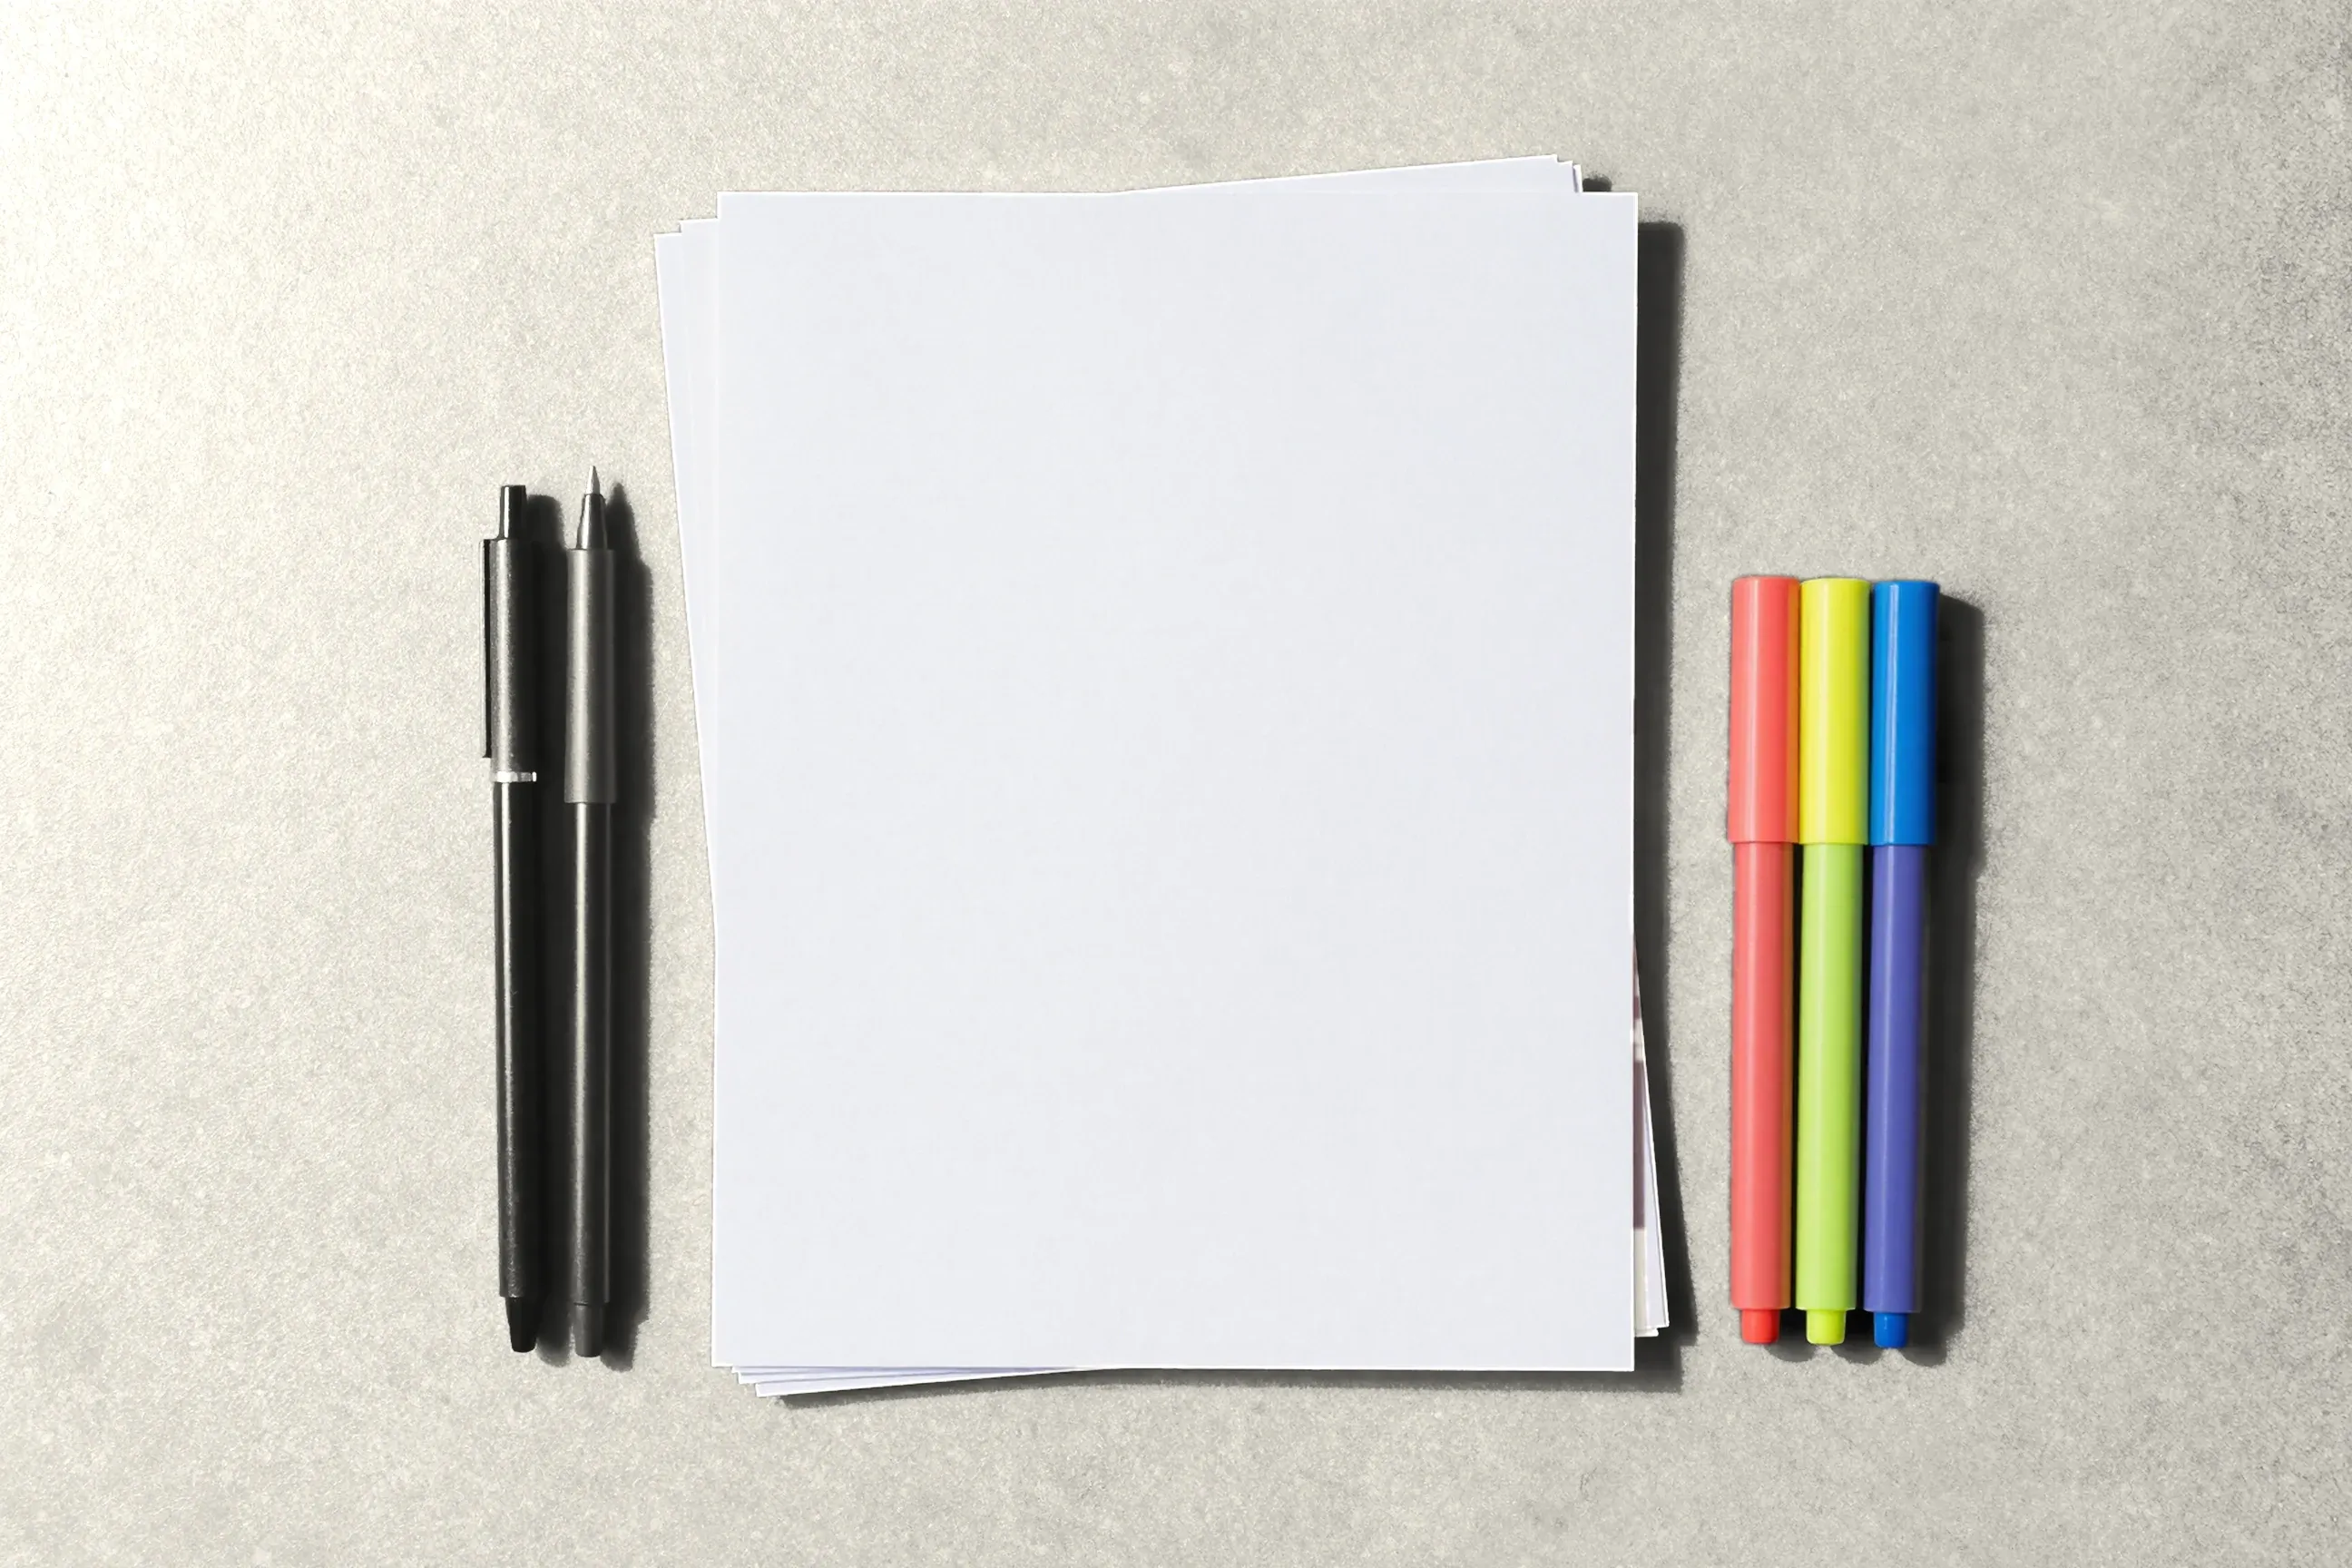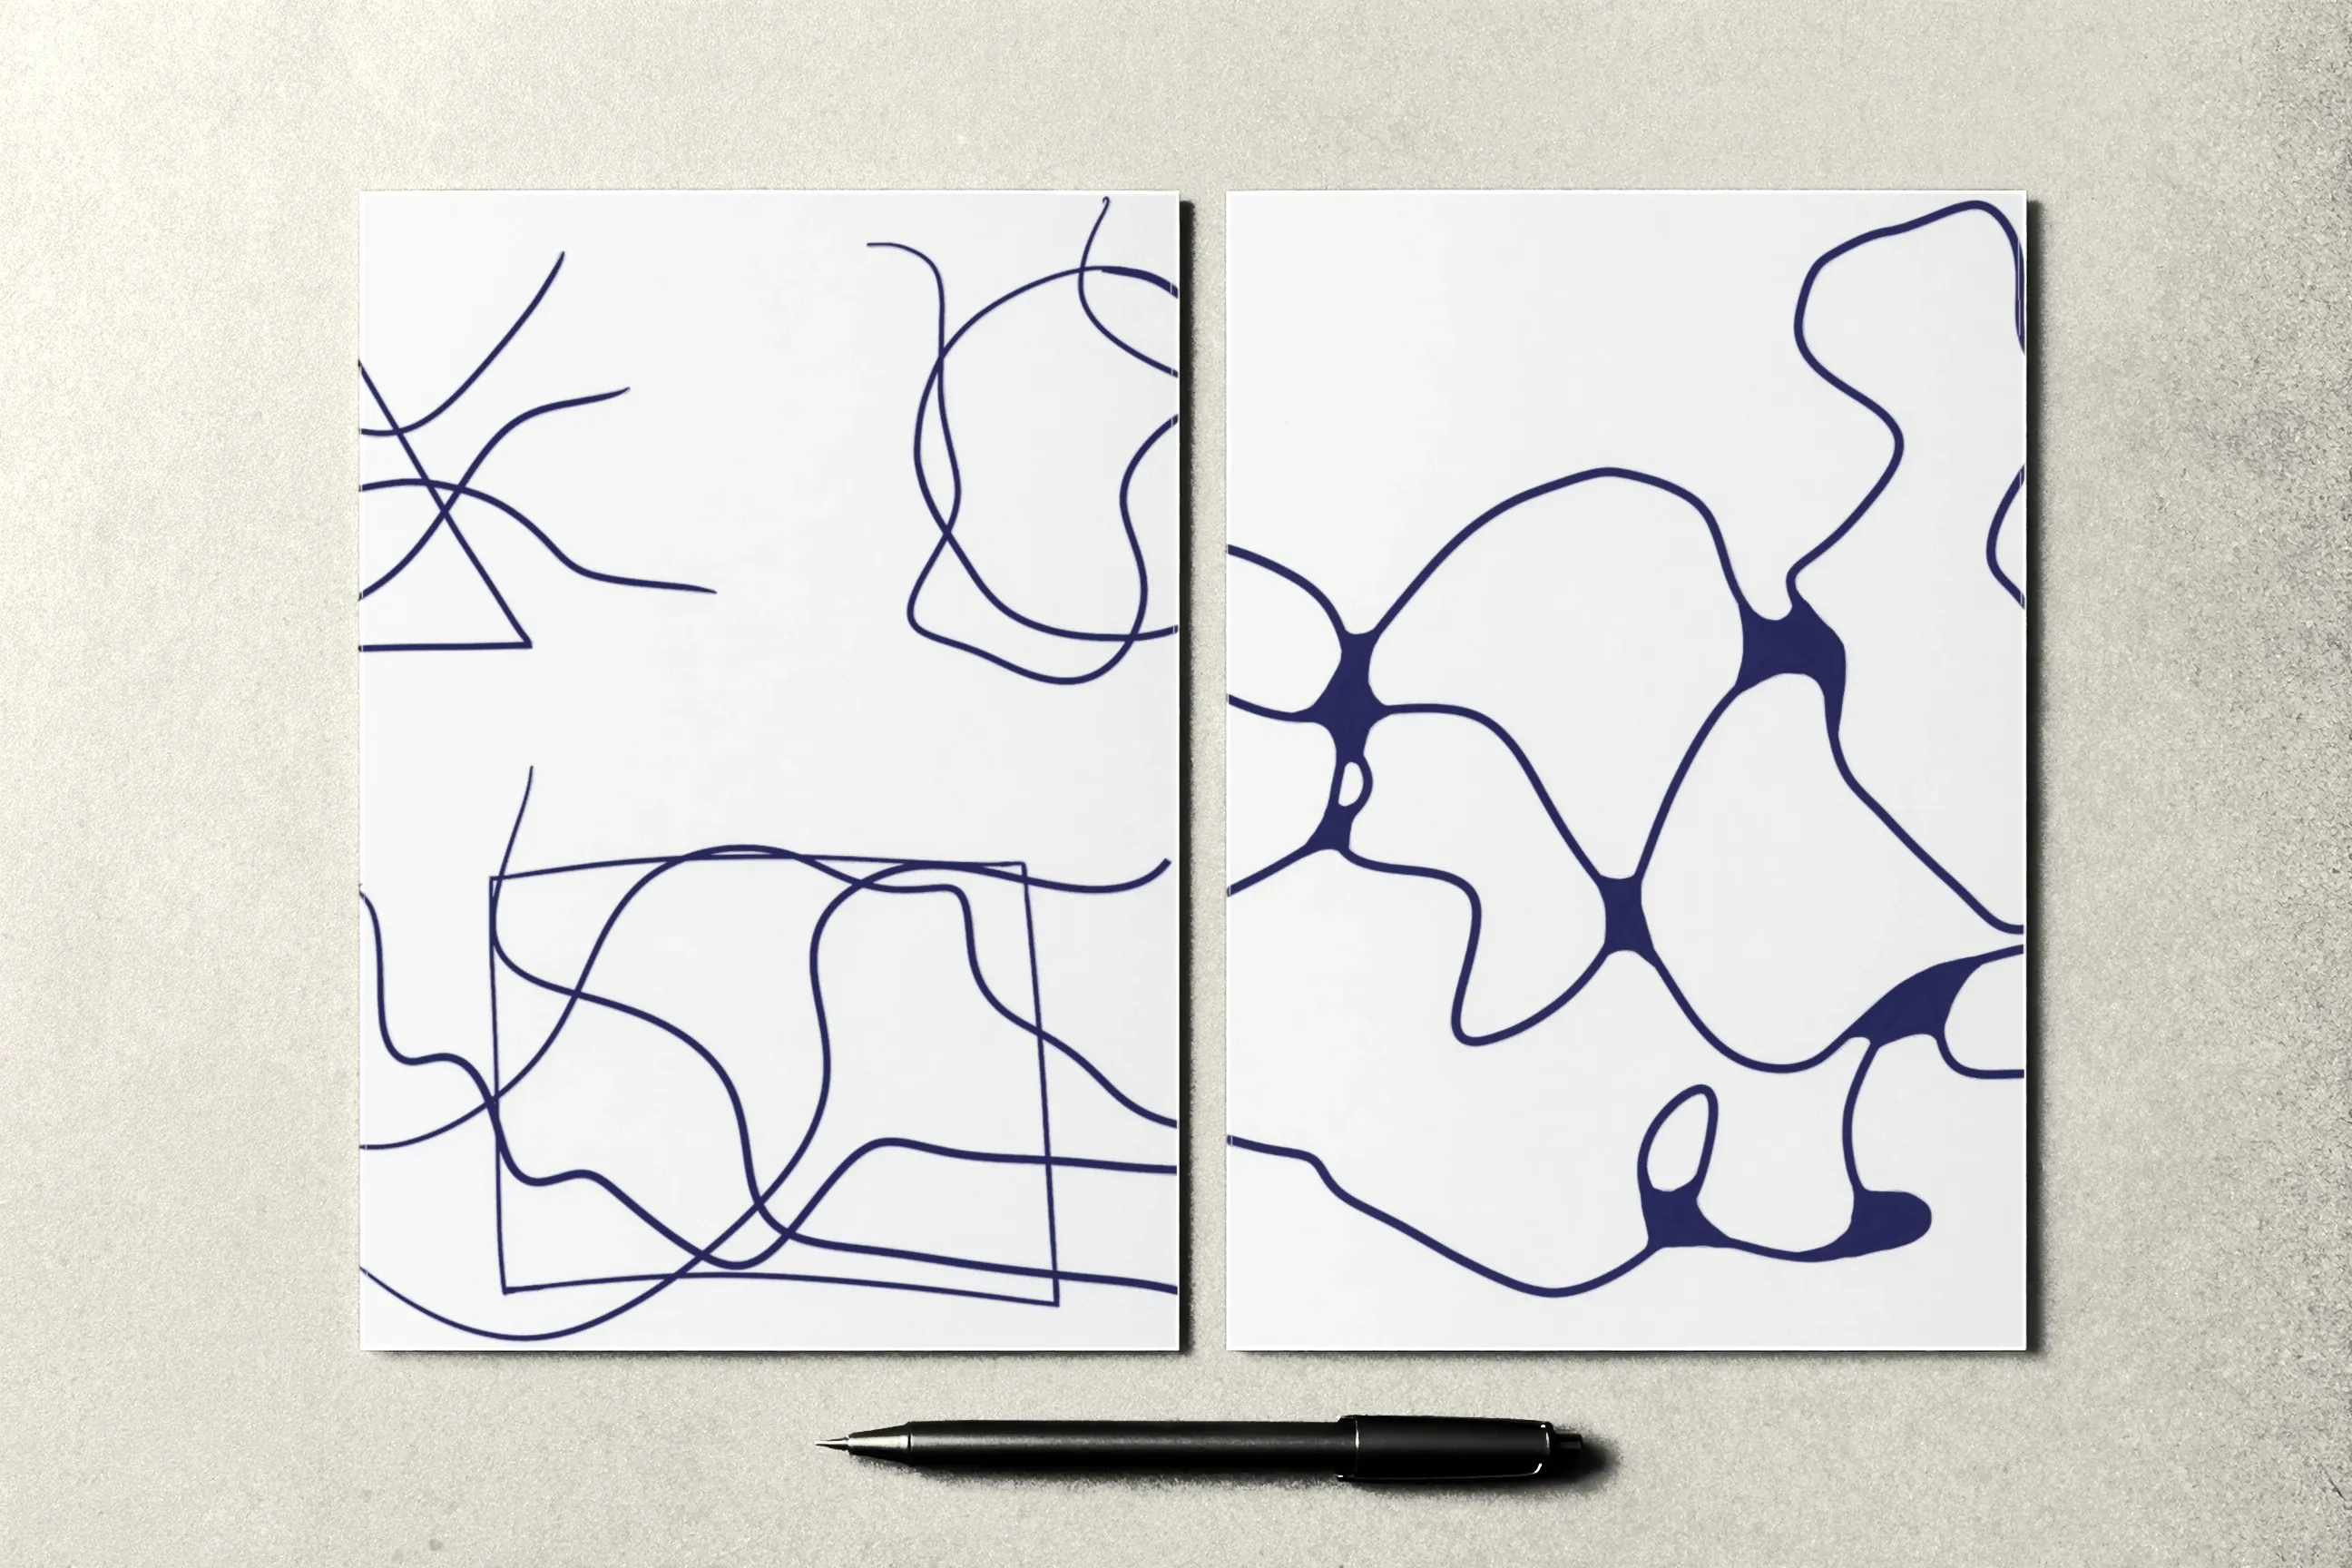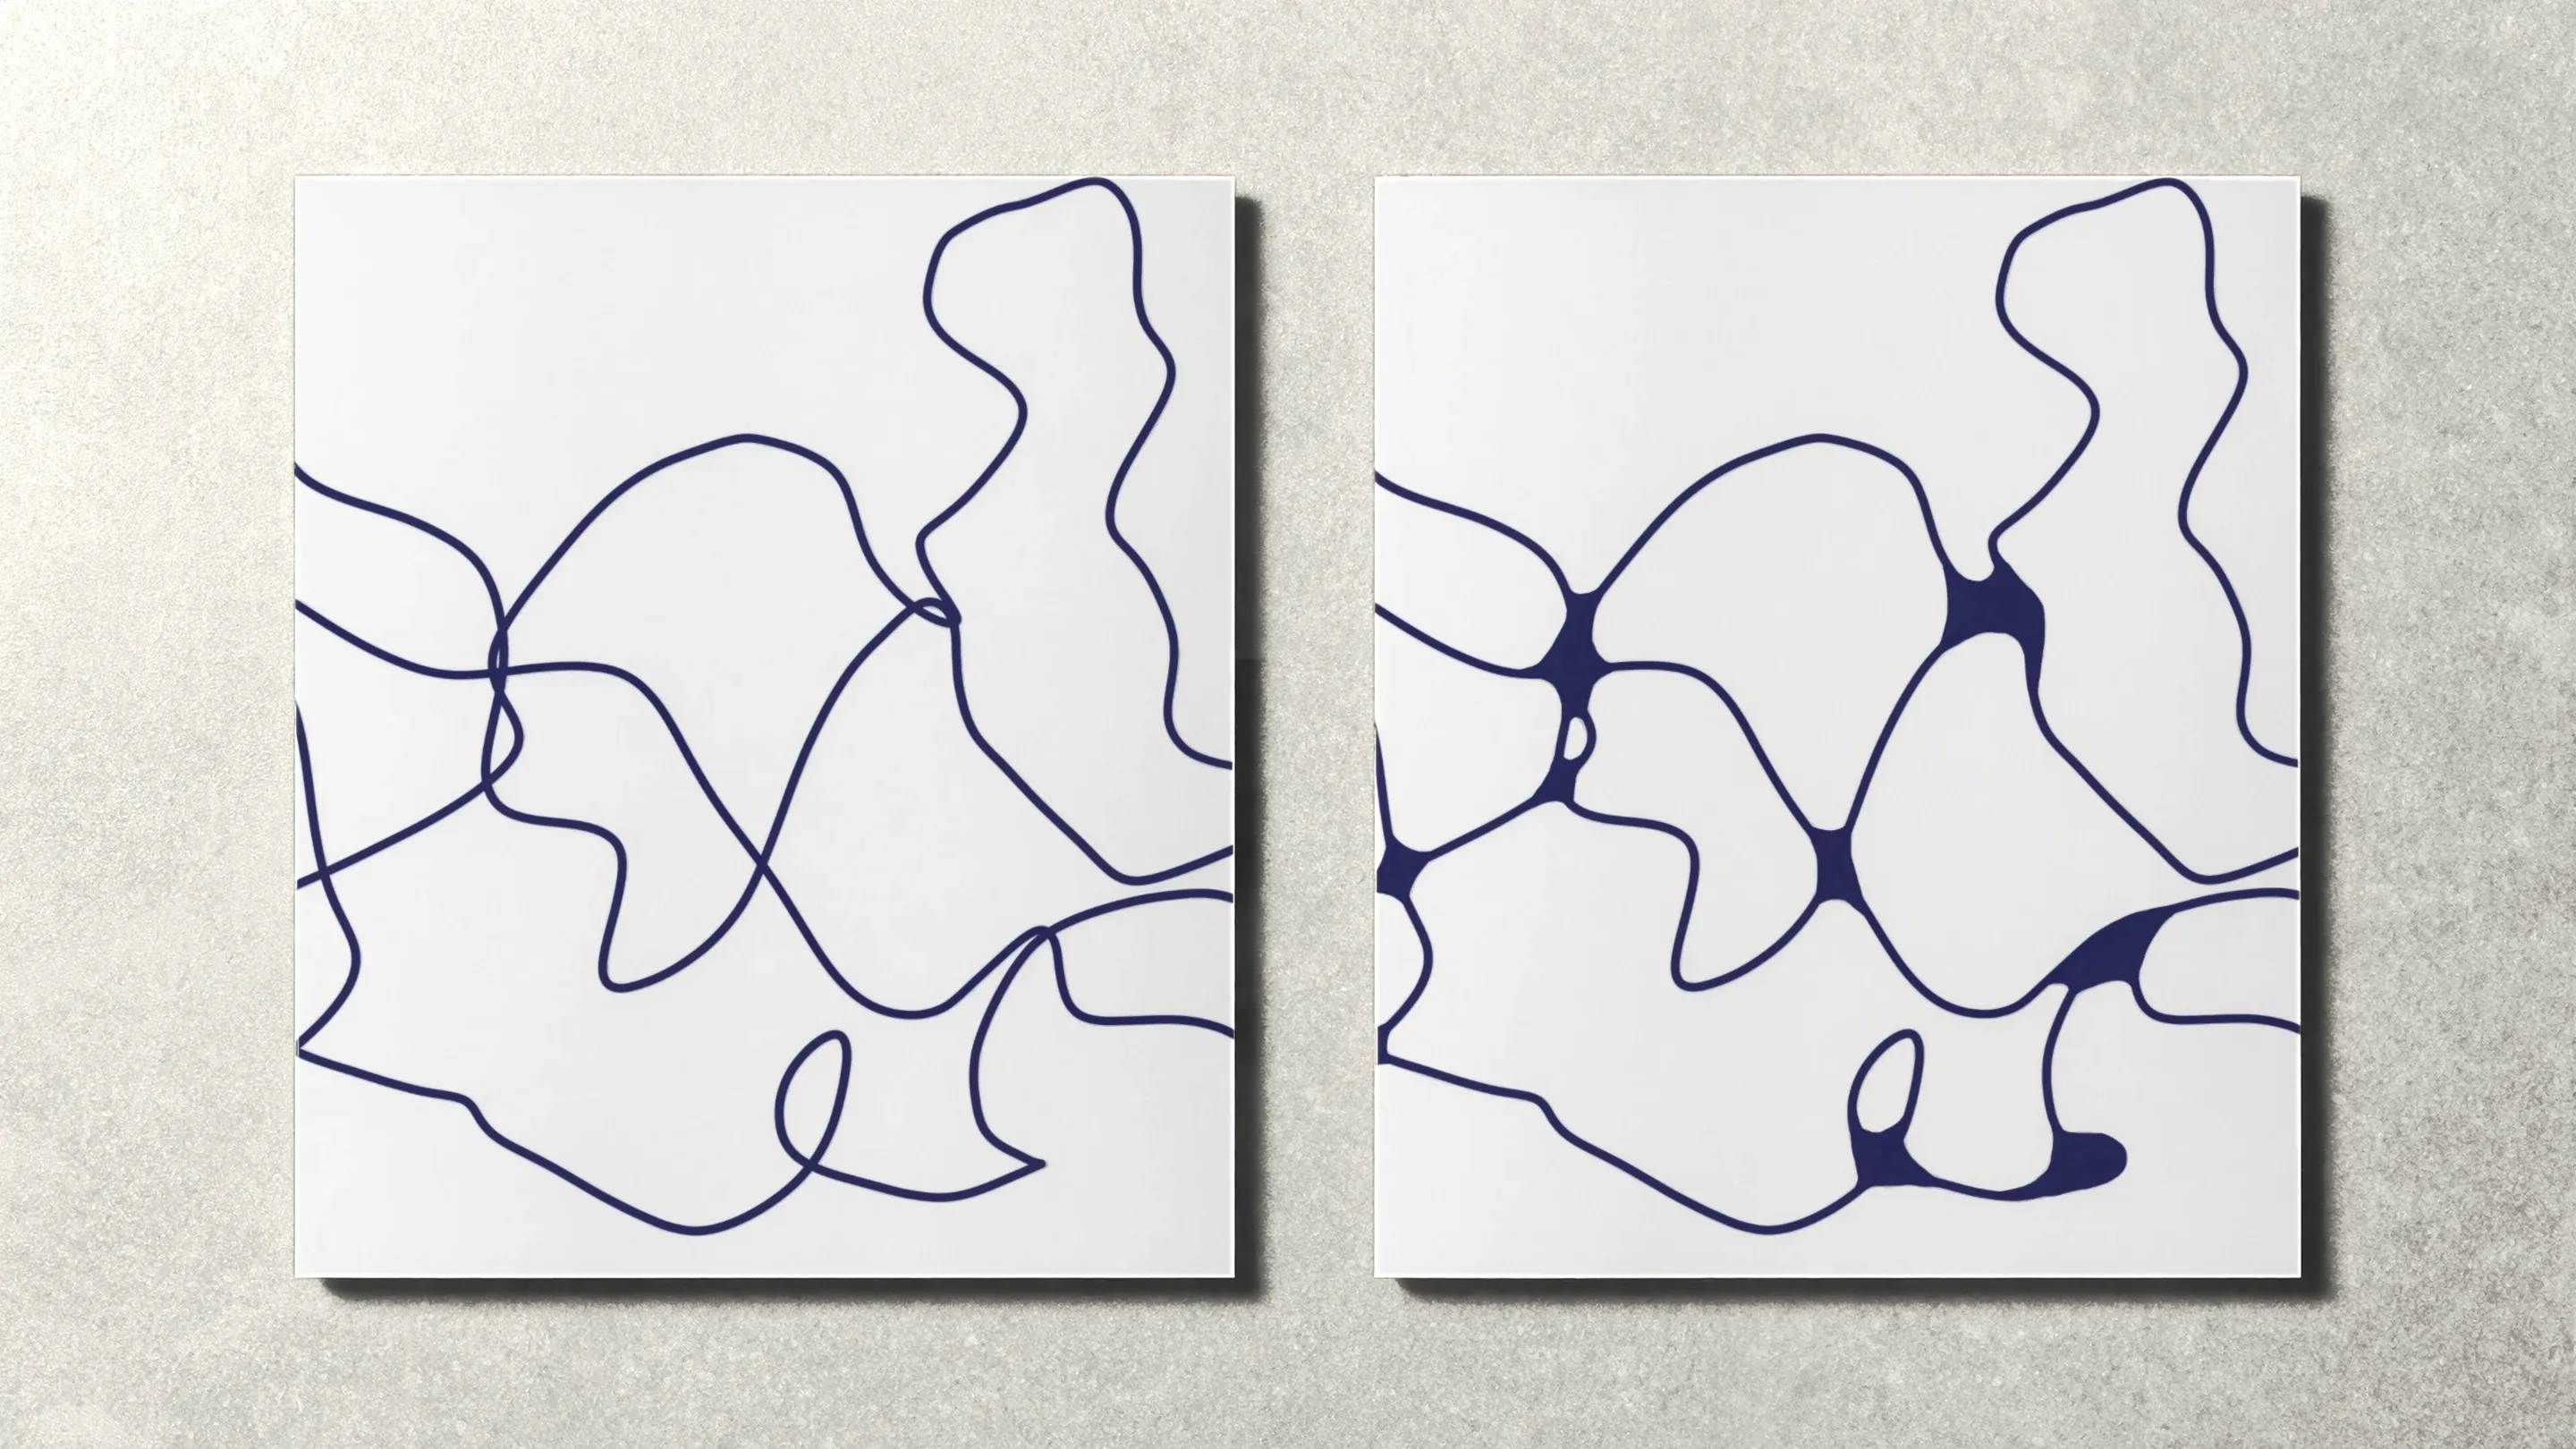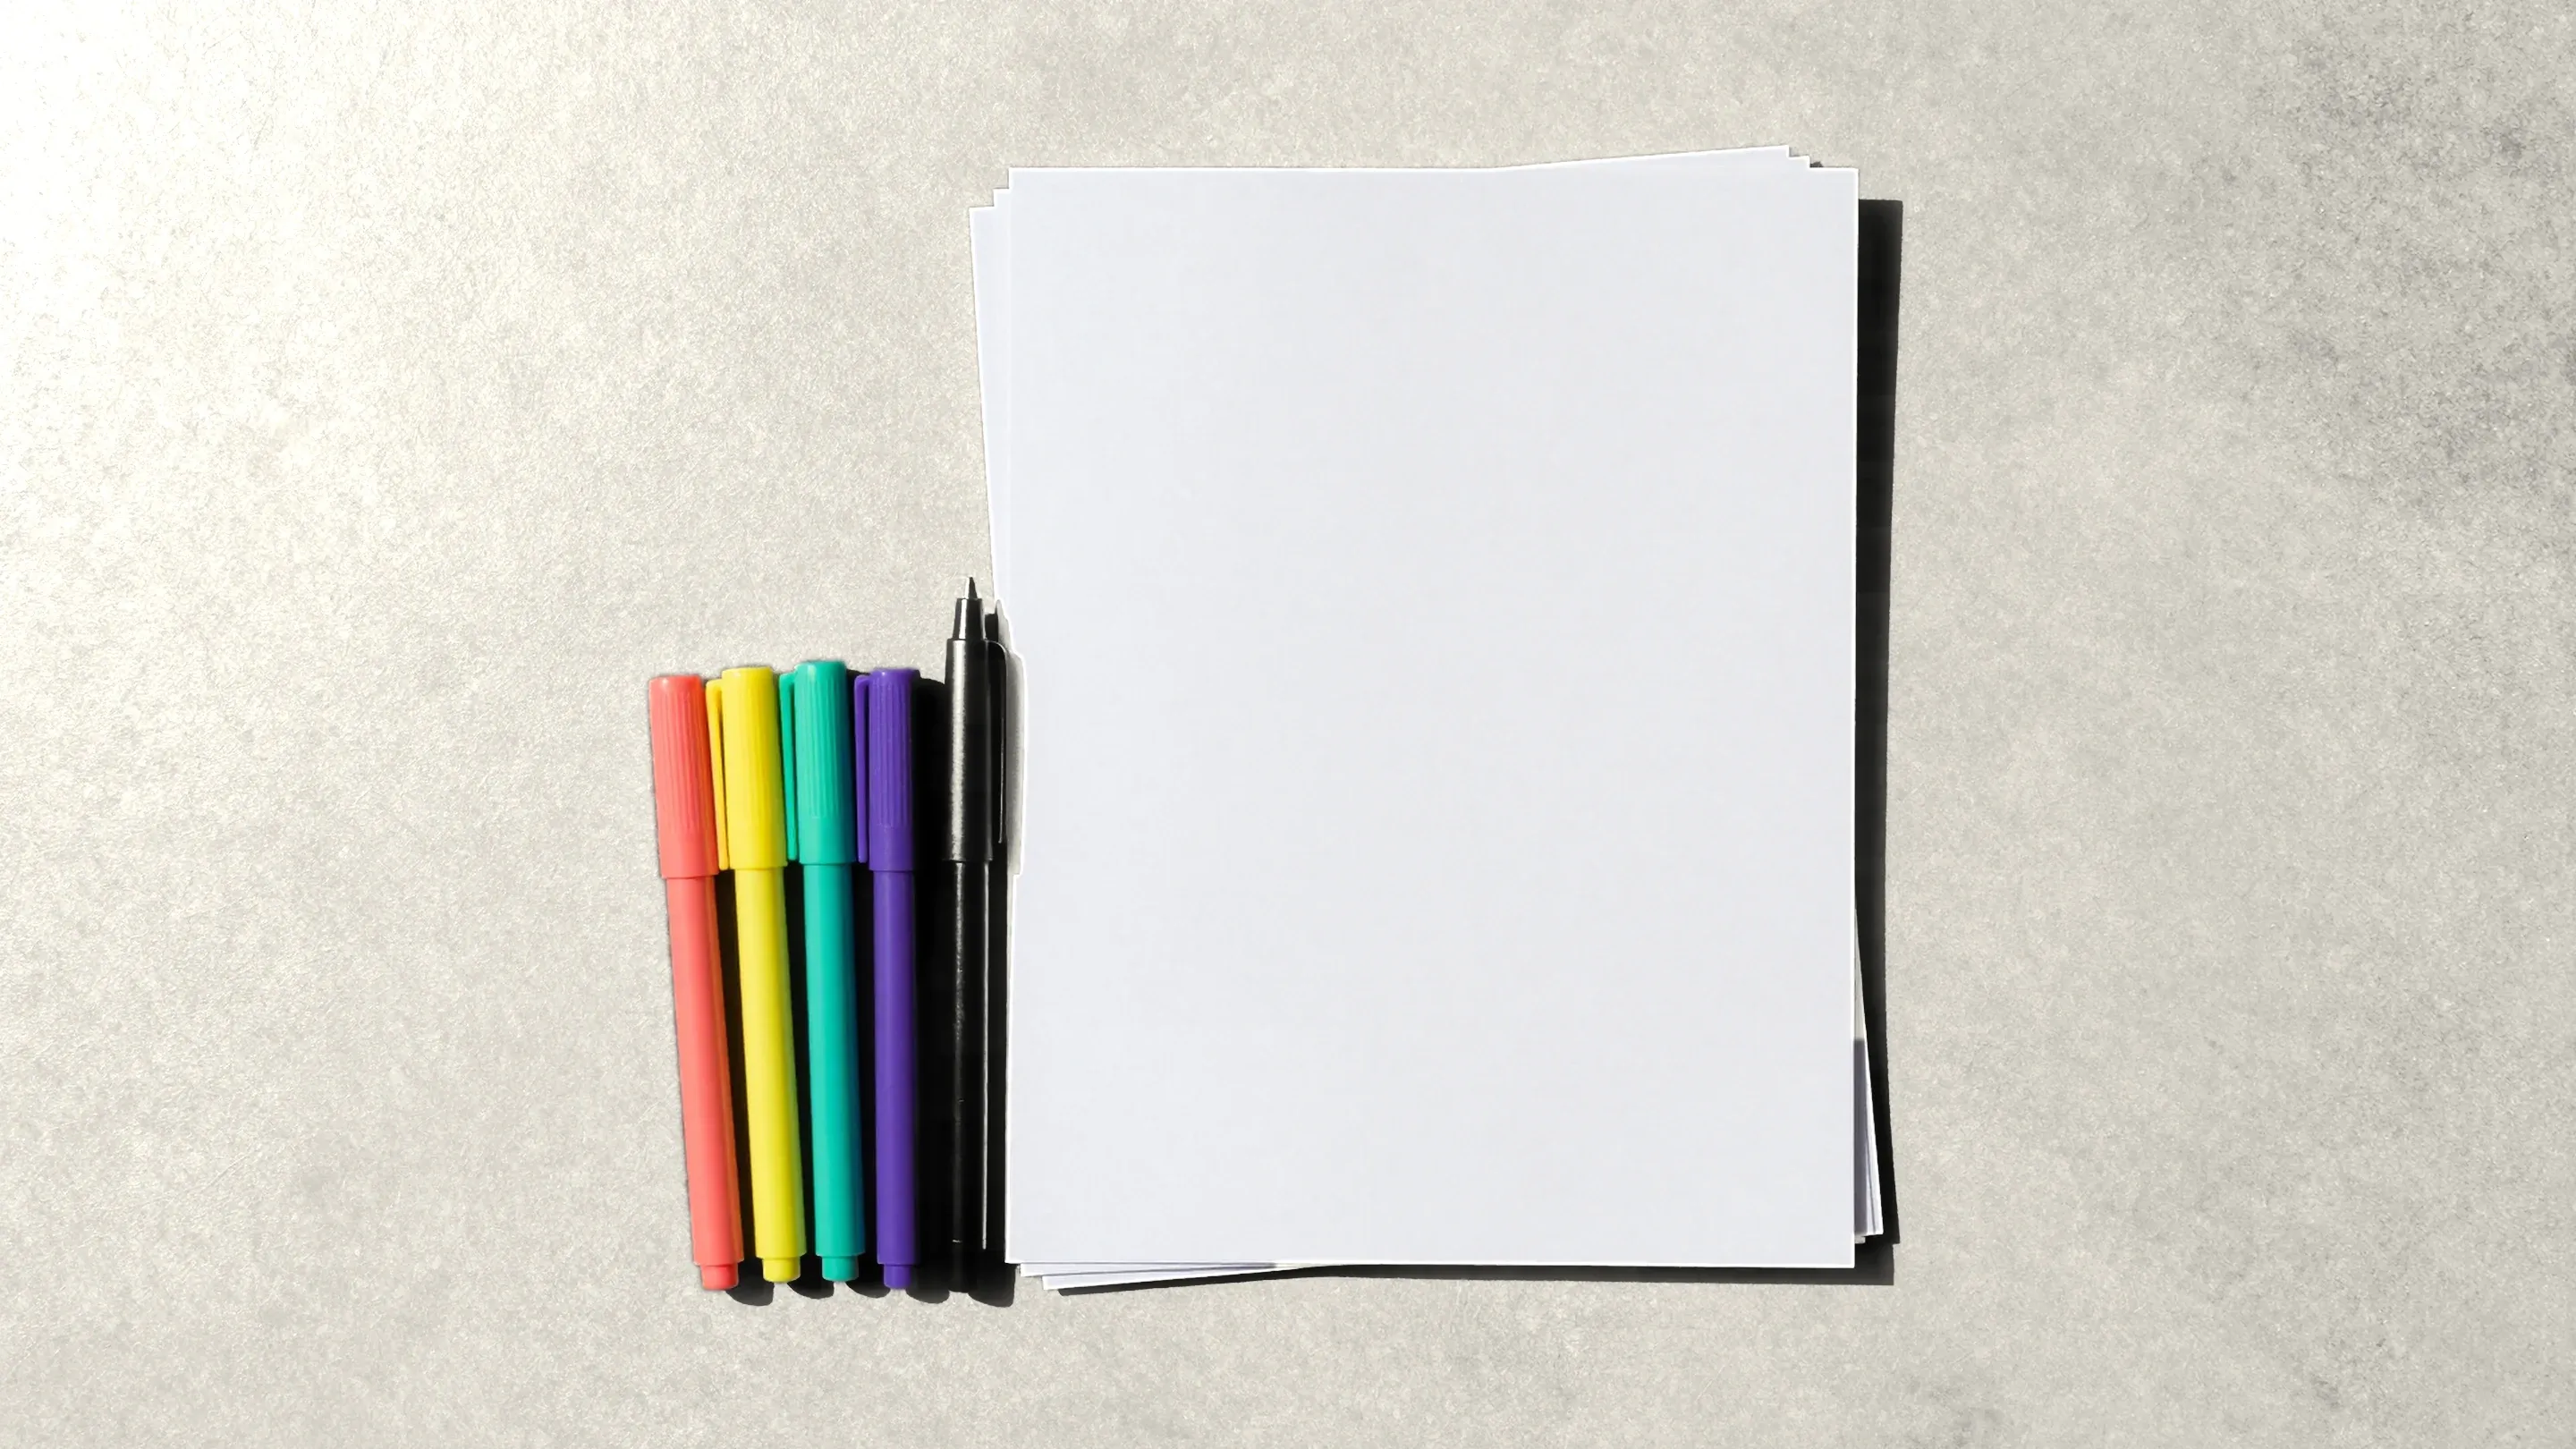
Transformational drawing needs very little. You draw on paper, not on canvas or a tablet, and none of the steps call for expensive materials. Still, a few small choices make a noticeable difference to how your lines flow and how color goes down. This guide covers the minimal kit for your first drawing, what to add once you want to keep going, and what you can safely skip.
The minimum for a first drawing
- A few sheets of paper. Regular printer paper is enough to try it out.
- A black pen or fineliner. Anything that writes evenly without skipping.
- Colored markers, felt-tip pens, or colored pencils — only if you want to add color. Your first drawing can stay black and white.
That’s it. If you have a pack of copy paper and a box of kids’ markers at home, you can start tonight.
What to draw the lines with
The black line is the backbone of the drawing, so start there.
A fineliner is a slim pen with a fiber tip and a fixed line width: 0.1, 0.3, 0.5, 0.8 mm. For the lines themselves, 0.3–0.5 mm is comfortable. Fineliners with pigment ink work best: once dry, the ink won’t smear, even when you color over it with a marker.
A gel pen gives a rich, smooth line and glides easily. The downside: the ink takes longer to dry and can smudge under your hand or under a marker.
A ballpoint pen is fine for a first try, but its line is pale and rounding with it is slow — you have to go over each corner many times.
For rounding, it helps to have a second, bolder pen: a 0.8 mm fineliner or a black brush marker. Larger corners fill in faster, and you use the fine pen for the tiny crossings. The part of the work that takes the longest gets a little easier.
How to test a pen before you buy it
Most stores have a tester. A few seconds with it will tell you more than the label:
- Draw a long wavy line. The ink should flow evenly, with no gaps on the curves.
- Start a line several times in a row. A good pen writes on first contact, without scribbling to get it going.
- Fill in a small corner. This shows how the pen handles rounding: does the ink go down solidly or leave streaks?
- Run a finger over it after 10–15 seconds. If the line smears, it will smear under a marker too.
At home, run one more check: draw a line, let it dry, and color over it with the marker you plan to use. If the black line stays crisp, you have a good pair.
Which paper to choose
Copy paper (20 lb, about 75 gsm) is the most accessible option and fine for black-and-white drawings. But markers — alcohol markers especially — show through it and can bleed onto the table, and water-based markers can pill the fibers when you go over an area twice.
Heavier paper (roughly 120–200 gsm) is the all-round choice. It takes both fineliners and markers, shows through less, and doesn’t buckle under color. Look for sketch pads, mixed-media pads (often labeled around 90–100 lb), or paper made specifically for markers. Paper weights are labeled differently by type, so the gsm number is the easiest one to compare.
Size. Letter or A4 is the easiest place to start: there’s room for three to five lines and space to round. A smaller sketchbook page (around 5.5 × 8.5 in) is quicker and good for short sessions. Larger sheets (11 × 17 in and up) take more time and table space.
In the Neurojournal course, the practice templates can be printed on regular A4 or Letter paper — sheets with the lines already drawn, for practicing rounding and shapes.
What to color with
Water-based markers are cheap and easy to find in any office or craft store. They give bright color but can leave streaks on a large cell.
Alcohol markers lay down smooth, even color, and shades blend into each other nicely. They cost more, have a noticeable smell, and bleed through even heavier paper — so put something under the sheet.
Colored pencils are the quiet, slow option. The color is soft, you can layer it, and you can shade a cell from one tone to another. Coloring with pencils takes longer than with markers.
Ten to twelve colors are plenty to start. A big set of 60–100 shades is fun, but it makes choosing harder, and a single sheet rarely uses more than six to eight colors.
Keeping your markers alive
- Snap the cap back on right after each color. An open marker dries out within hours.
- Store double-ended markers horizontally so the ink stays evenly distributed between the tips.
- Don’t press hard. Pressure flattens a fiber tip, and the line gets wider and uneven.
- Keep them away from heaters and direct sun. Heat speeds up drying.
Small things that help
- A backing sheet — a piece of cardboard or an old magazine. It protects the table when a marker bleeds through.
- A lamp off to the side. Light coming from the side of your free hand keeps your drawing hand from shadowing the page.
- A folder or box for finished drawings. A month’s worth of sheets kept together is interesting to look back through.
- Your phone, for photos. A photographed sheet is easy to keep in a practice journal along with a few words about it.
What not to buy
- Pricey “beginner” kits. They usually include too many colors and too little of what you’ll actually use.
- A tablet or stylus. This technique is about your hand moving across paper; the paper is the main material.
- An easel, canvas, or paints. You won’t need them here.
- Everything at once. Start with the minimum, draw a few times, and find out what you personally are missing: a finer pen, heavier paper, or different colors.
The short version
You can start with what’s already in your home: a sheet of paper, a black pen, a few markers. When you want to keep going, the upgrades that matter most are a pigment fineliner for the lines, a bolder pen for rounding, and paper of 120 gsm or more.
The Neurojournal course has a lesson on tools in its “The alphabet” module, and you’ll find a step-by-step plan for your first session in How to Start Drawing as an Adult. New to the technique? Start with the three steps of transformational drawing.